

Well last week Nathan and I went about collecting what we needed to put the rear end back together and get the white beast running again.
-Fuel Tank
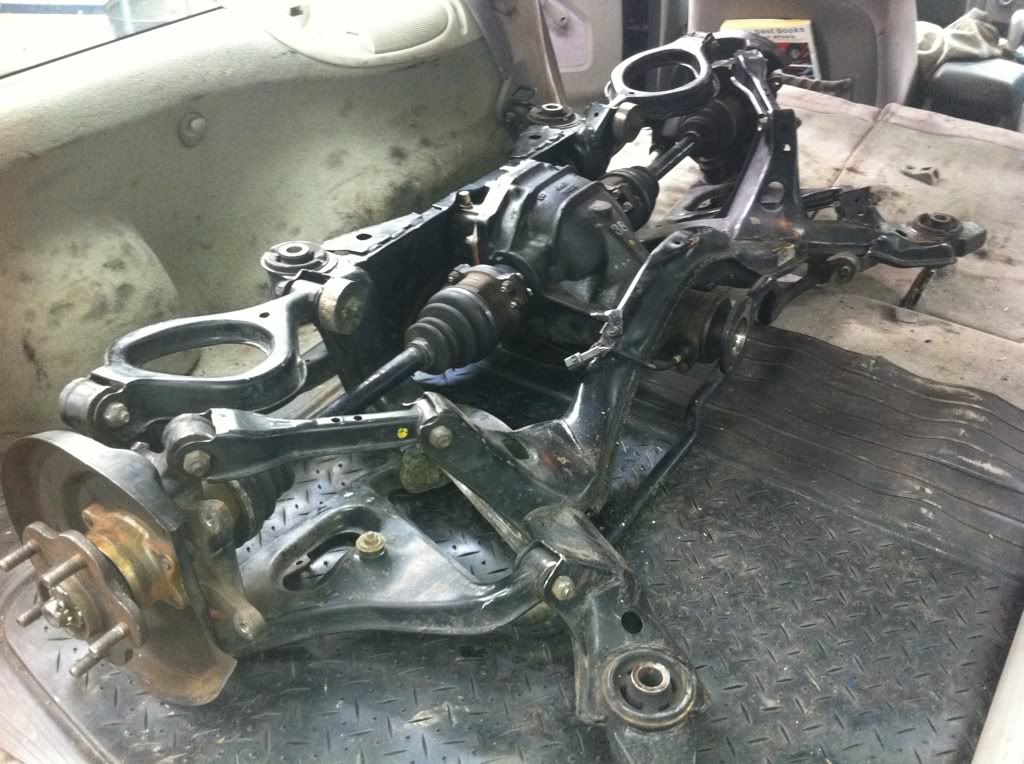
-Rear Subframe with Diff
-Computer
-Engine harness to suit AFM and Injectors
-Dug out the 5-stud rear hubs
-Pilfered 5-stud rear rotars off of Nathans Champagne car
Ok by Pilfered I mean we upgraded the rear brake setup on Nathans car with a full drum hand brake, twin-pot rear calipers and bigger rotars, unfortunately I never got the chance to take any photos as i was helping nathan dismantle the rear end which is a big job as you might be able to imagine.
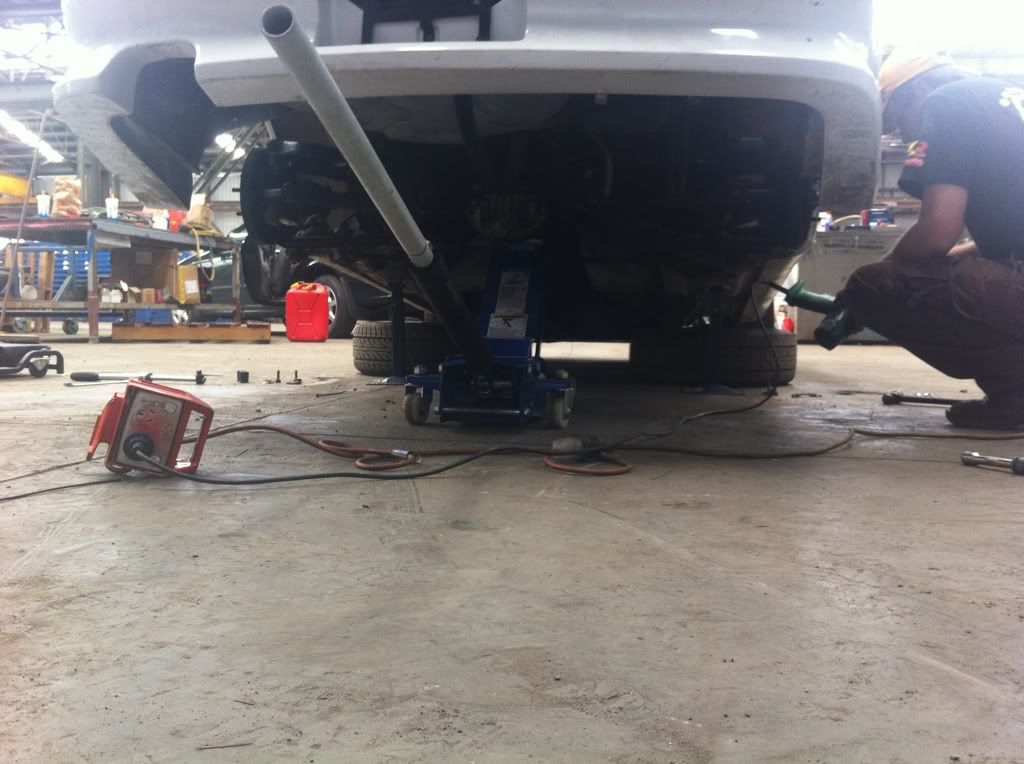
For starters you need to of course jack the back of the car up and pull off the wheels.. (obviously) next step is to pull off the rear calipers and rotars so you can remove the split pin and then the nut that holds the half-shaft in place. Next you need to remove the rear section of the exhaust as you need access to the bolts that secure the half-shafts to the splines on the diff.. your properly wondering why we had to go to so much effort well thats simple you need to remove the backing plate for the rotar as 1. its to small for the larger rotar but also the drum handbrake setup has it all incorporated into the backing plate.
To remove the backing plate you need to remove the hub and thats the rear end completely disassembled then its a reverse of the above procedure to assemble the bigger brake setup.
So as to be able to complete the rear end of the 180 we needed to first upgrade Nathans.
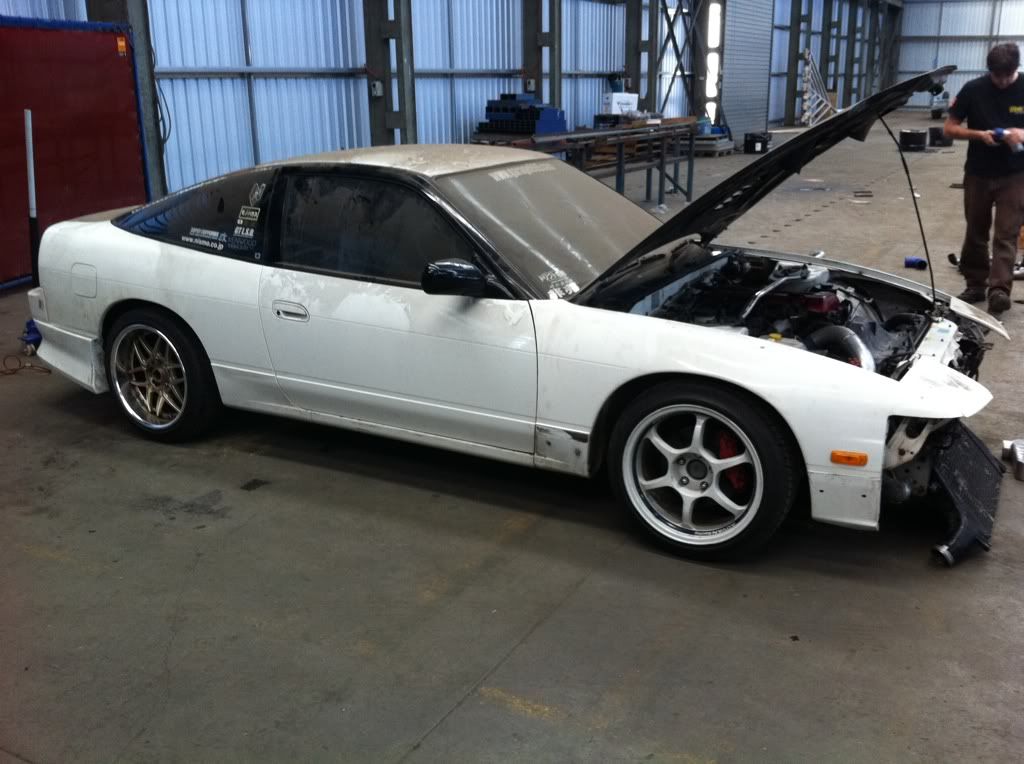
The next day we were back to work on the 180 and what a long day it was!! at the end of the day it was well worth it because we got the car started.
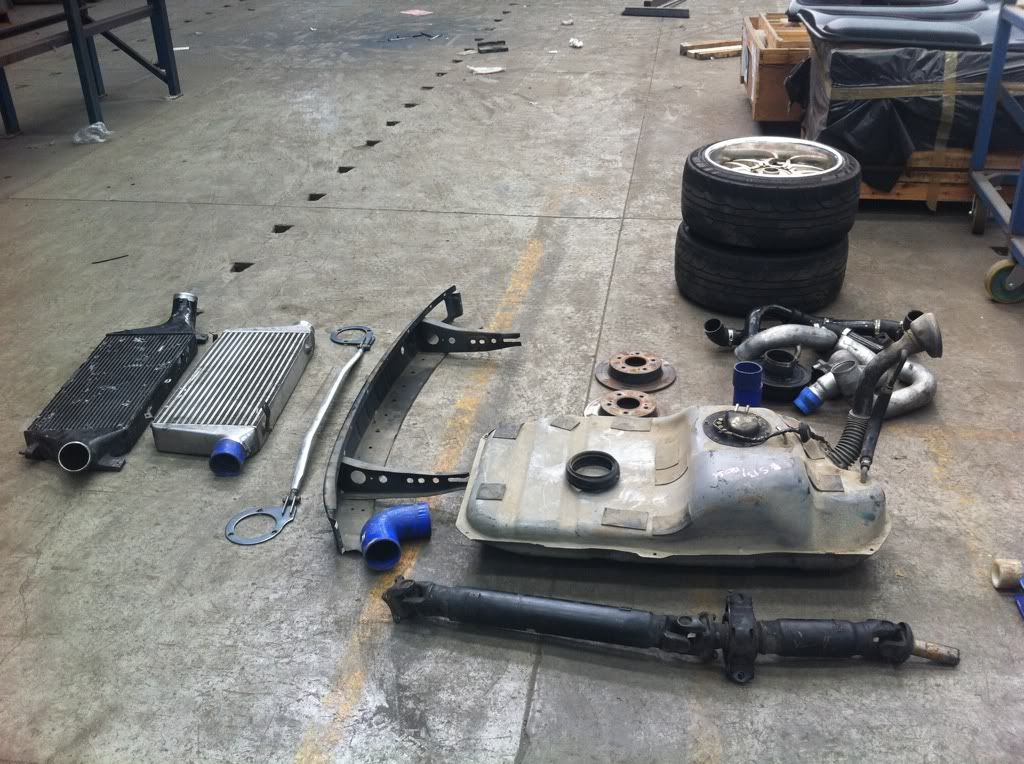
Hmmmm parts parts... and more parts.
- Fuel Tank
- Tail shaft
- asortment of cooler pipes
- front reo
- Wheels
- GTR cooler and a Hybrid core
- 5 Stud rear rotars
One of the biggest jobs of the day was installing all the rear end pieces, but first we had to drop the cradle that we put in it so it could be pushed around.. why didnt we use said cradle you ask? well it is a Hi-cas rear subframe which is pooo for pretty much any application so it had to come out.
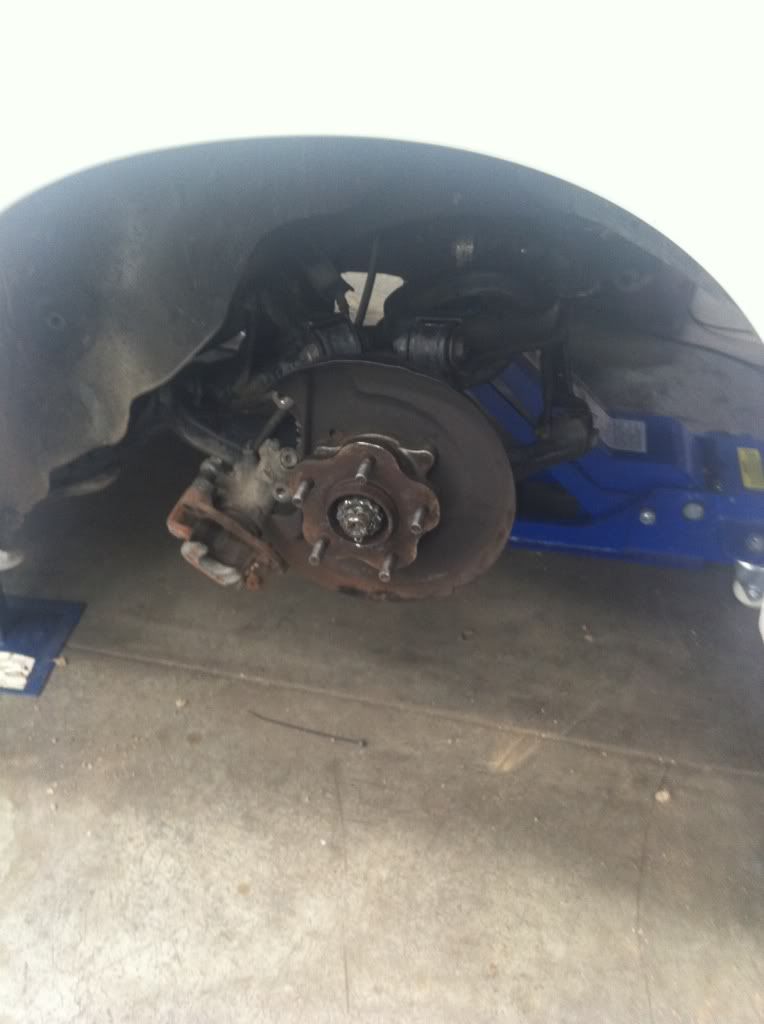
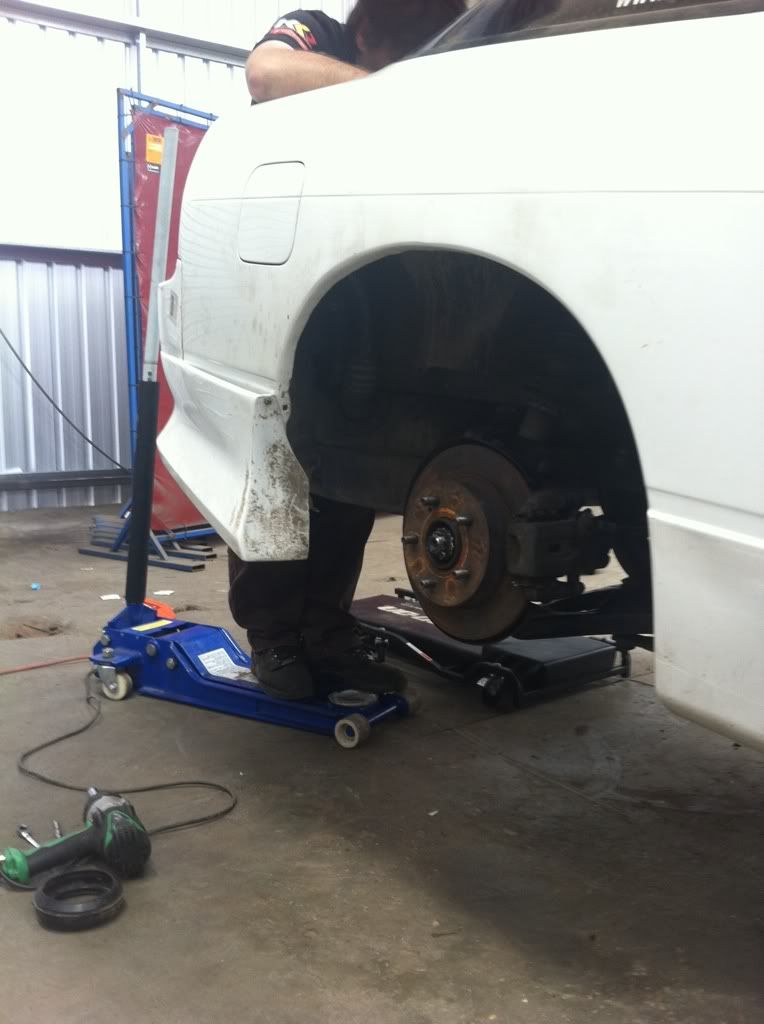
Rear jacked up and on stands
Half dissasembled
Subframe gone... after some persuading
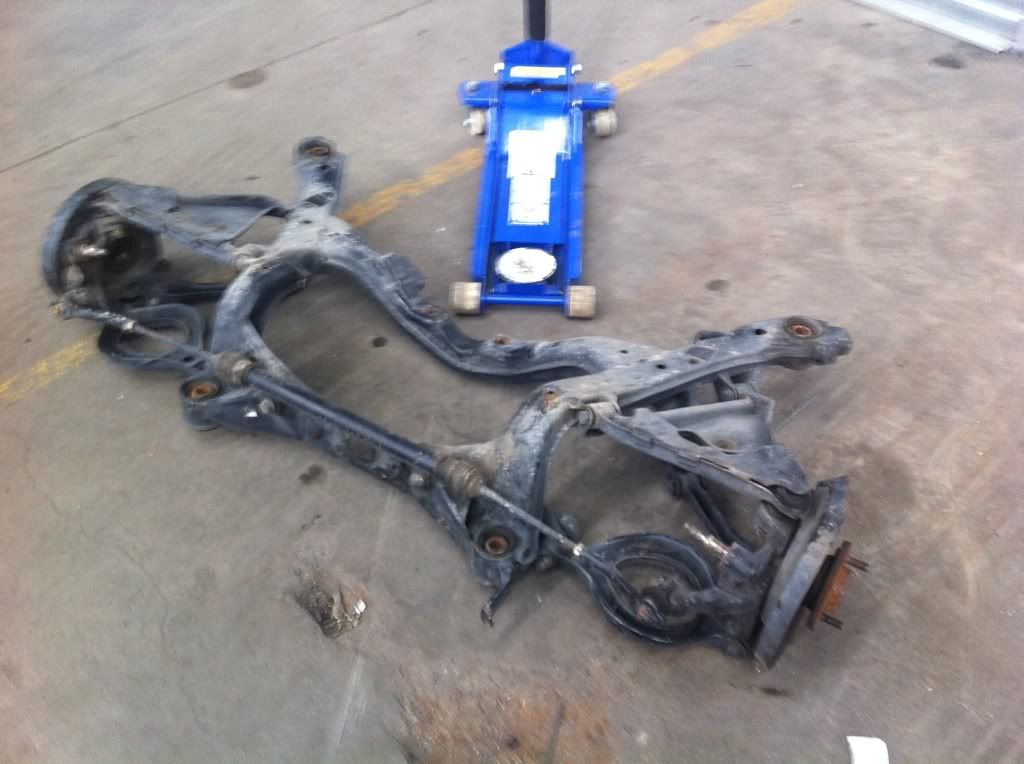
Thrown aside... literally

Once that was all out and gone pulled the new subframe out of the back of the falcon and with the help of the trolly jack express it was under and installed in the back of the car.
Subframe installed
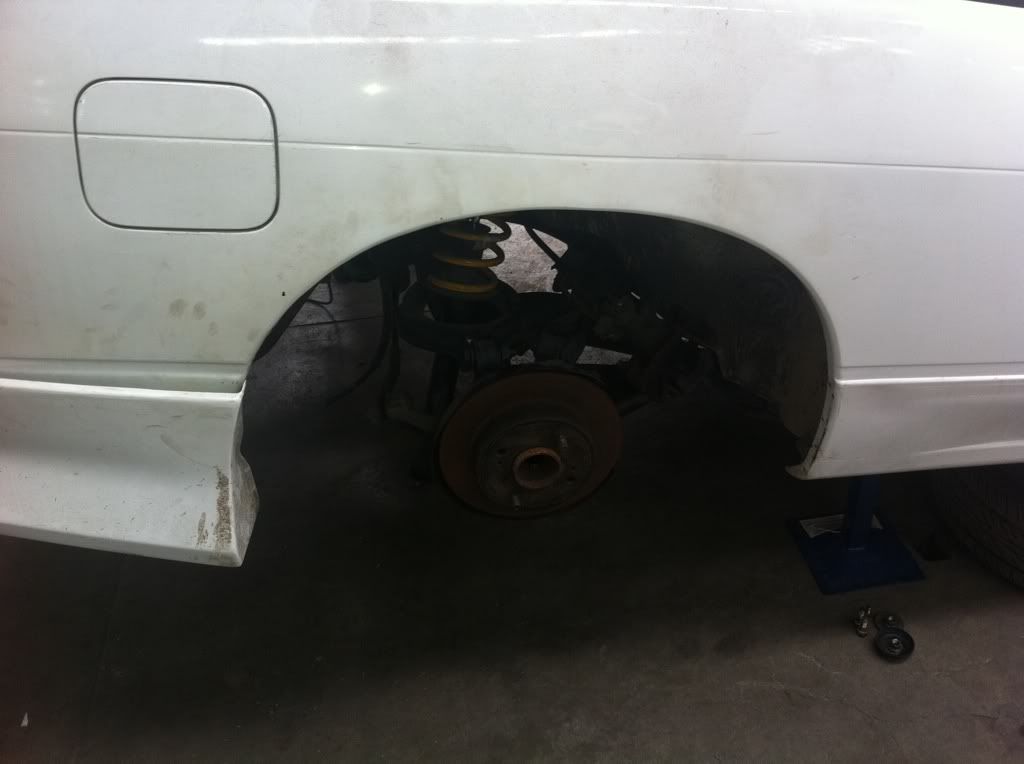
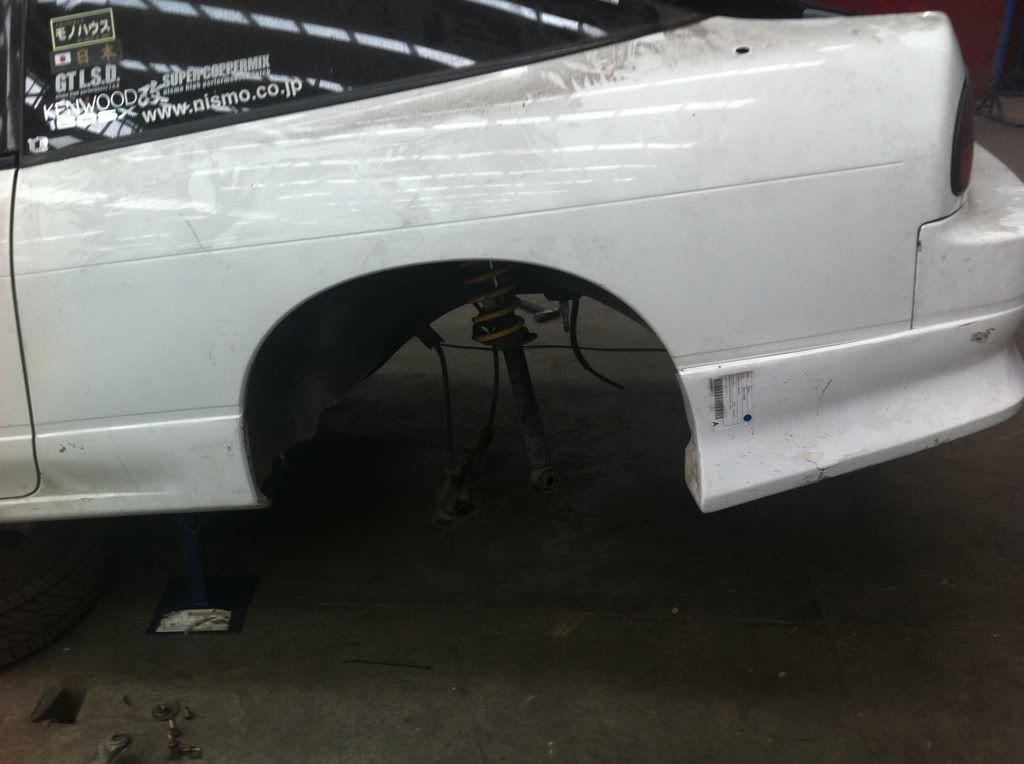
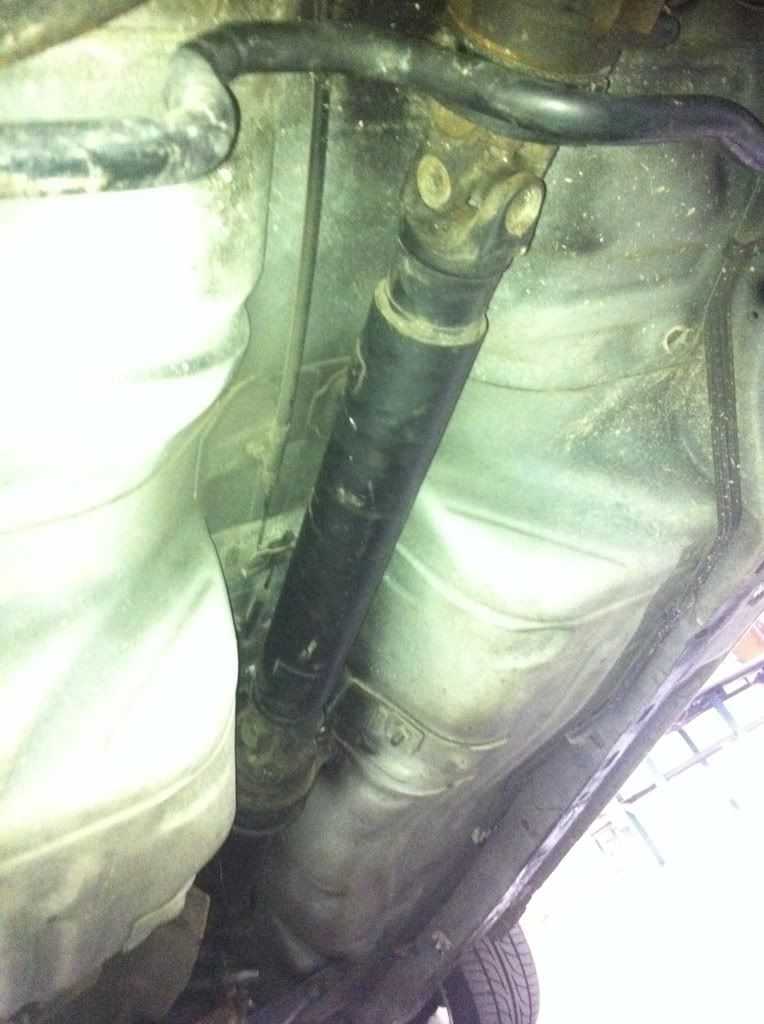
Once we had the subframe in the next step was to put in the rear coilovers, rotars, reattach the brake calipers and put in the tailshaft.
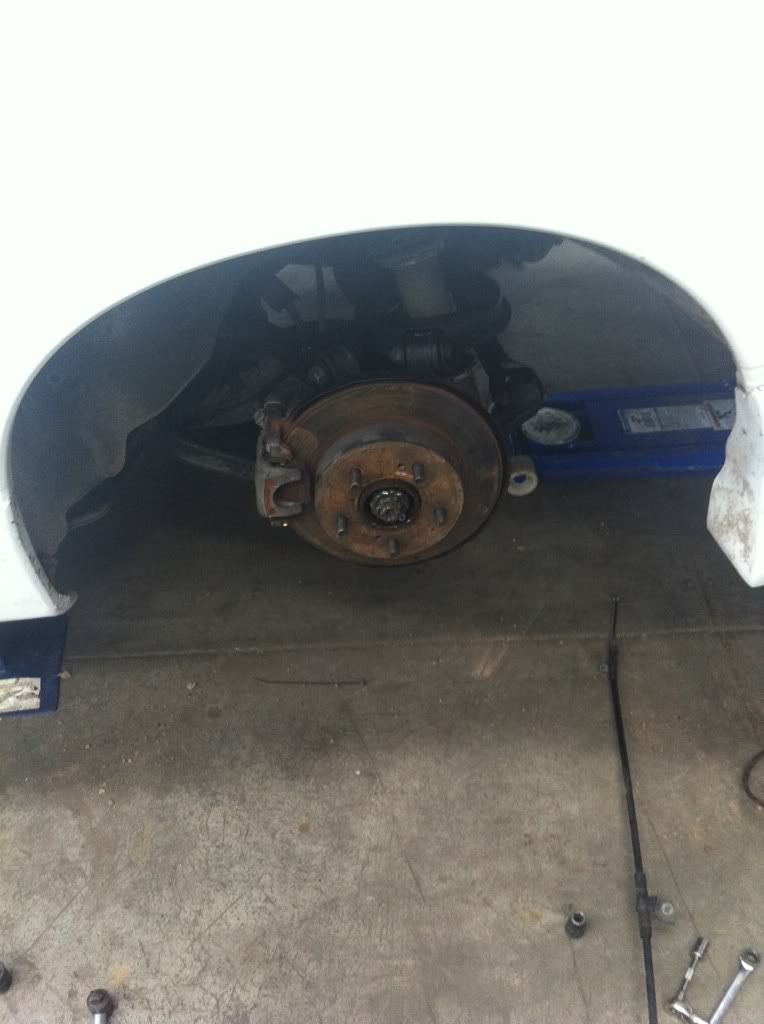
Rotar, caliper and coilovers in place.
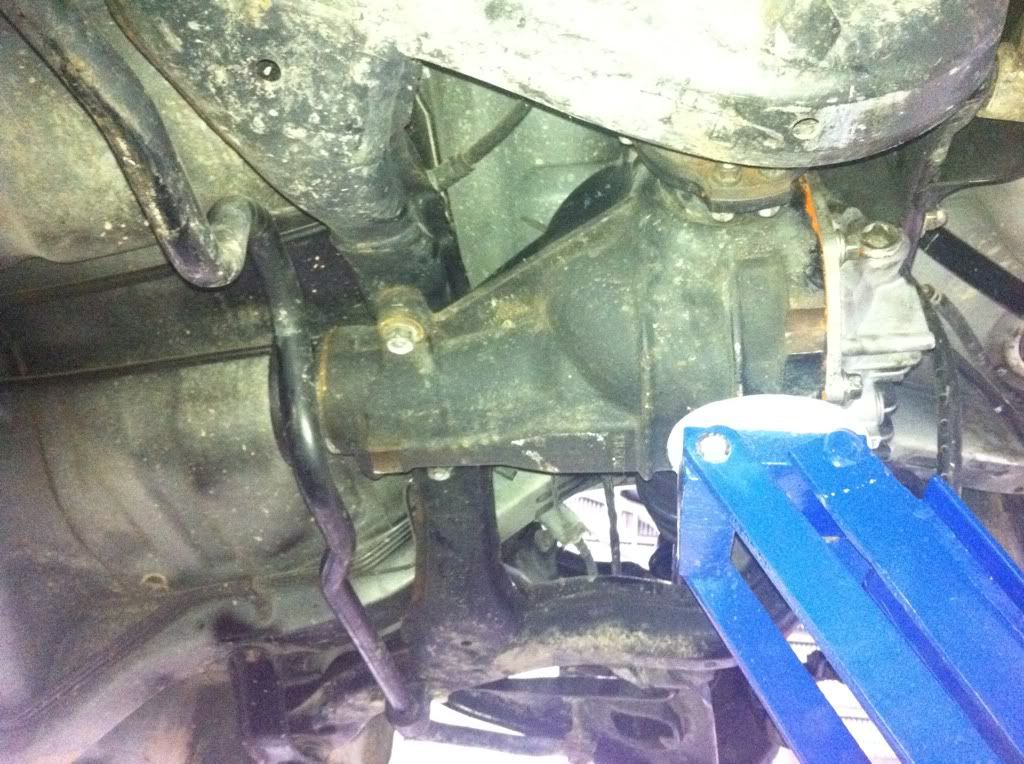
Hows ya farther? Mr Diff chilling in his new home.
Bare tunnel ready for a tailshaft
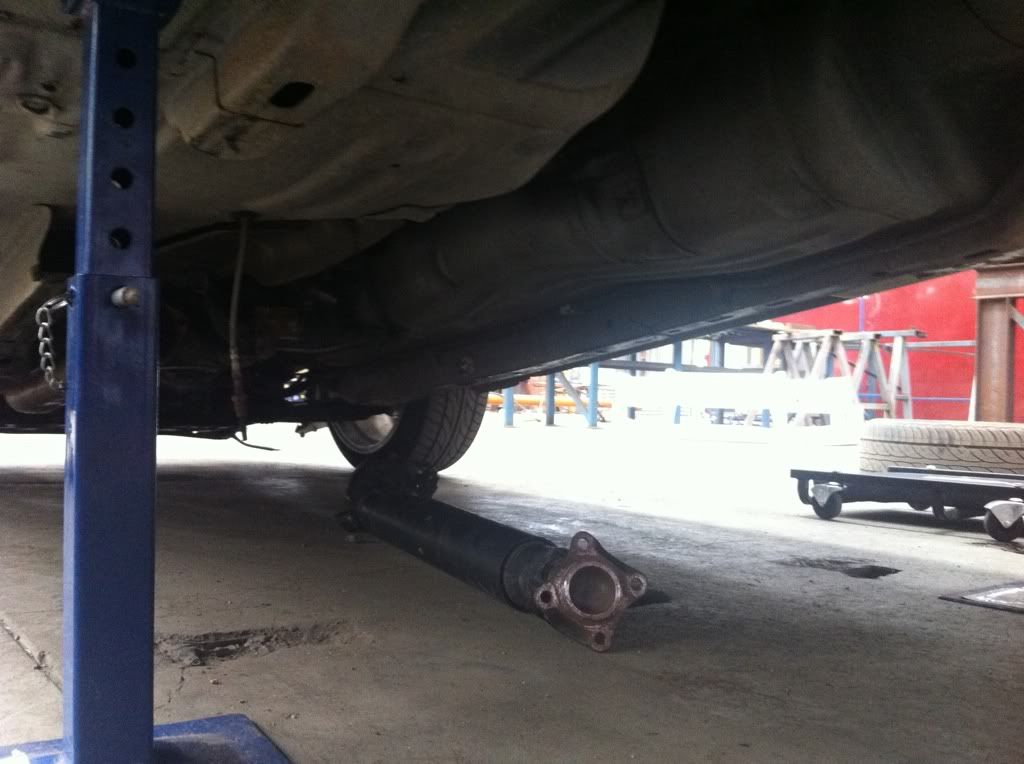
Do I really have to go up there?
Short answer... yes!
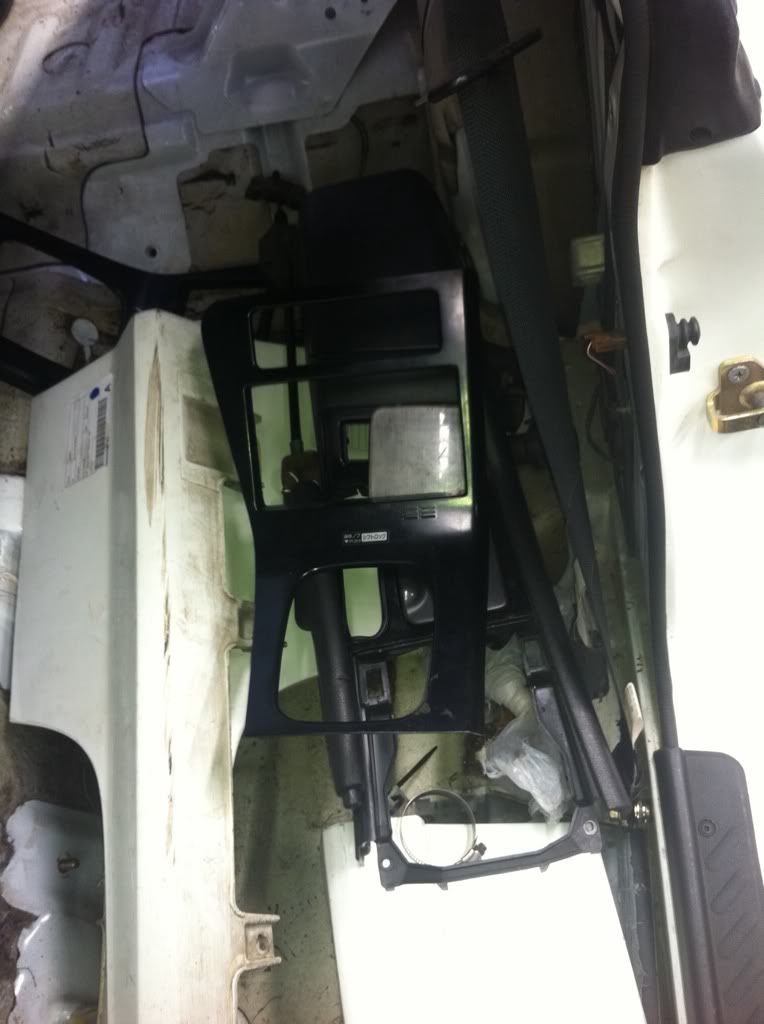
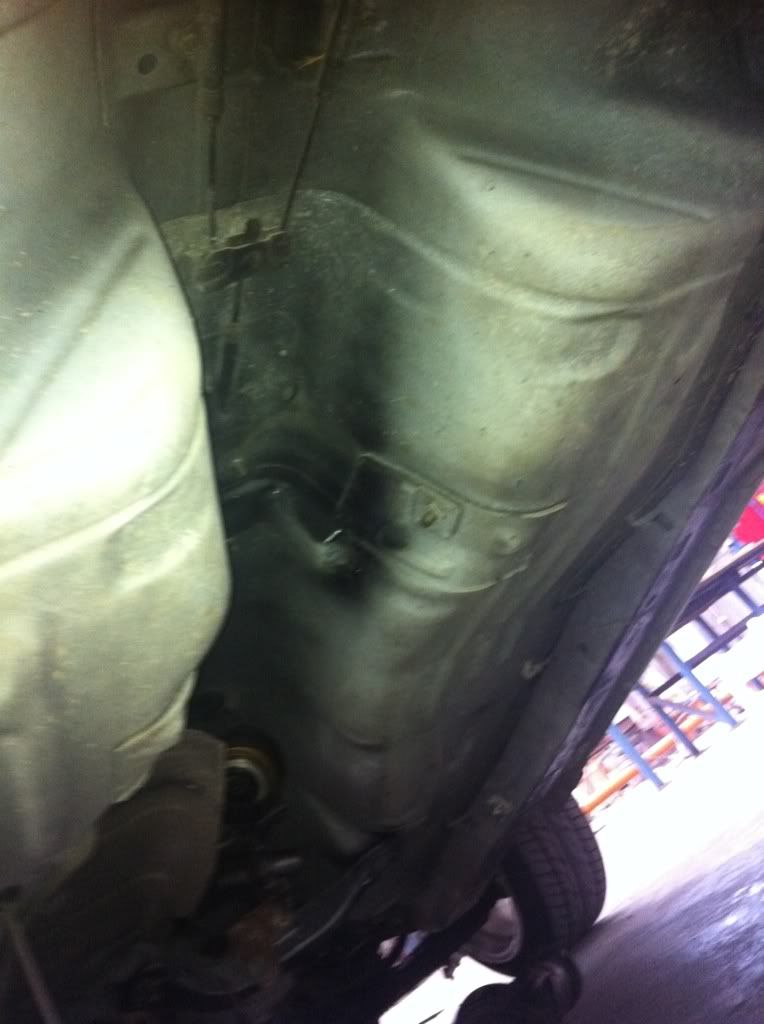
Next... Mr Fuel tank! might not see it but its in there
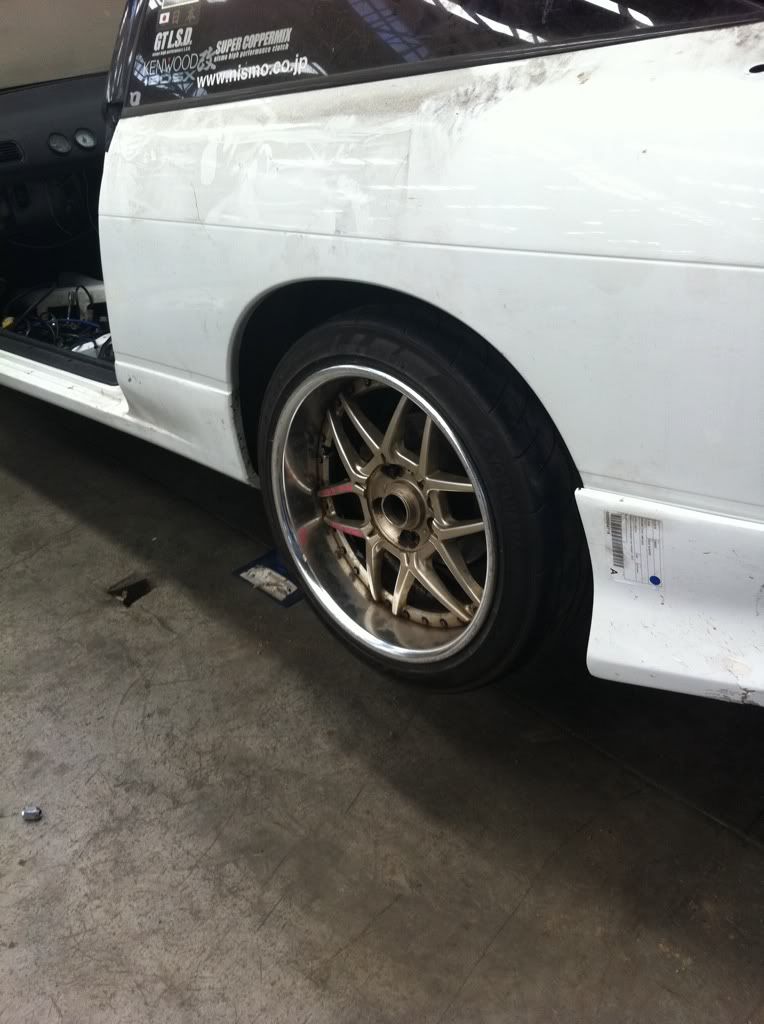
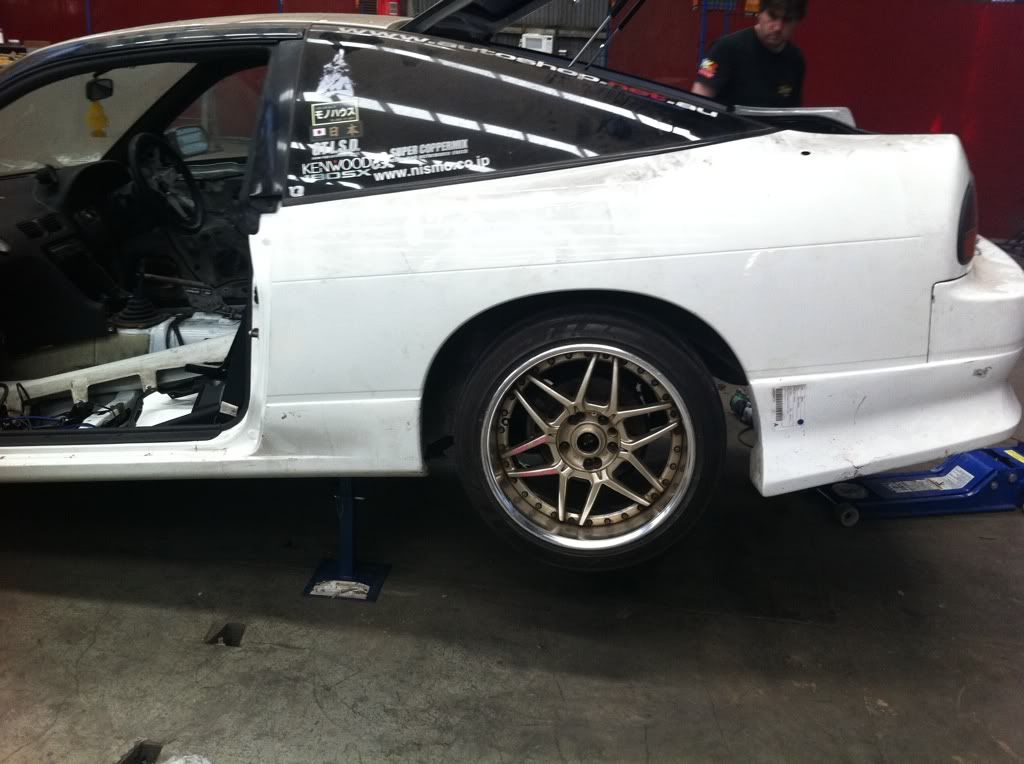
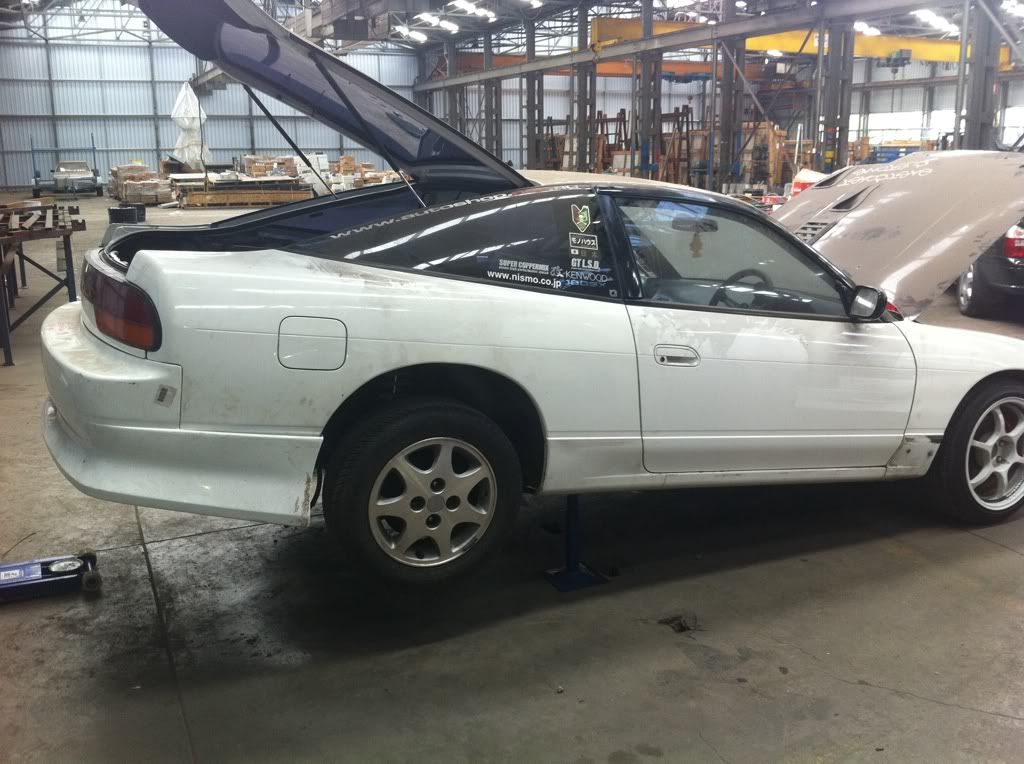
Wheels on!!
Just chilling
On the ground!! (yes needs more low but will do for now)
Well at that point the rear end was in and pretty much finished, well we still need to lower it, adjust the camber and toe as much as we can with the stock arms and install some C-Type Alloy bushes.
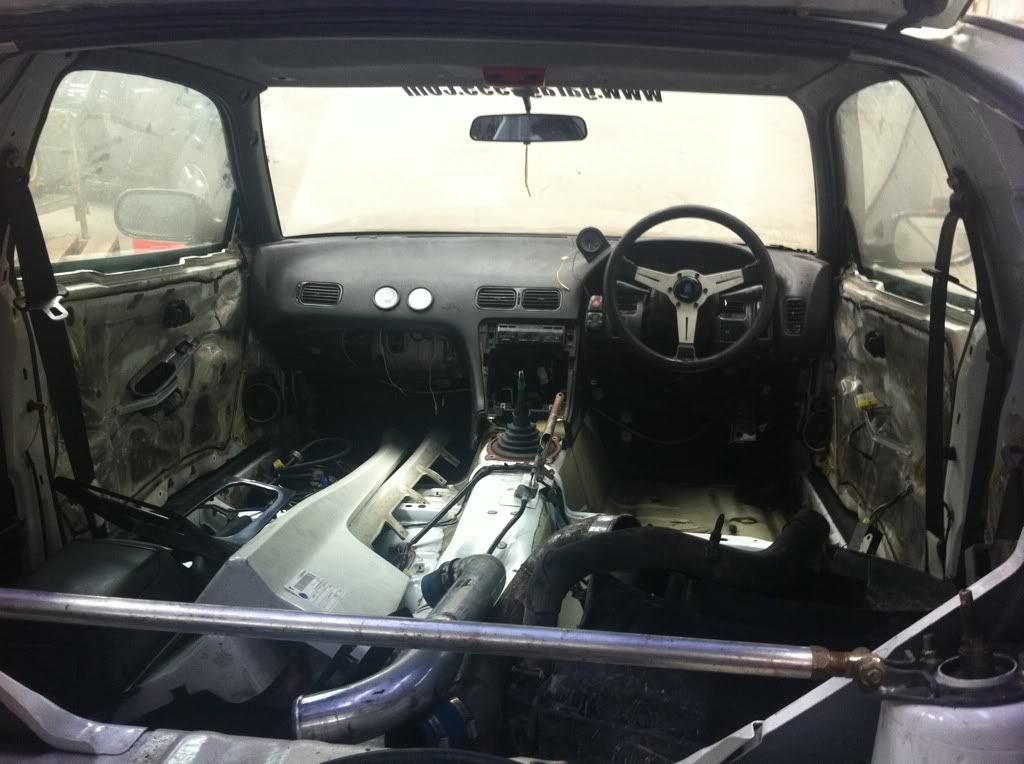
The next step into the journey was to get the car running and that meant that we had to setup the Front mount piping and the GTR cooler itself and thanks to Mr Nathans ingenuity we had it mounted and ready for action!
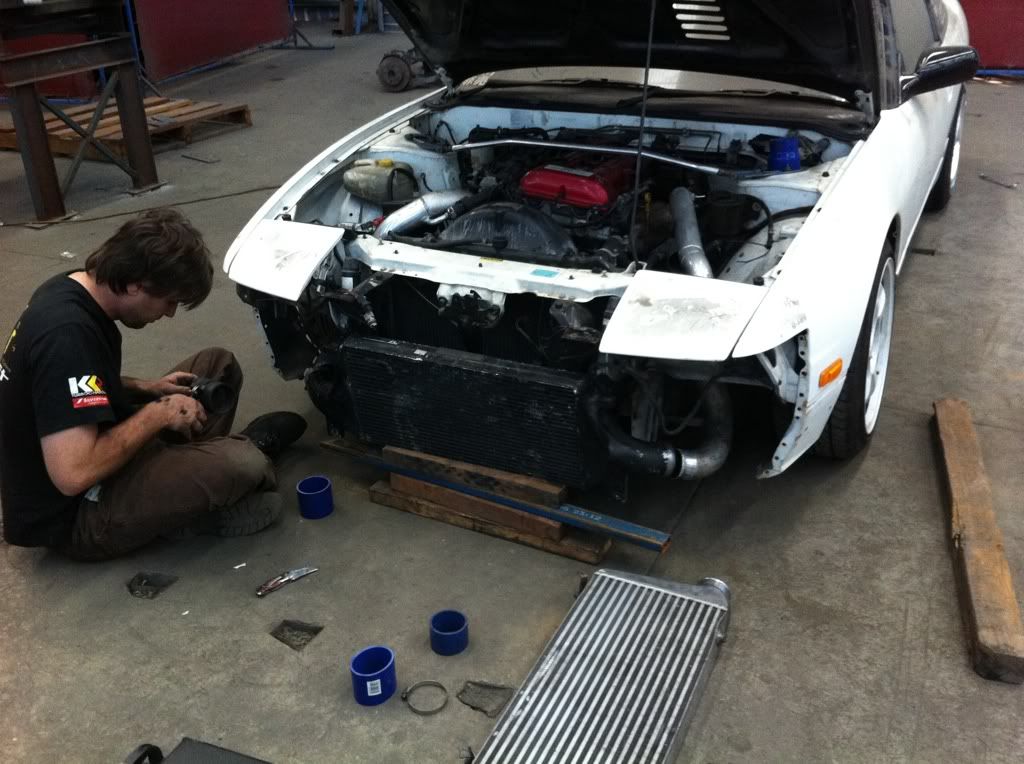
Getting the postion right (Hibrid photo bomber!!)
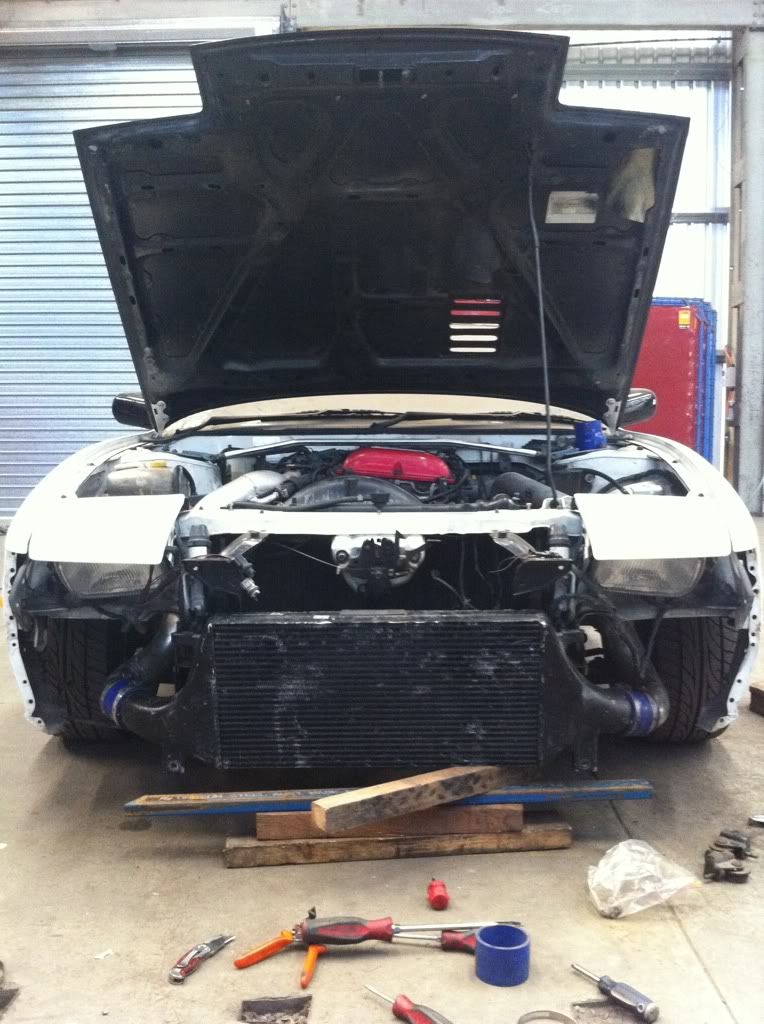
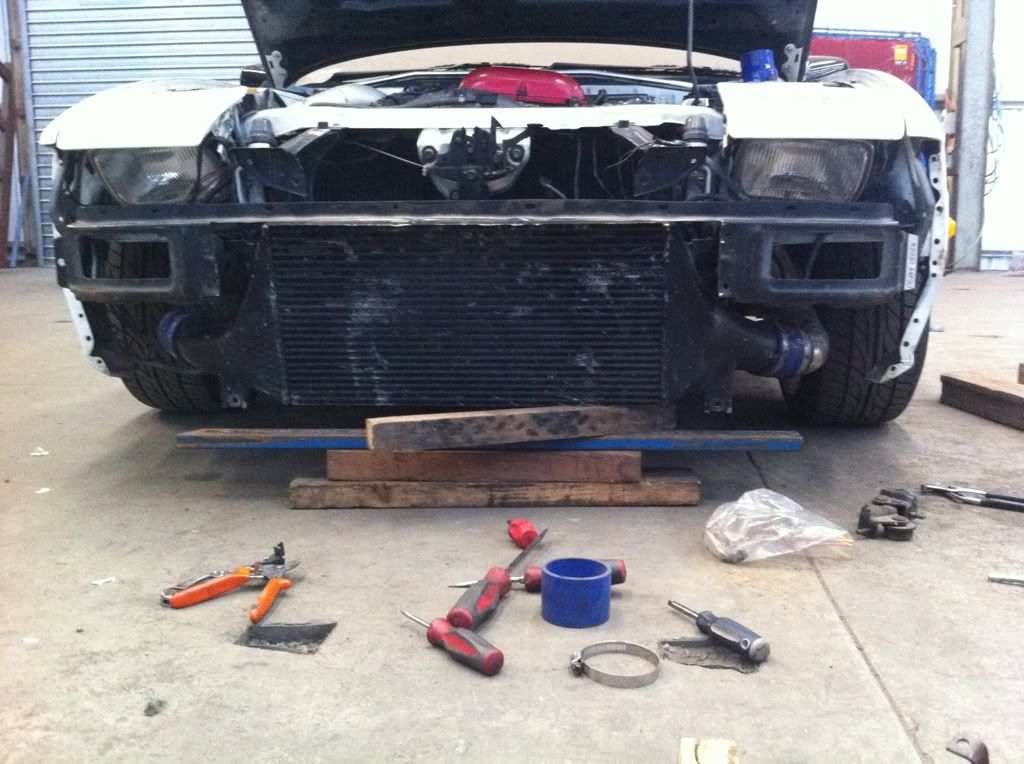
looks bang on now to install the brackets instead of using wood
With the cooler mounted and secured the next step was to install the engine harness... wait what? yeah we had a harness on the engine last time but we ended up opting for running a Apexi Power FC, Z32 AFM and 680cc injectors on a custom rail so we decided to use the harness with the right plugs already on it to save us some work.
Once the harness was in it was time to install the fuel rail and setup the FPR and hosing.
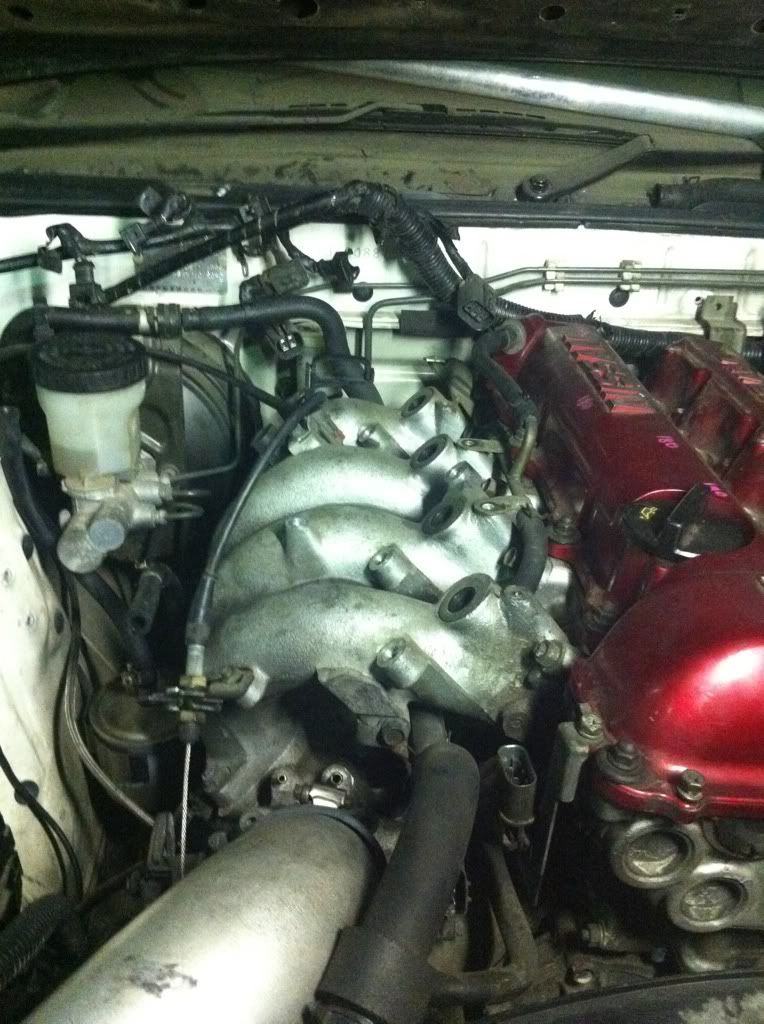
standard rail and injectors removed.
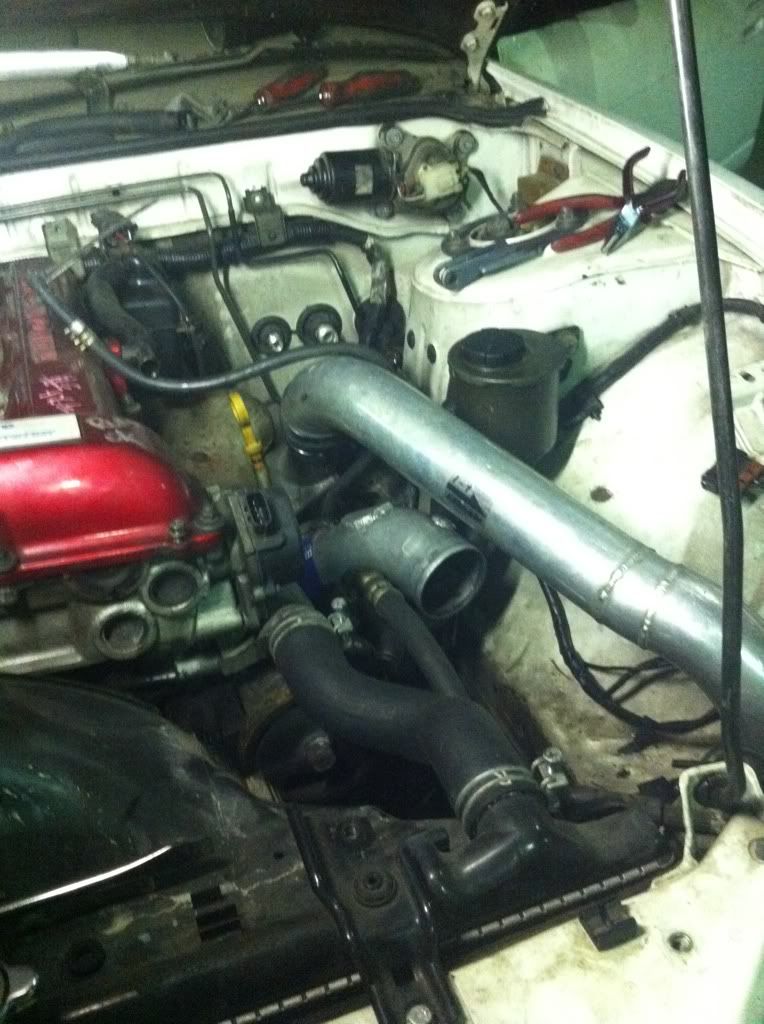
Metal intake pipe and custom hot pipe to suit GTR Core
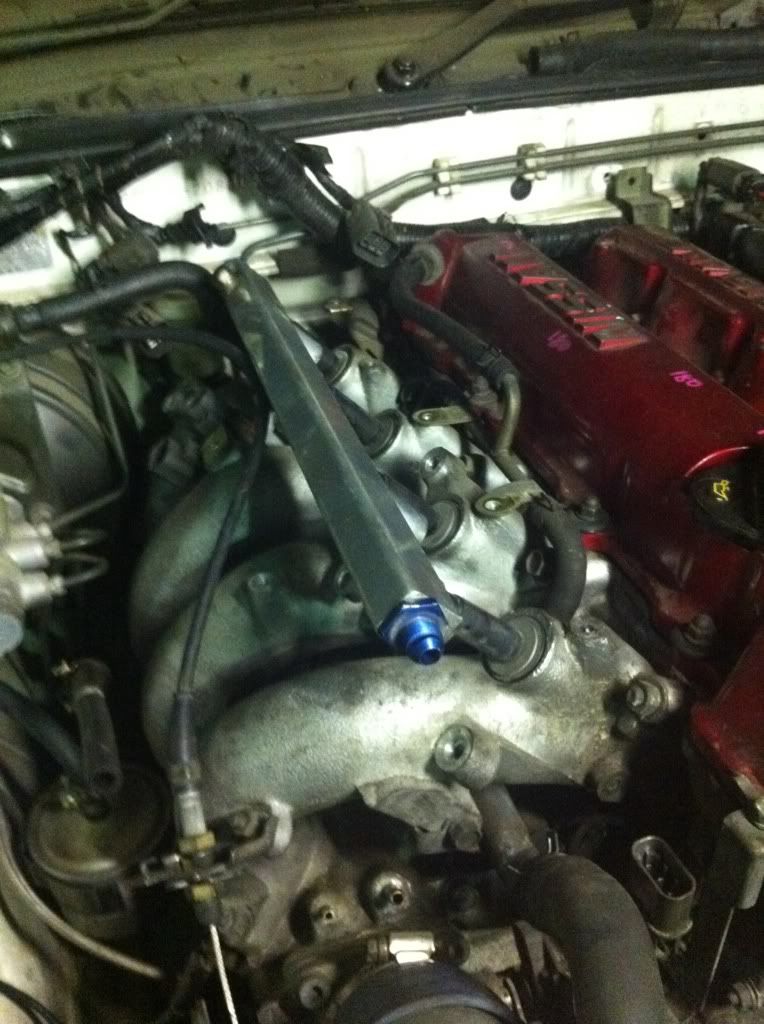
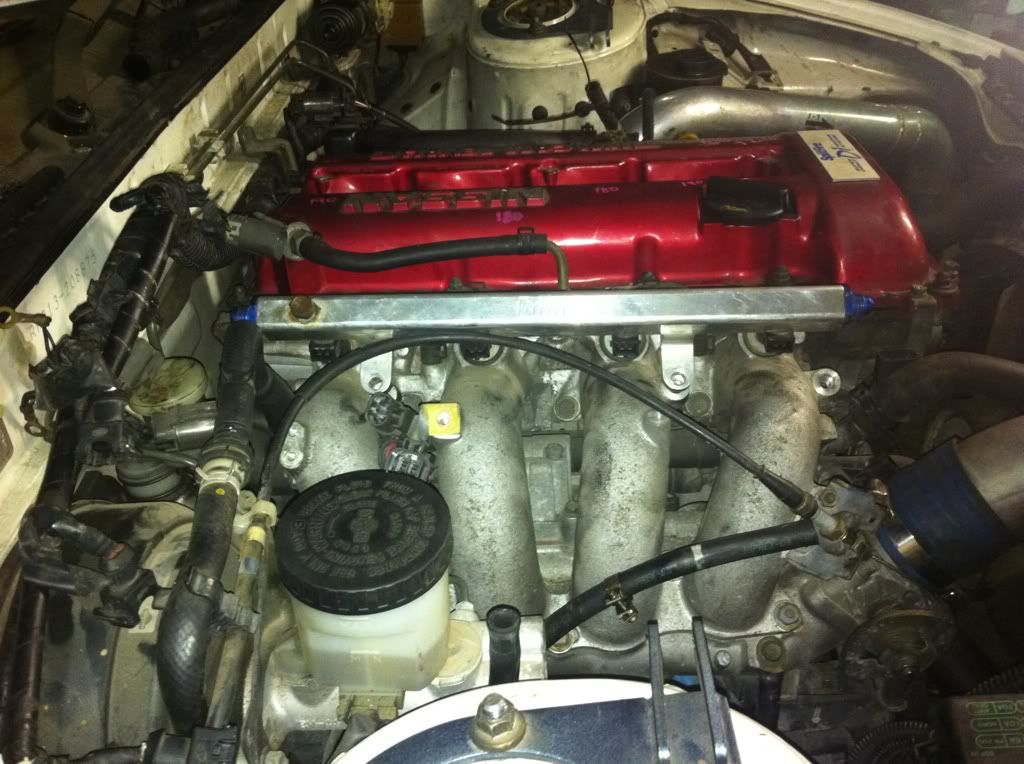
Injectors and rail installed.
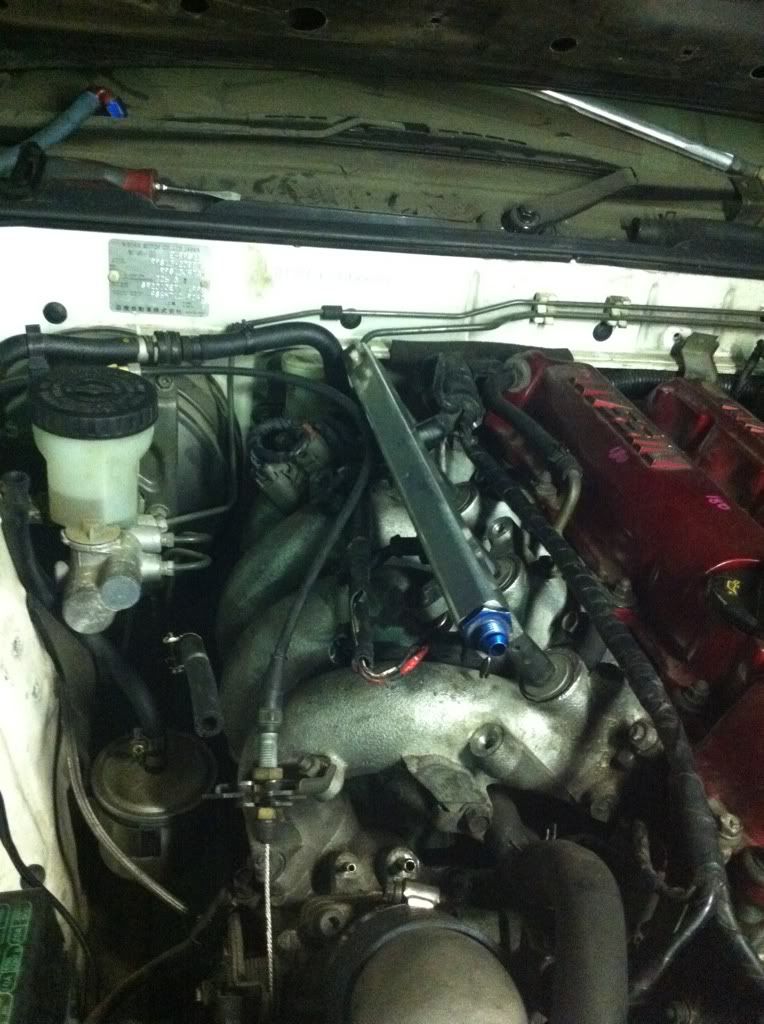
Harness attached to injectors.

Running fuel line.
I actually didnt take any photos of the fuel system complete but all that is really left to do is secure the FPR and its done pretty much, after that we got the engine running be it quite rough at first but that was to be expected as the Power FC had no tune in it and injector settings and the FPR adjusted to suit the injectors and it was running quite nicely and loud!! but thats only because it has a front and dump pipe on it and nothing else.
Now we heard the engine running when it was still in the halfcut but that was with standard injectors and computer and we knew the thing had oil in it, but we noticed this time it was a little bit noisy mechanically... well after we ran it we dropped the oil and found 7 Litre of all i can discribe as black water...
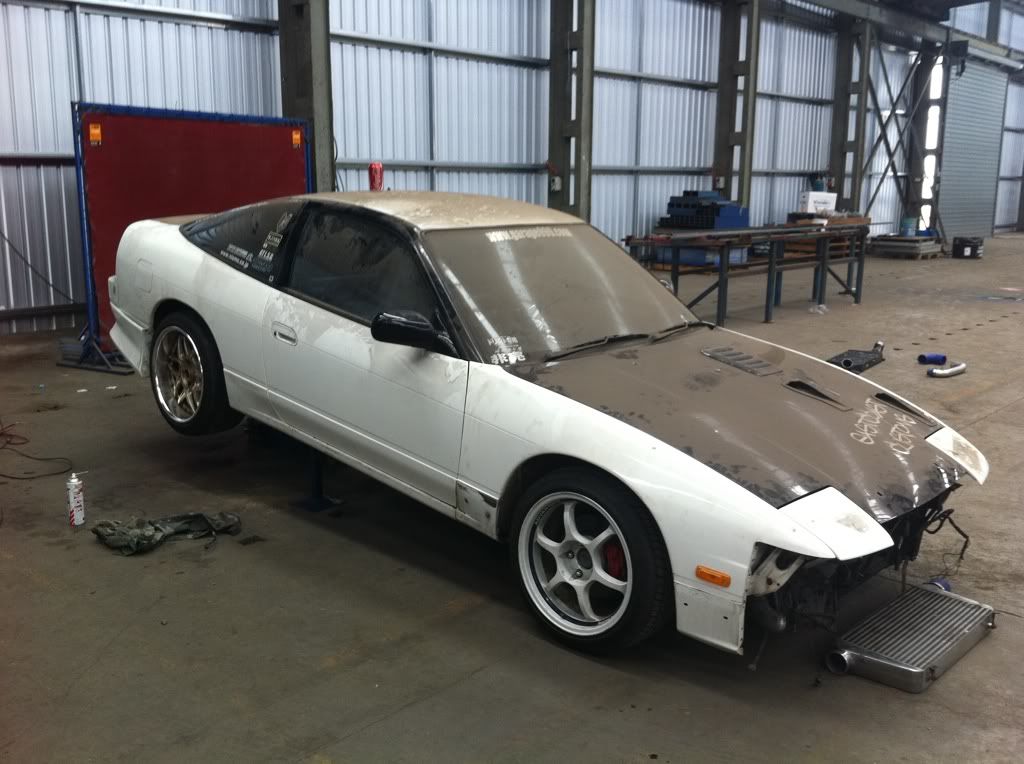
We ended up calling it a night at this point as it was about 9pm and we were pretty buggered, we went and did some more work on it the next day but i didnt end up taking anymore photos apart from this one after we changed all the fluids and had the motor running better and lacking the mechanical noise that it had the night before... I guess nice castrol edge sport will do that!!
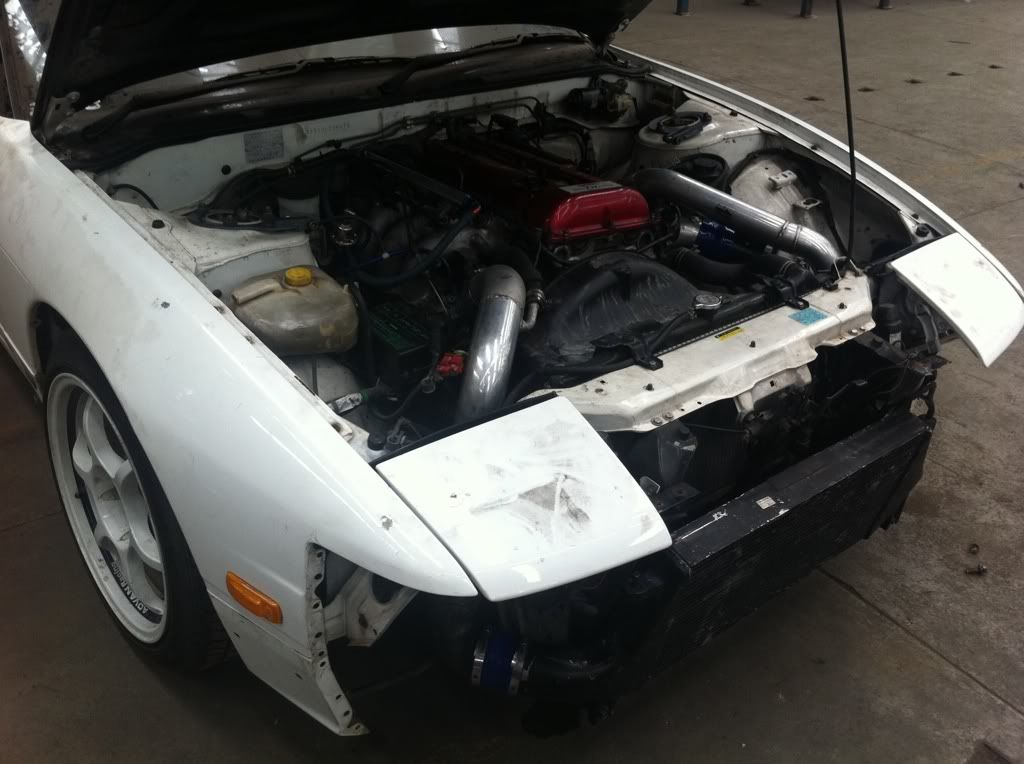
Front end more or less complete (minus reo)
going to do some quick oil changes on it to give it a good flush before Matsuri and a good tune and it should be ready to rip!
Big thanks again to Nathan for all of his hard work he has put into the car!!
Well i hope you enjoyed this long post please stay tuned for future updates.
As always stay safe!!
Bev!!