Monday, December 12, 2011

Wet Work - Onevia Reincarnate

Greatings,

well once again it has been awhile since i added a new post, I know I said that I would have Part two of the matsuri posts up but I have been lacking motivation for a lot of different things lately. Rest assured though I am in the process of doing it! It is saved as a draft!

You may also notice the different look to the blog! with a new background and a new banner at the top!

this weekend decided weather would prevent something that i had been looking forward to the past month and that was another breakfast out at Lakeside Raceway in Brisbane's north... Saturday it rained from 1-2 AM  for the majority of the day and with it promising the same for Sunday I had to unfortunately post pone the Breakfast for a few weeks out of safety concerns.

I know what your thinking.. that i still ran the last Queensland Raceway in the wet.. well it was very wet actually.. but the whole thing behind not allowing lakeside to go ahead is the fact it is a very unforgiving circuit even at low speeds, all it would take would be someone to lock up slightly and cause the person behind them or themself to go into a wall.

So Sunday Rolled around and Blue skies, I was not the most happy person in the world upon waking up to find the sky to be clear. But with reports of mud being on the circuit I am still glad how ever that I had postponed the event! Later in the day the skies did actually open up with a down pour of rain.
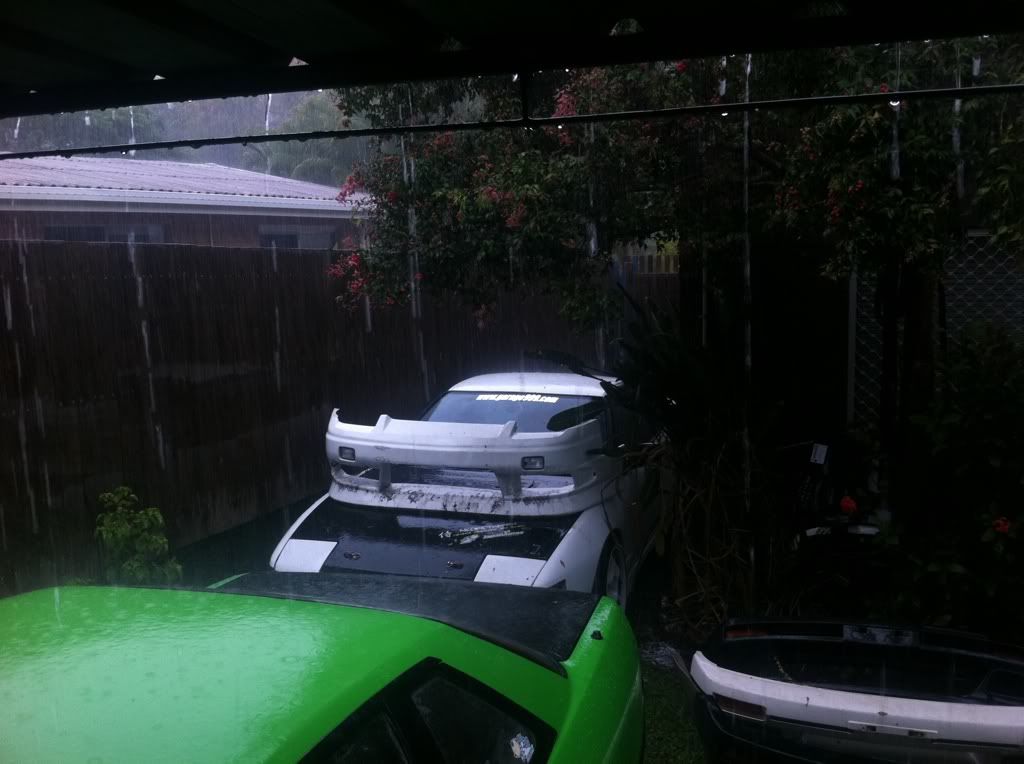
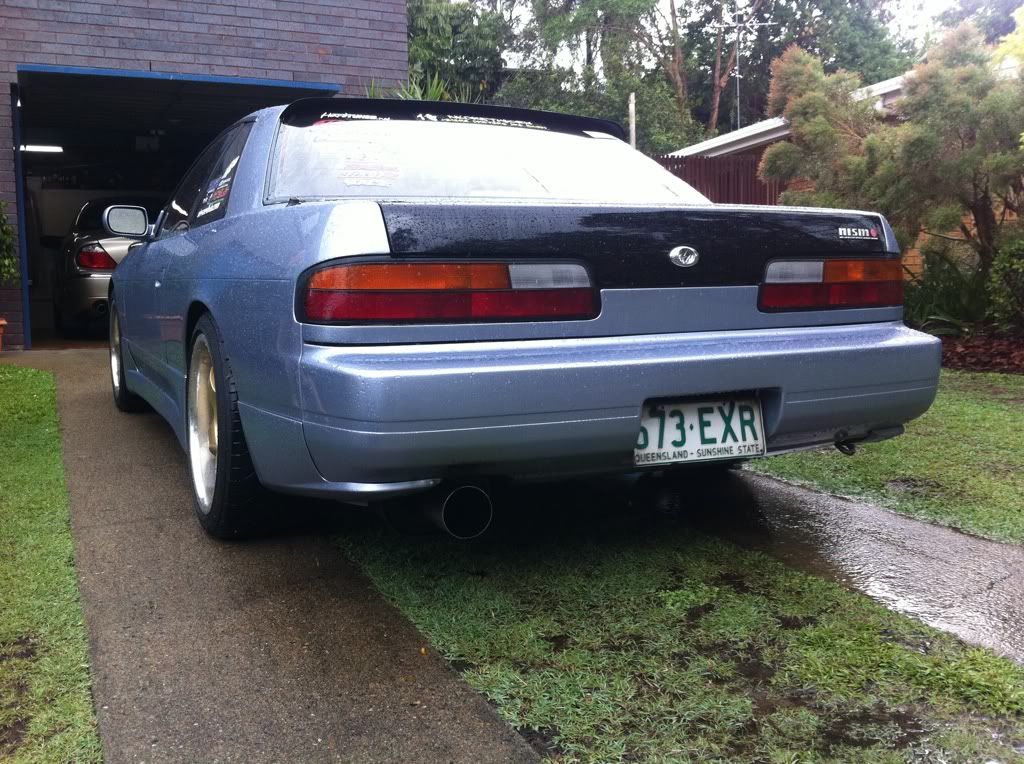
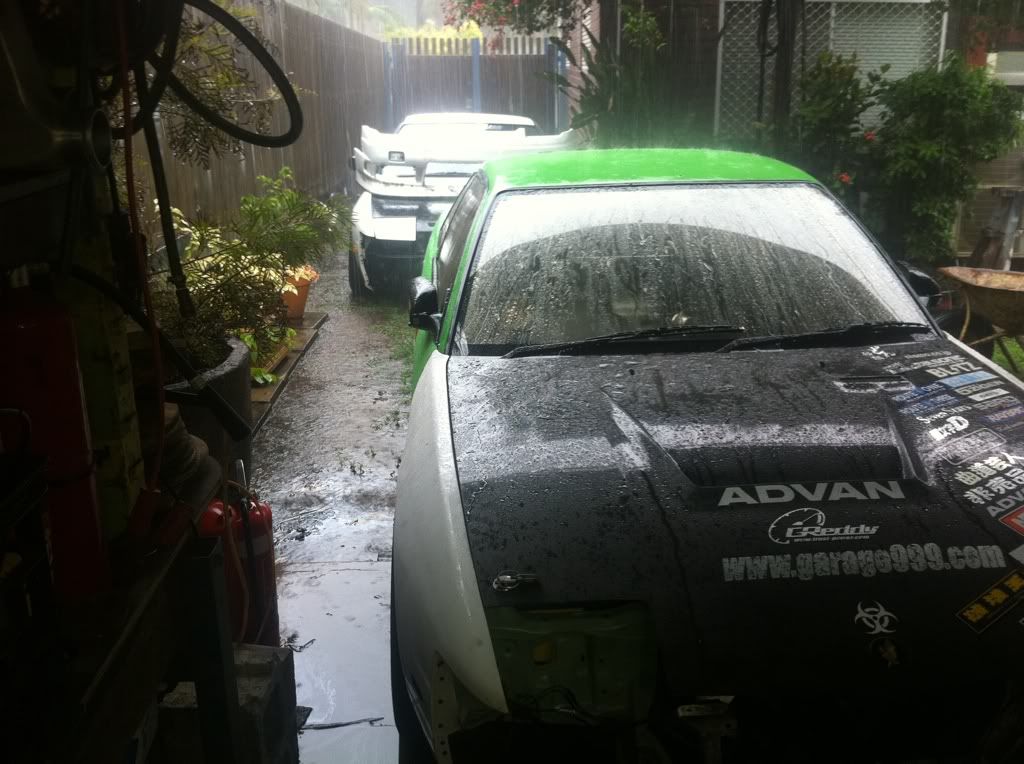
 Out in the rain

Well I guess I better move onto what happened over the wet weekend.

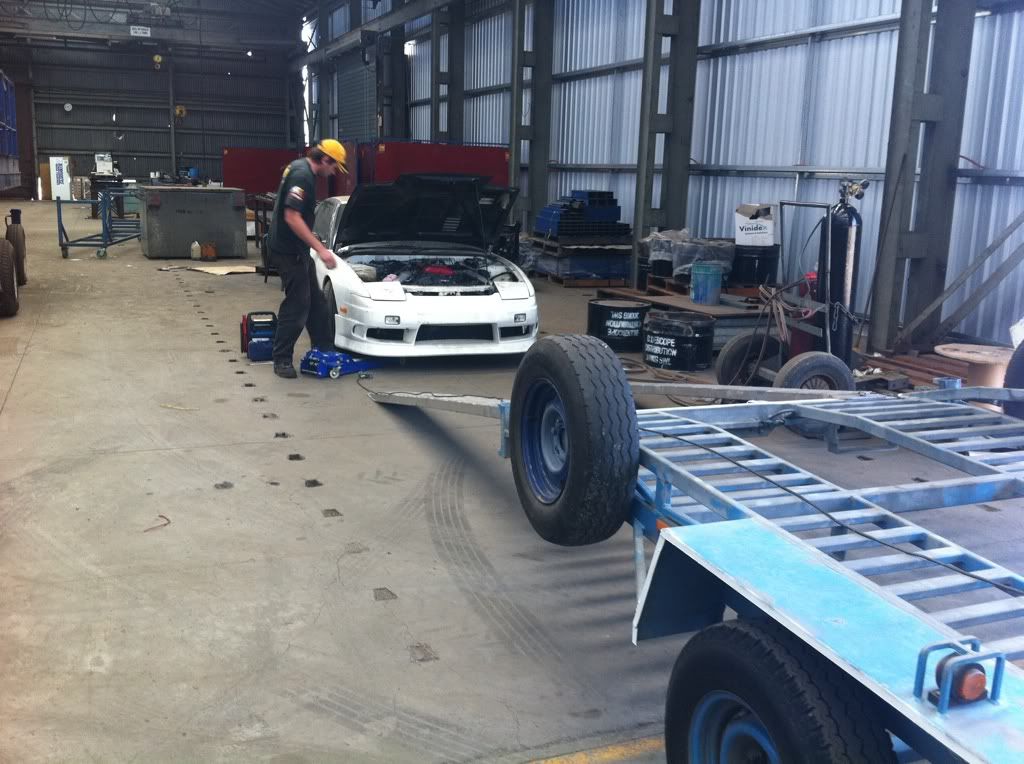
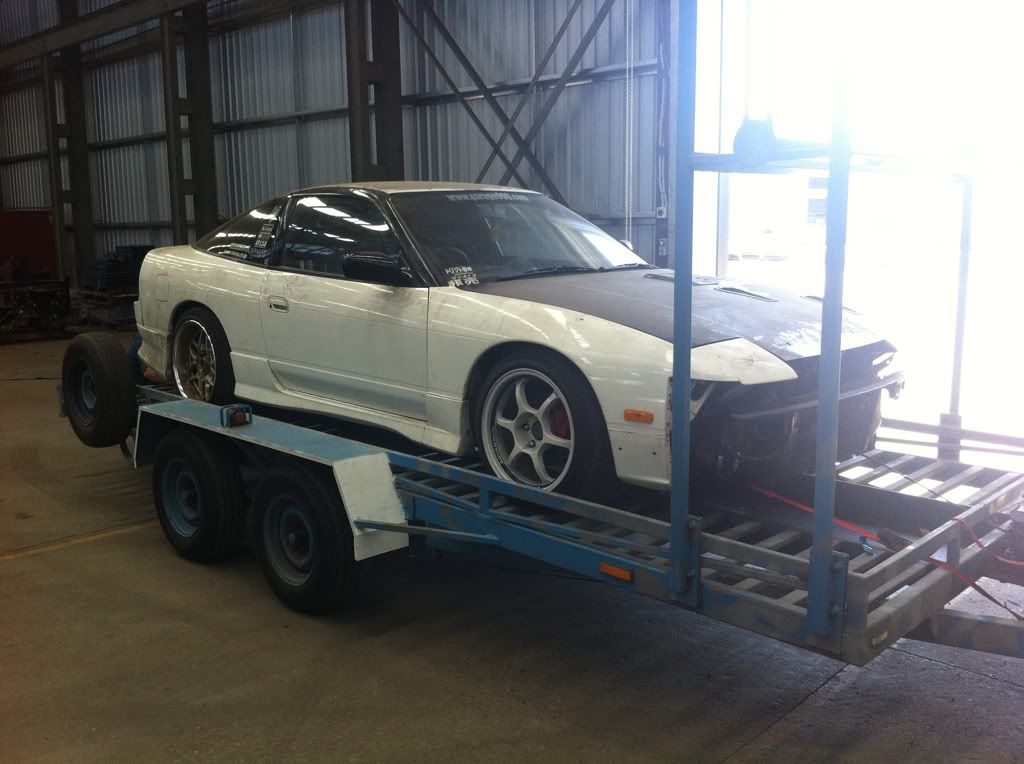
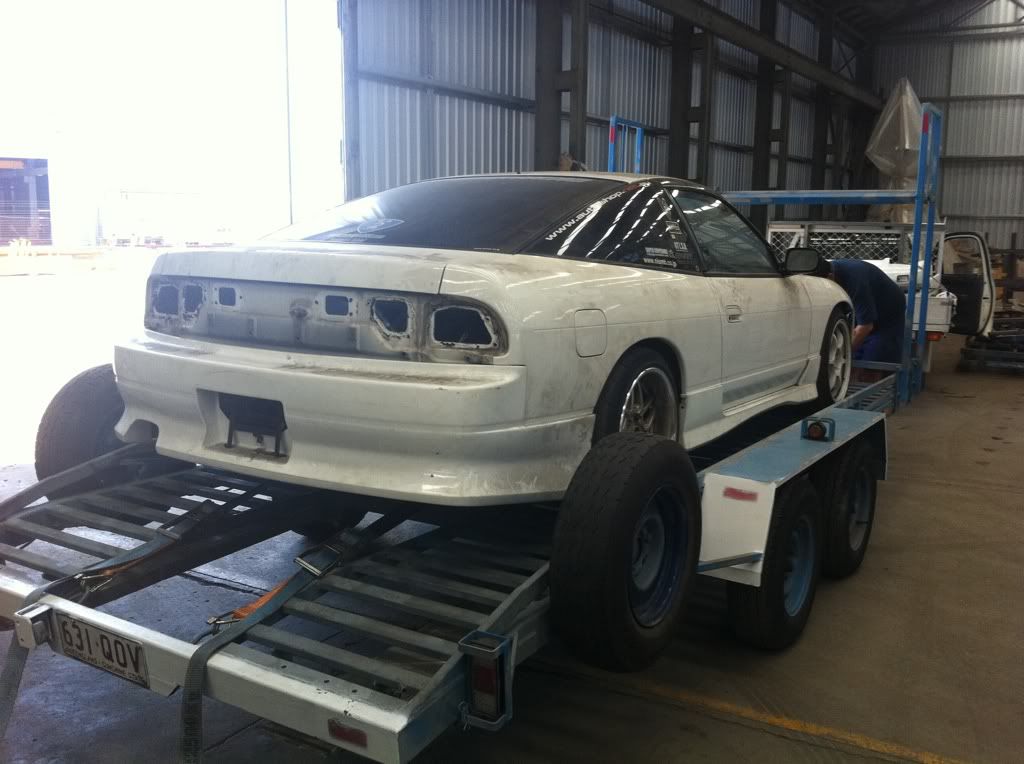
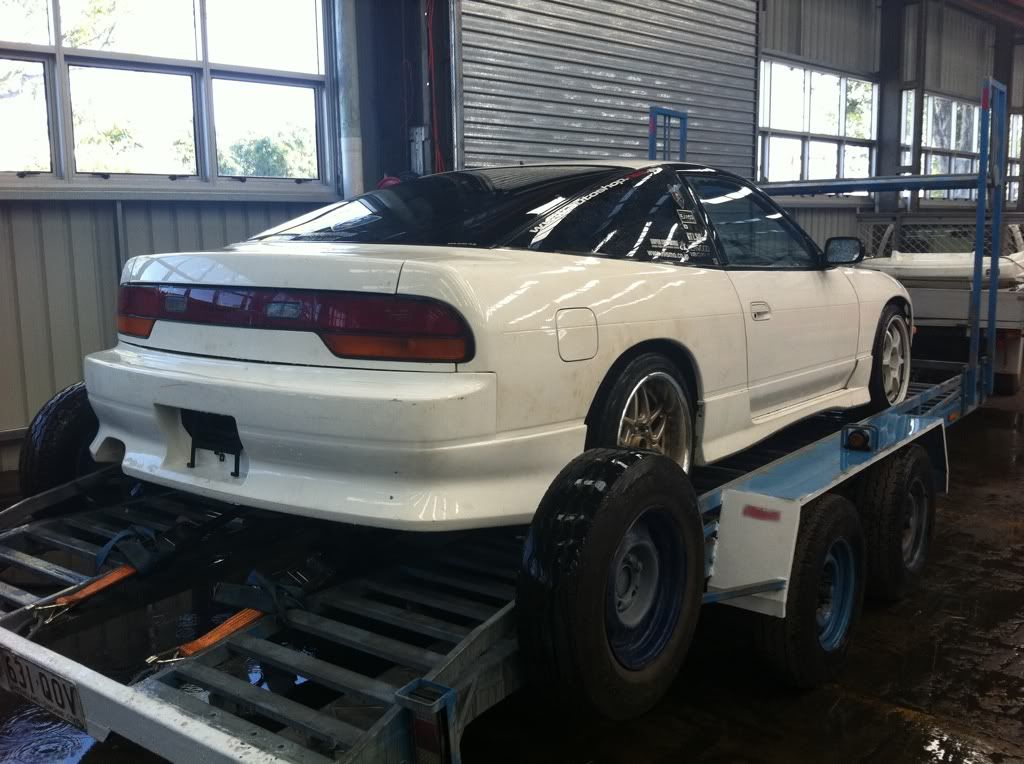
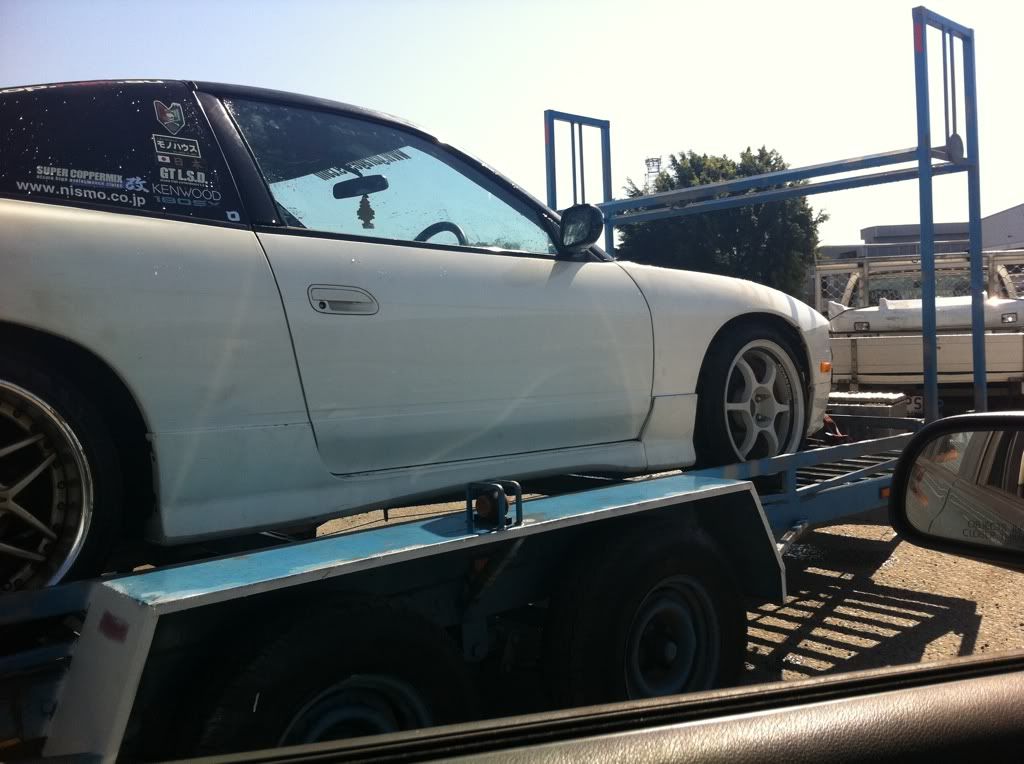
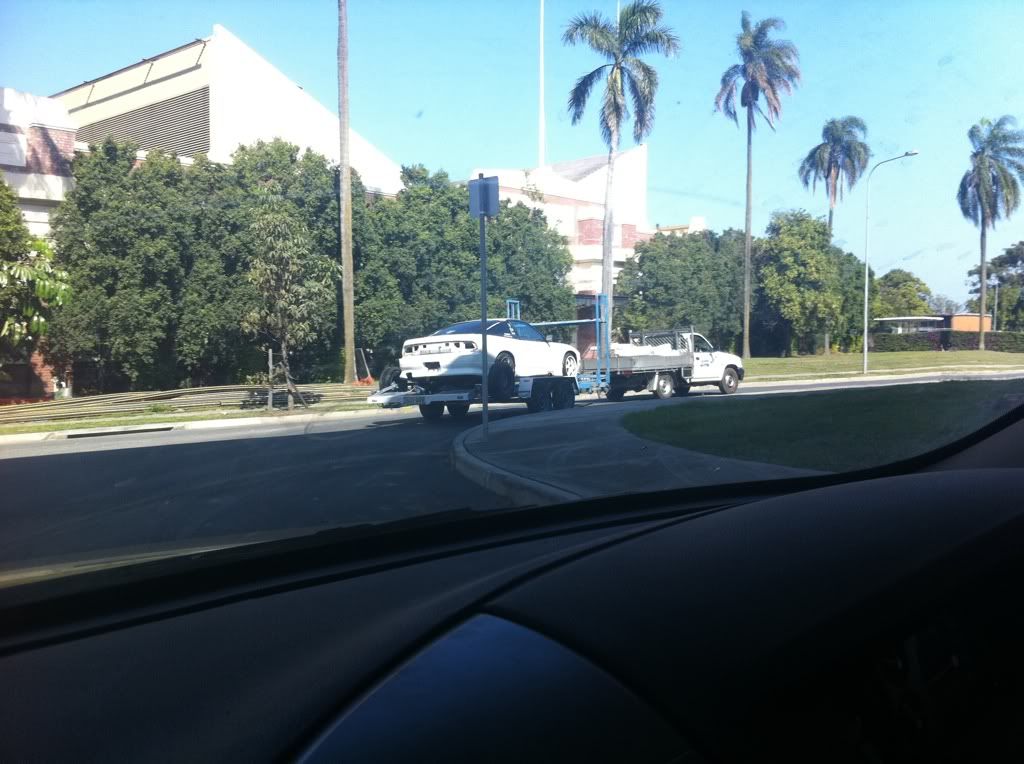
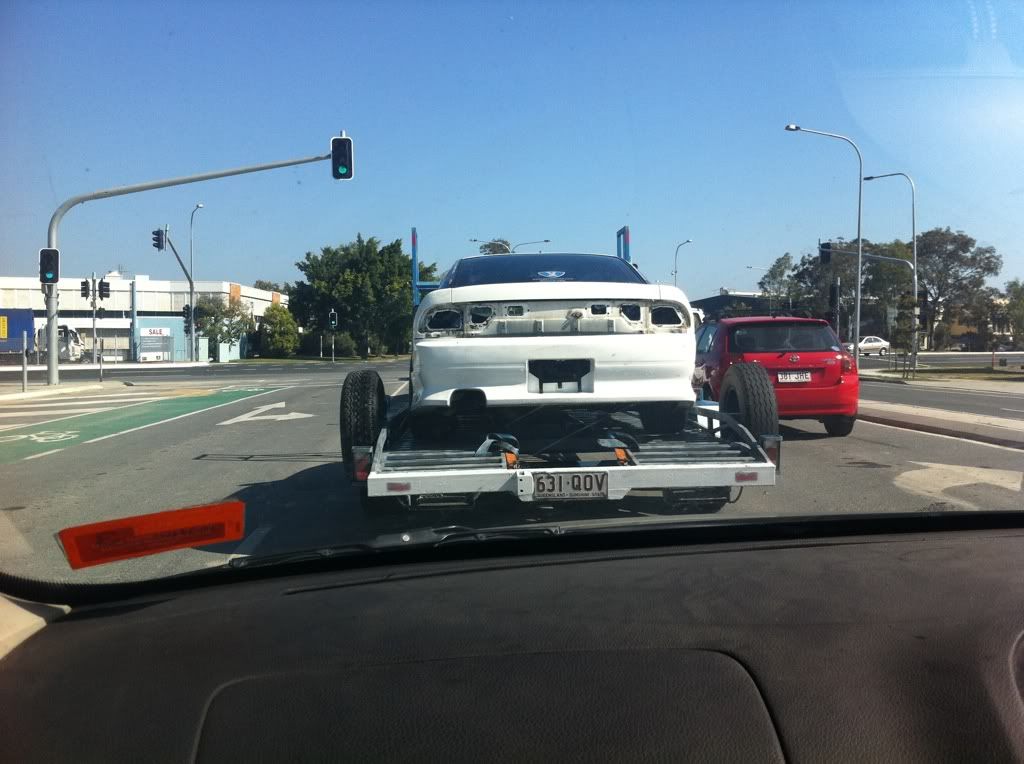
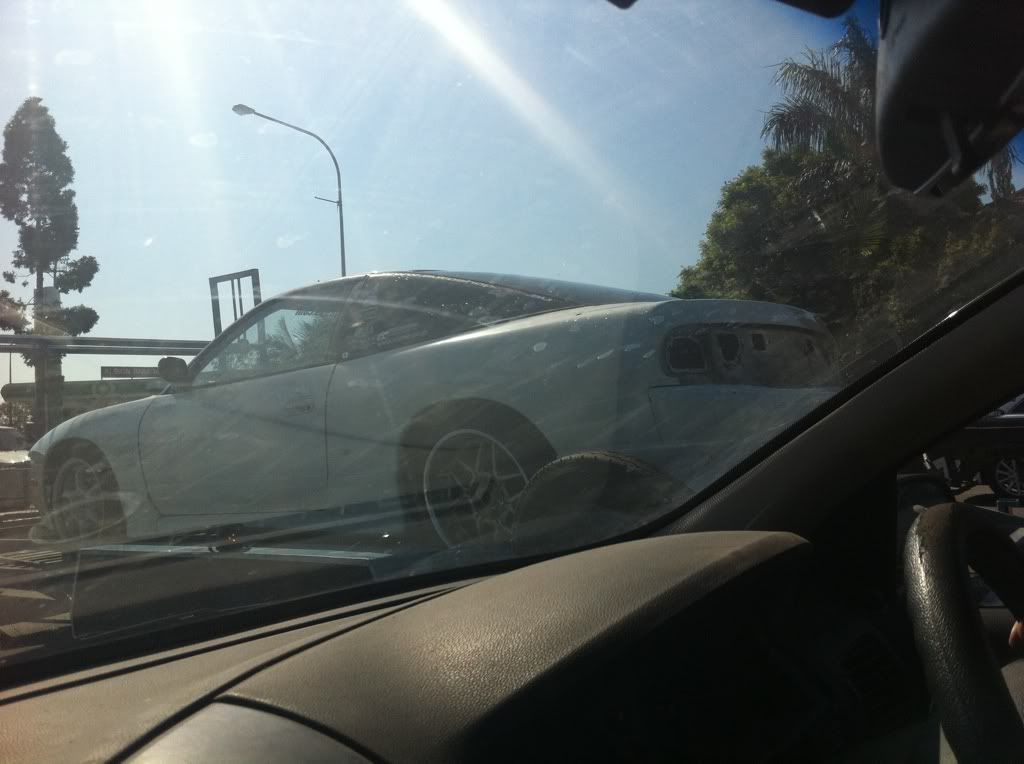
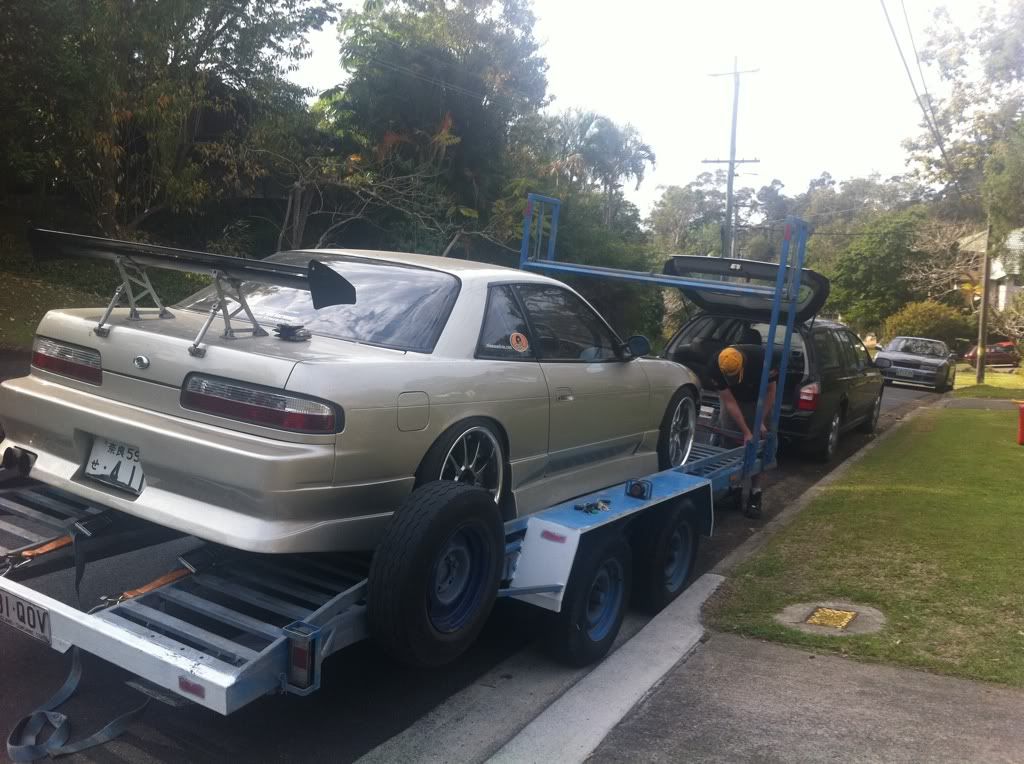
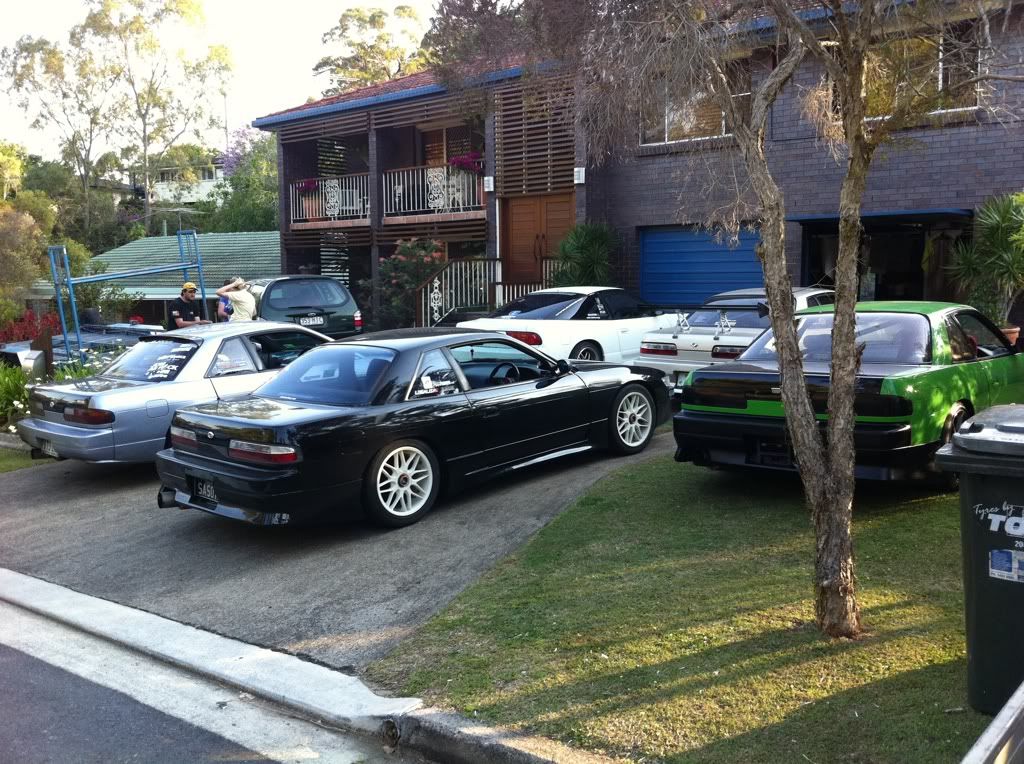
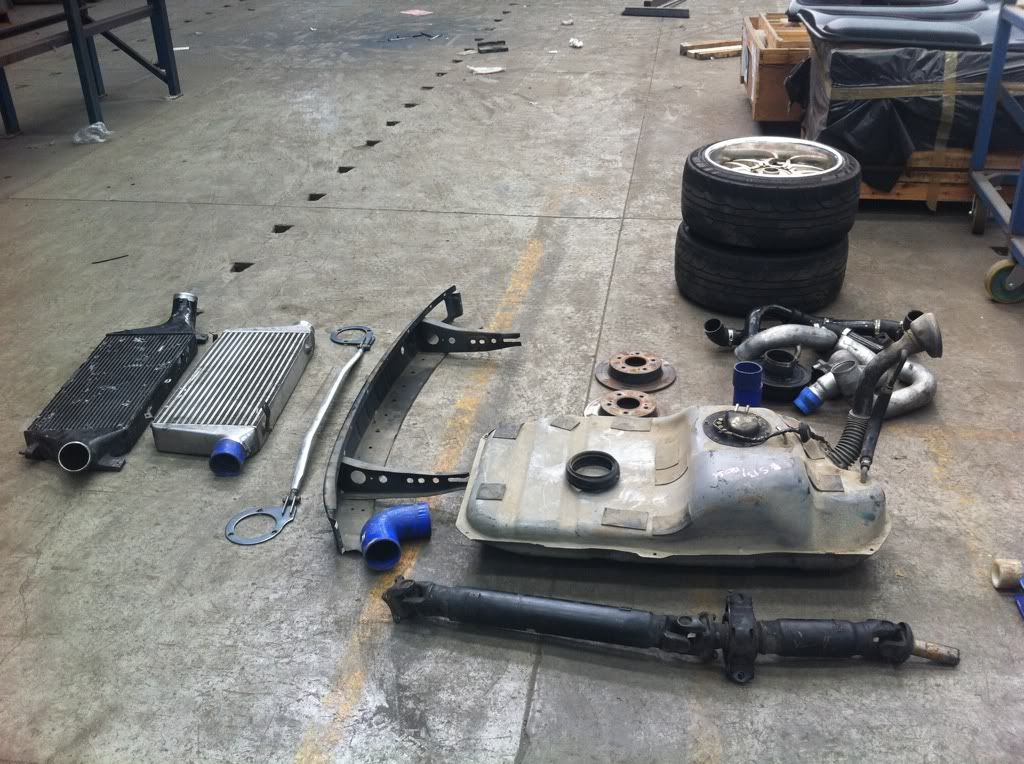
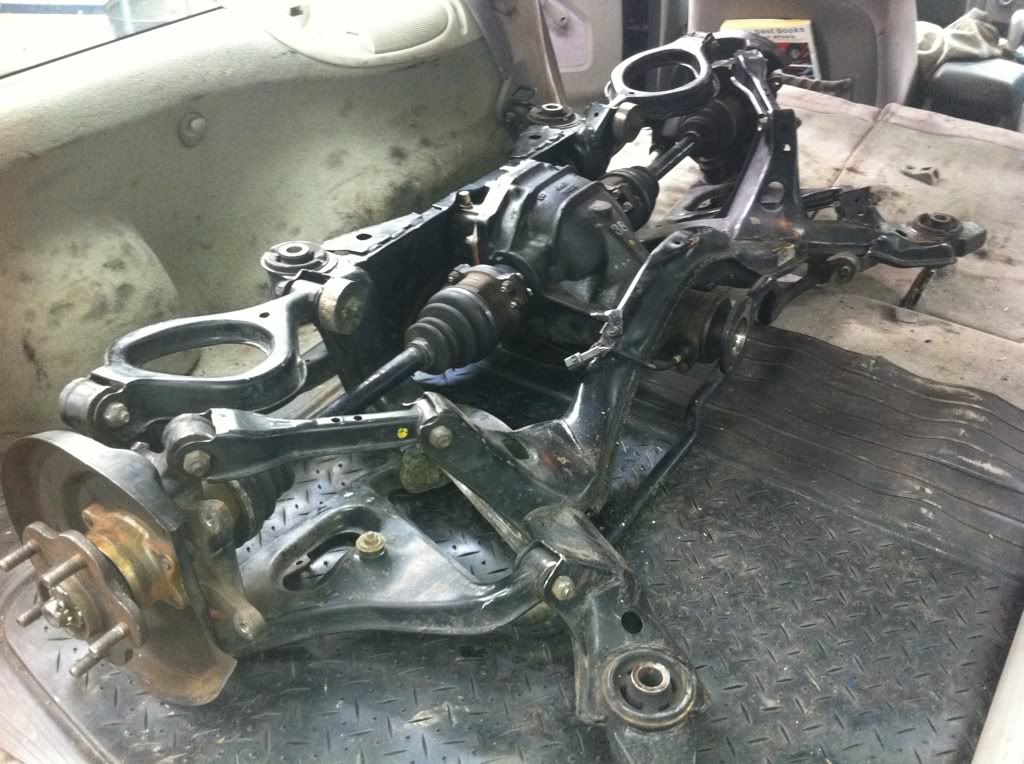
Saturday saw the Grey 180sx going off to its new home, Sold off as a rolling shell we removed the motor, gearbox, tailshaft and put the 180sx front end back on it and its now gone! so one less car to move around.. for now

Grey car... You wont be missed!!

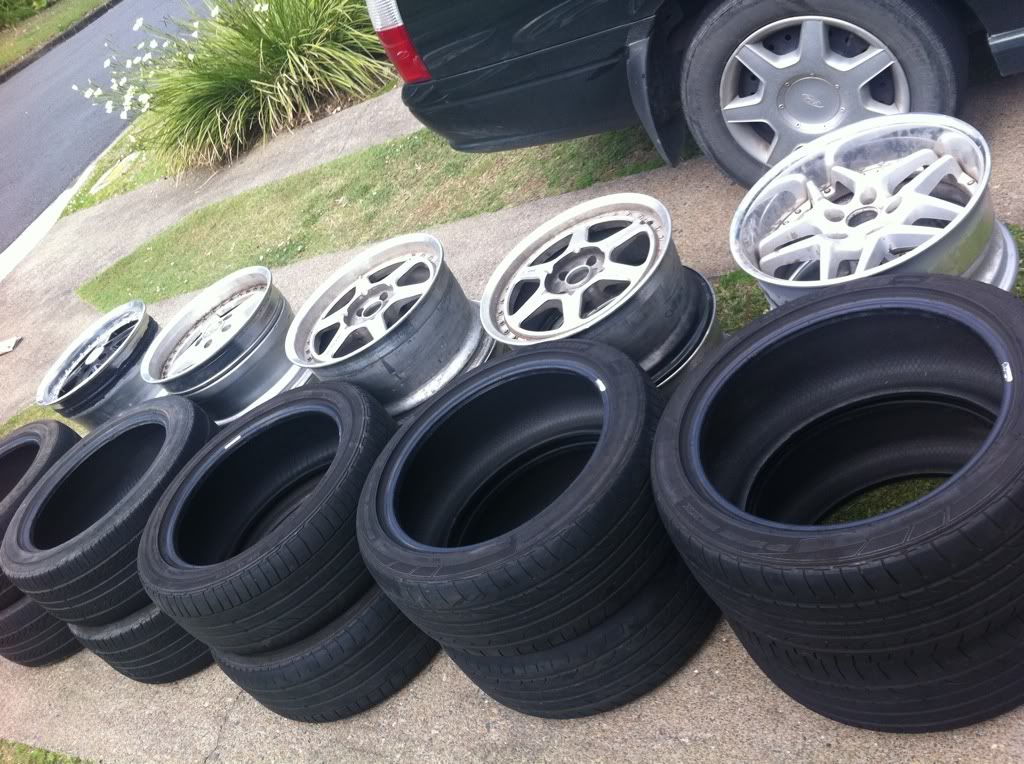
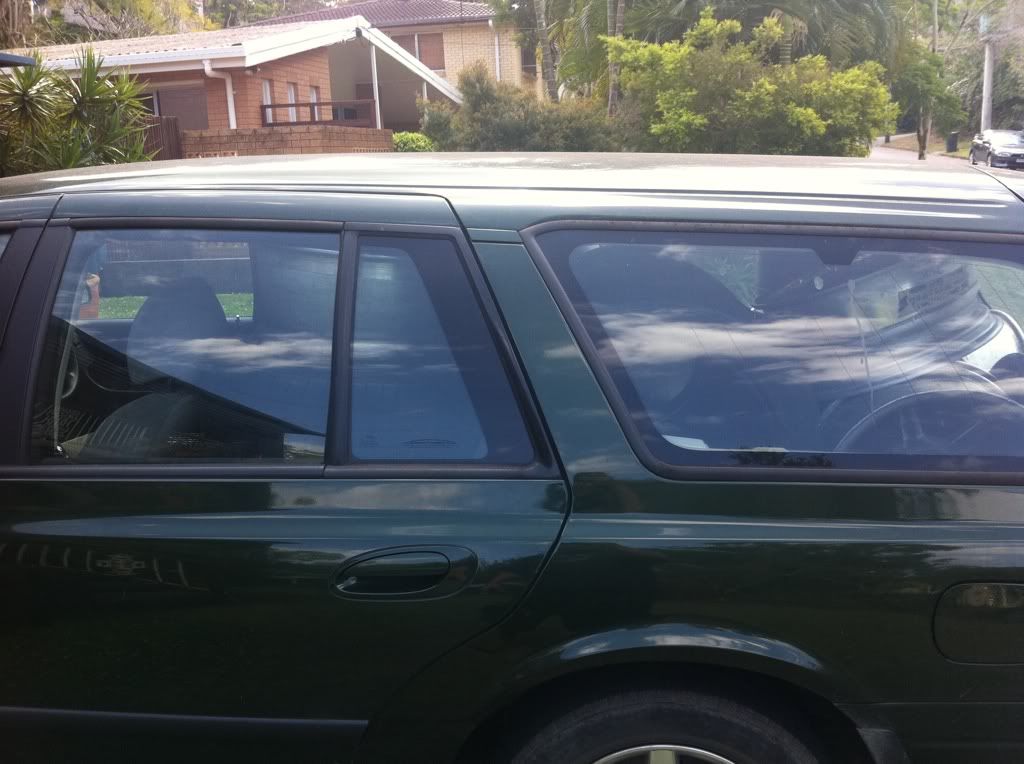
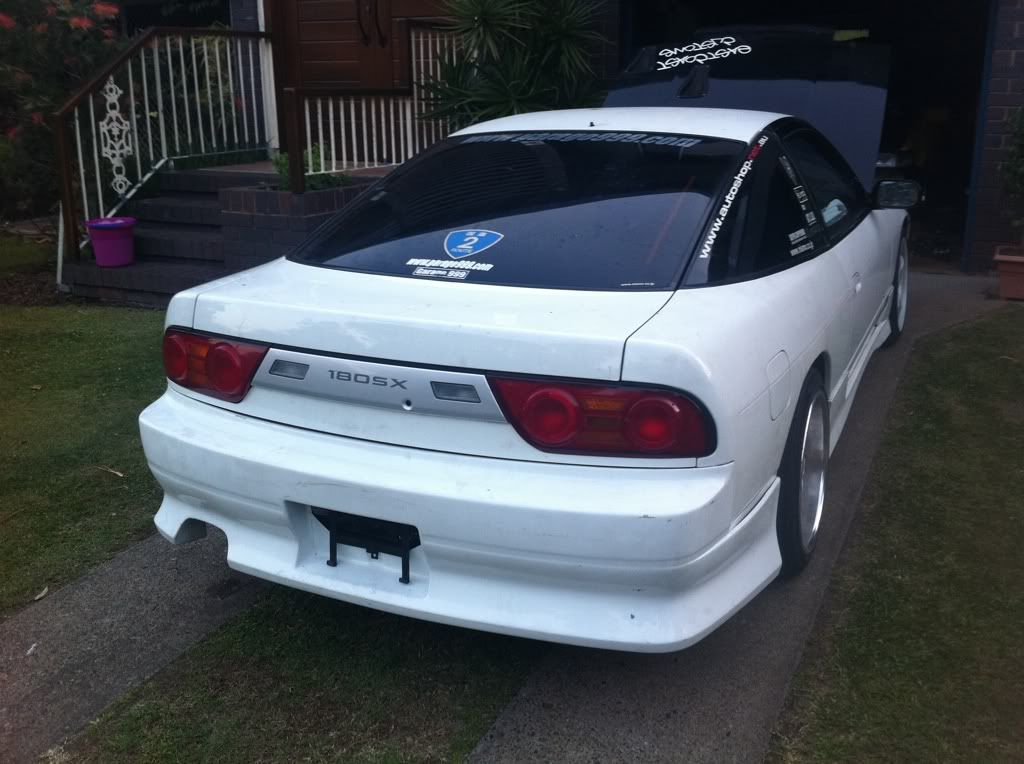
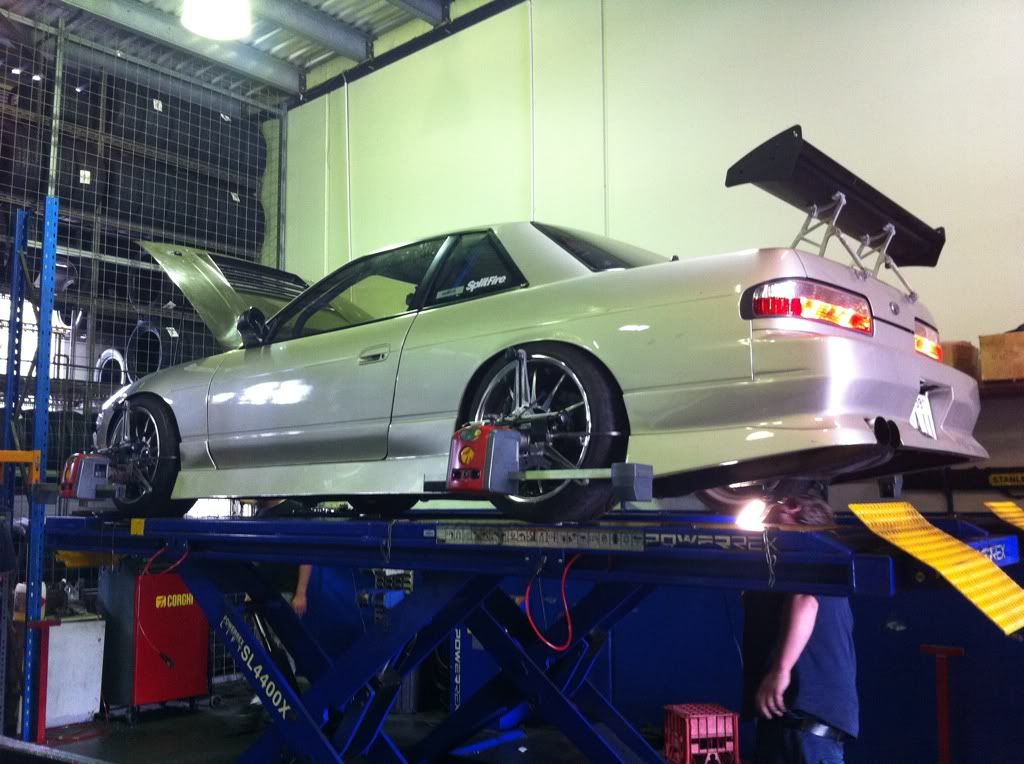
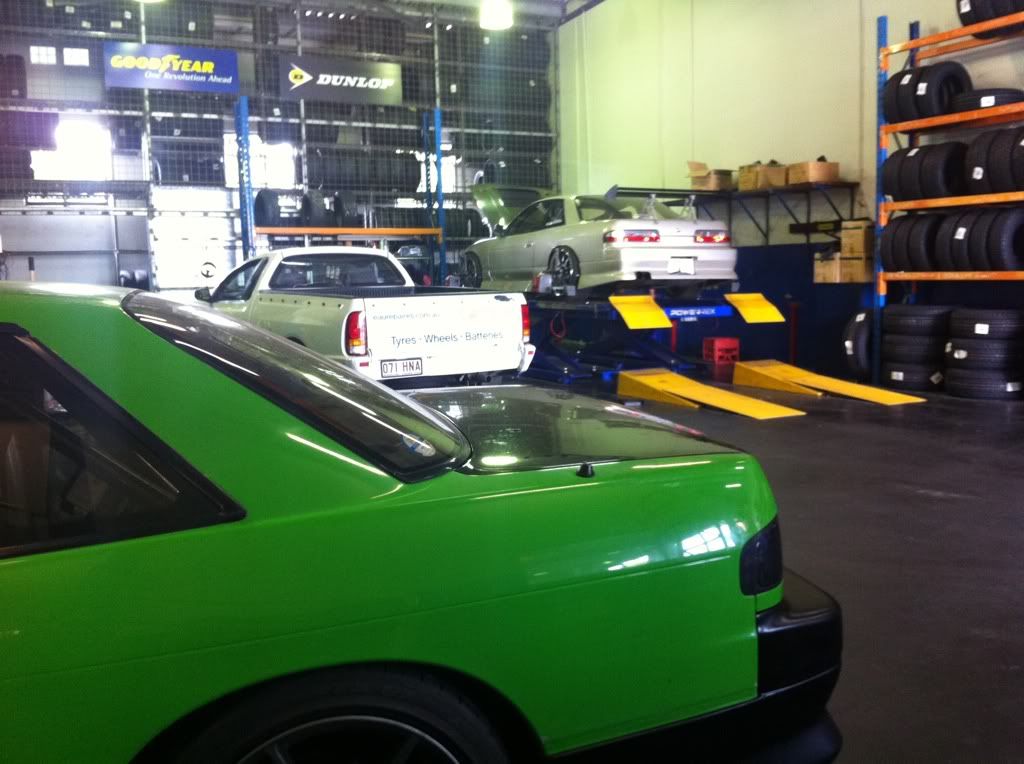
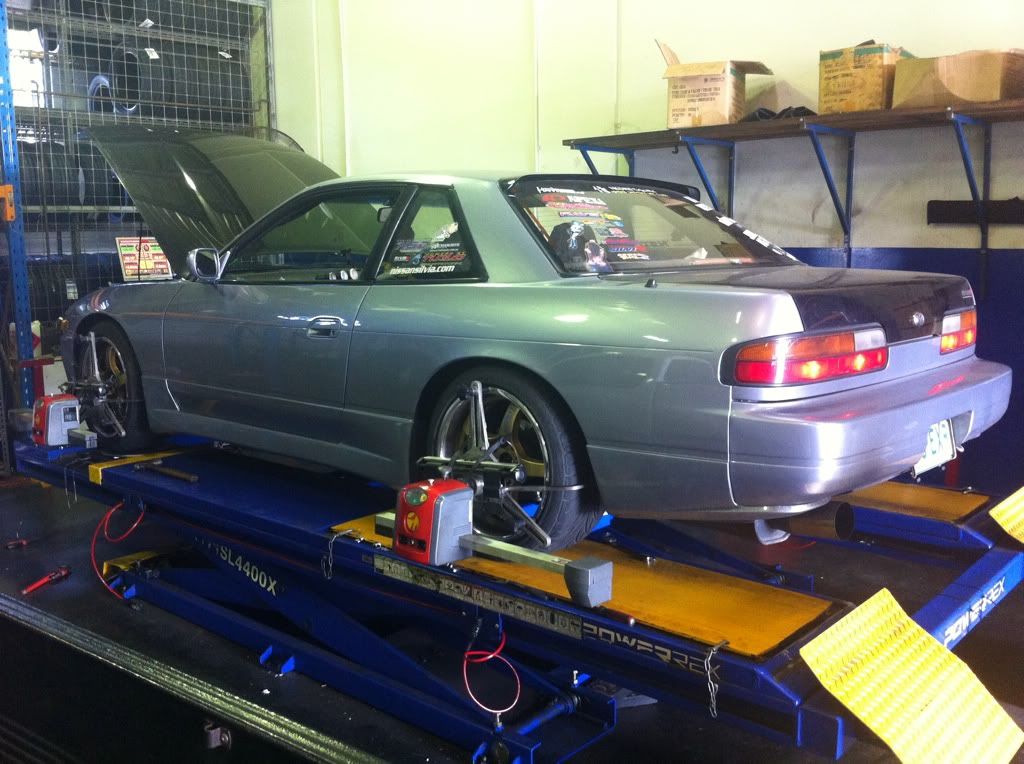
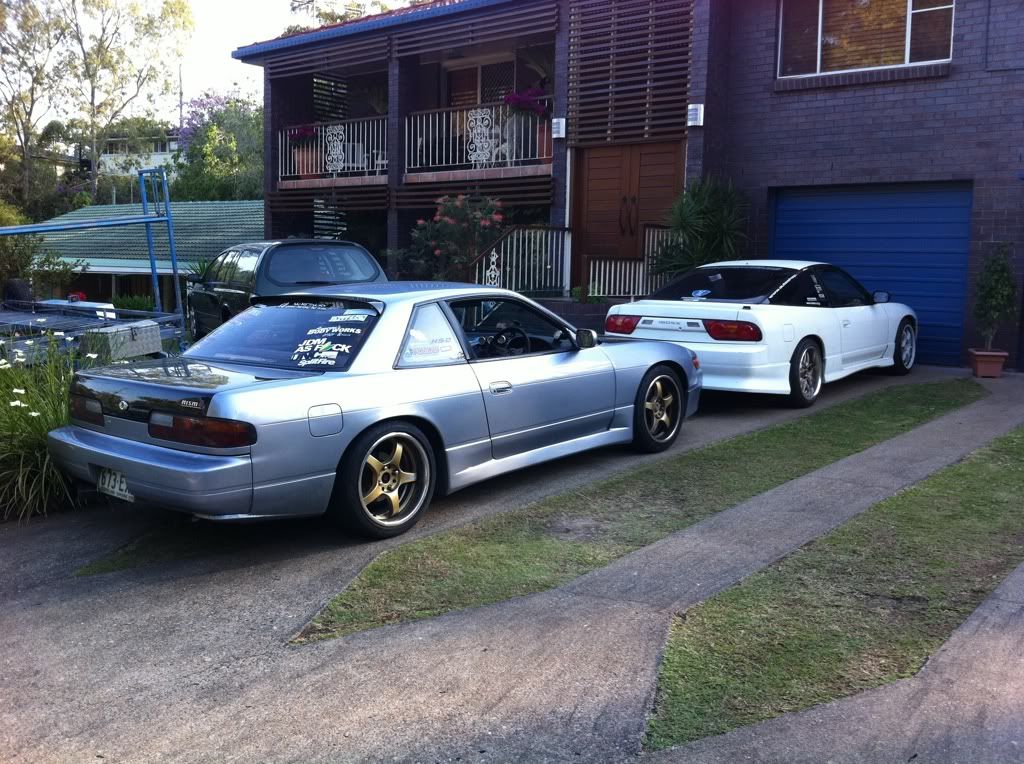
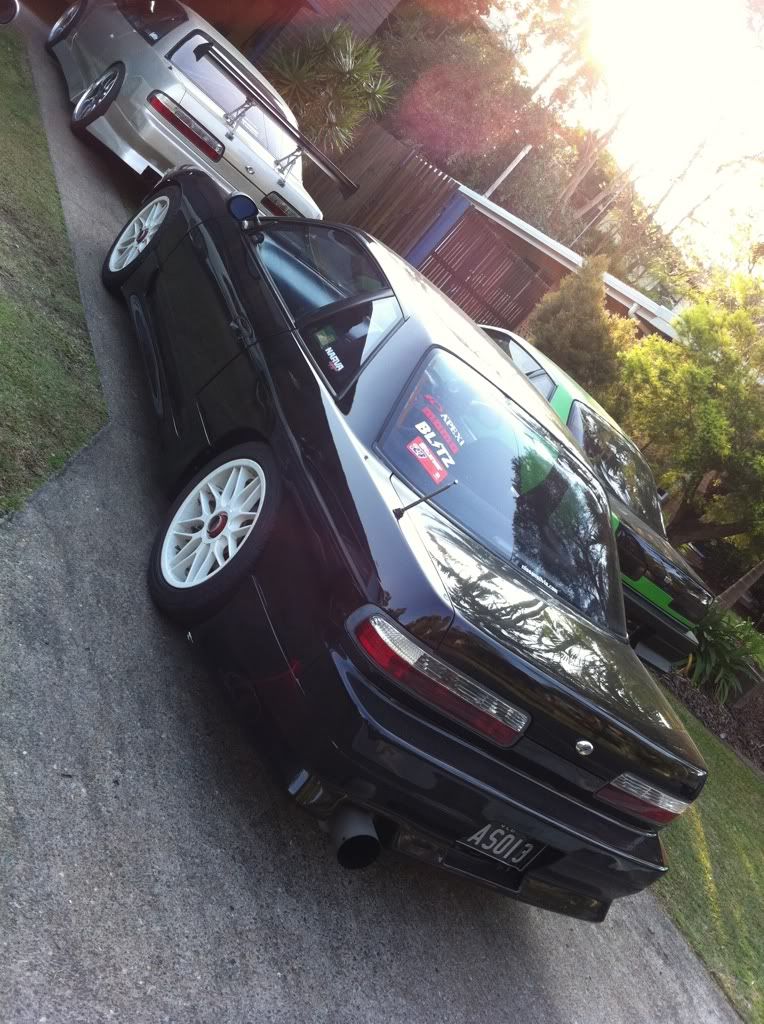
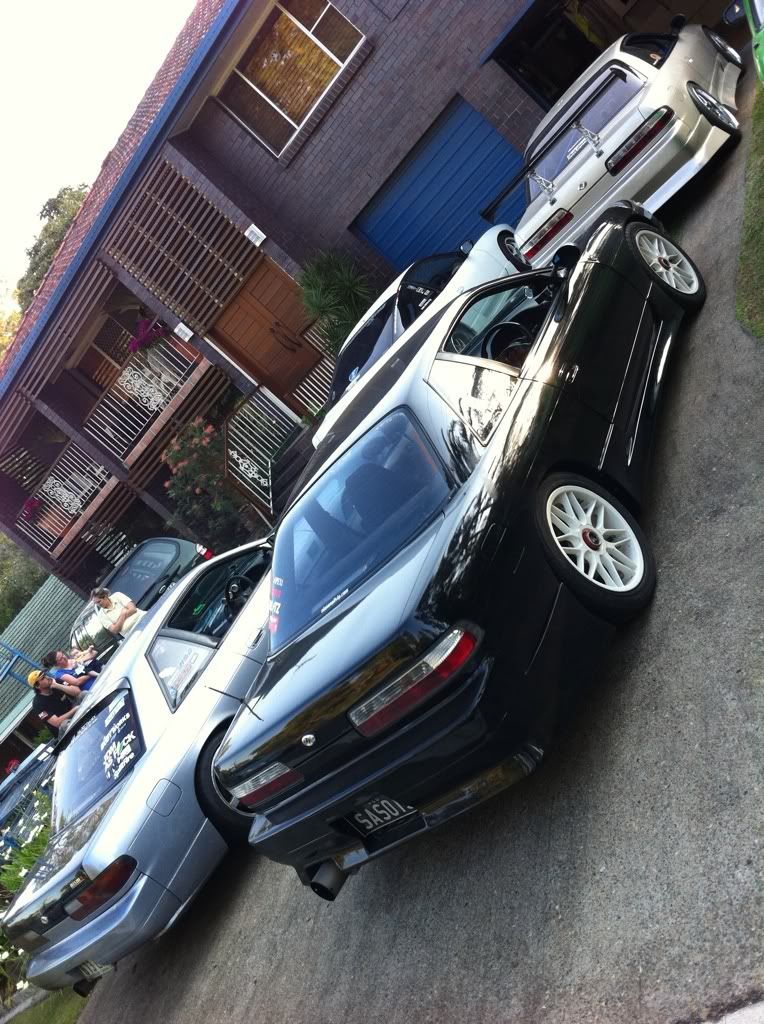
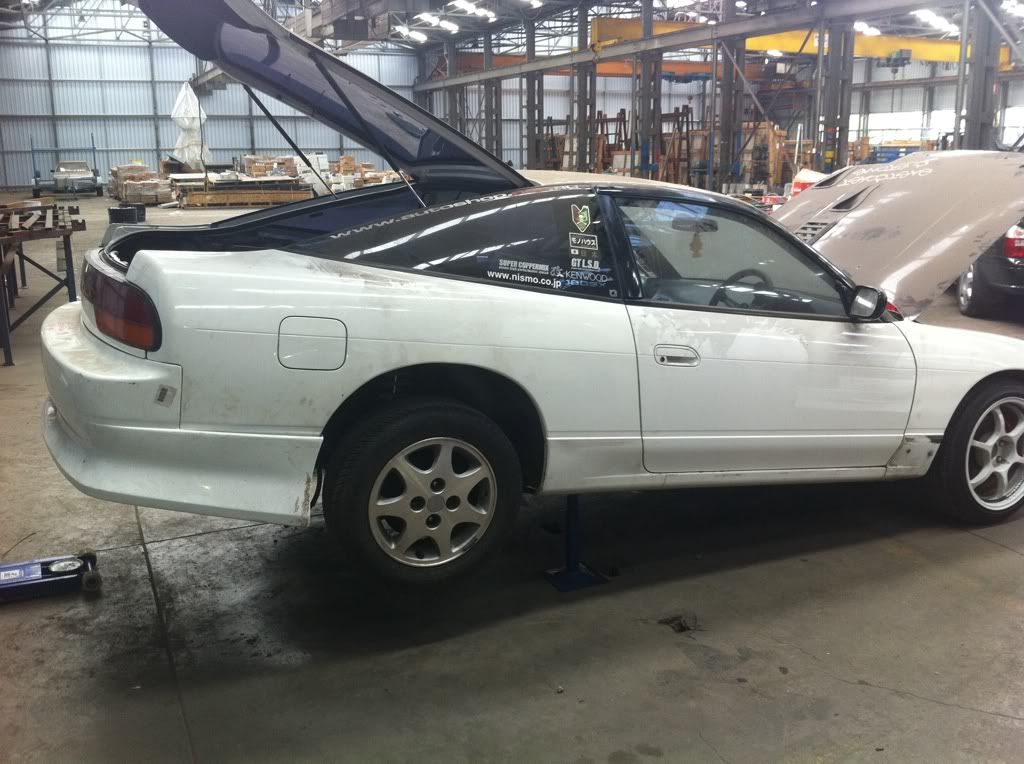
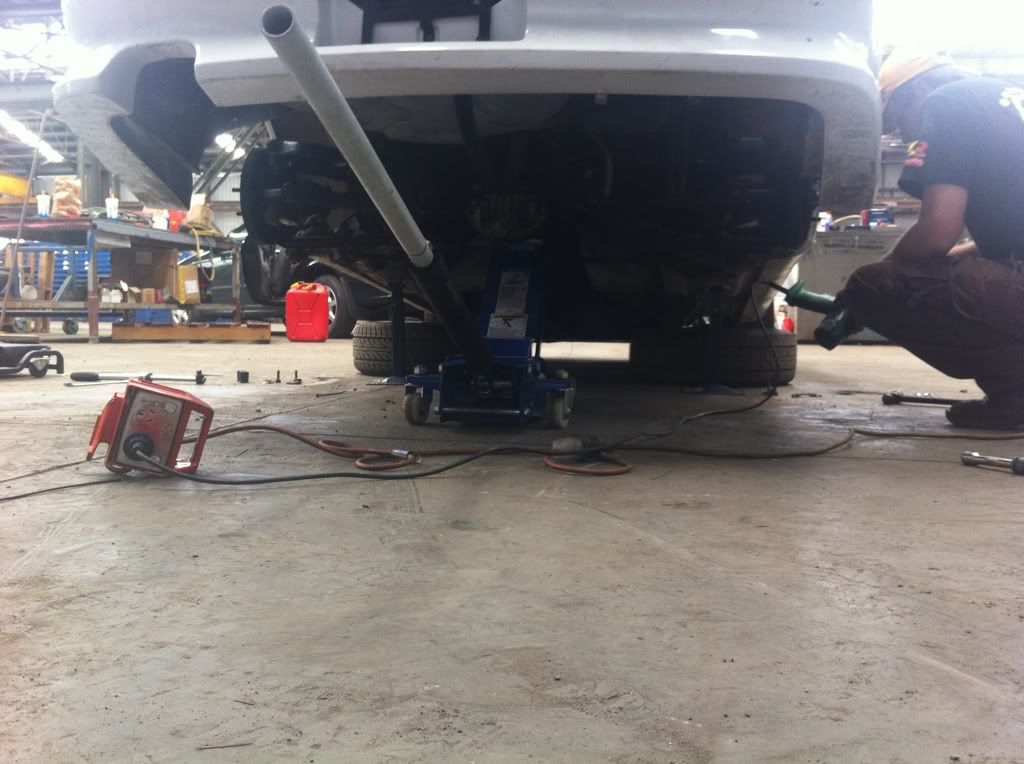
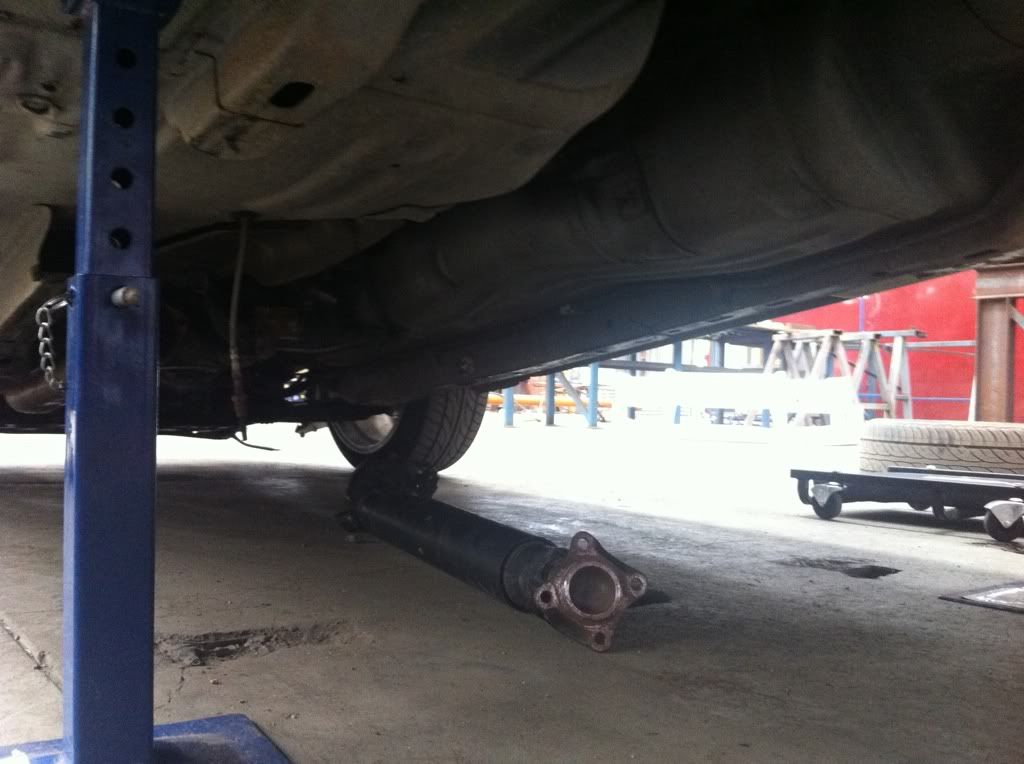
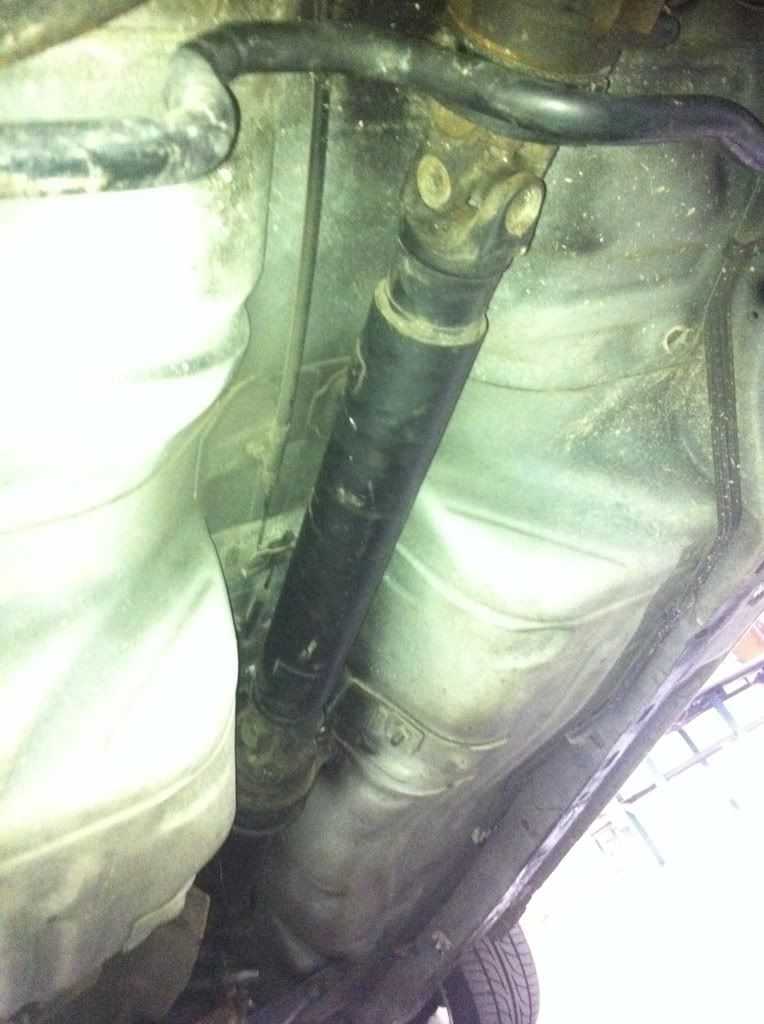
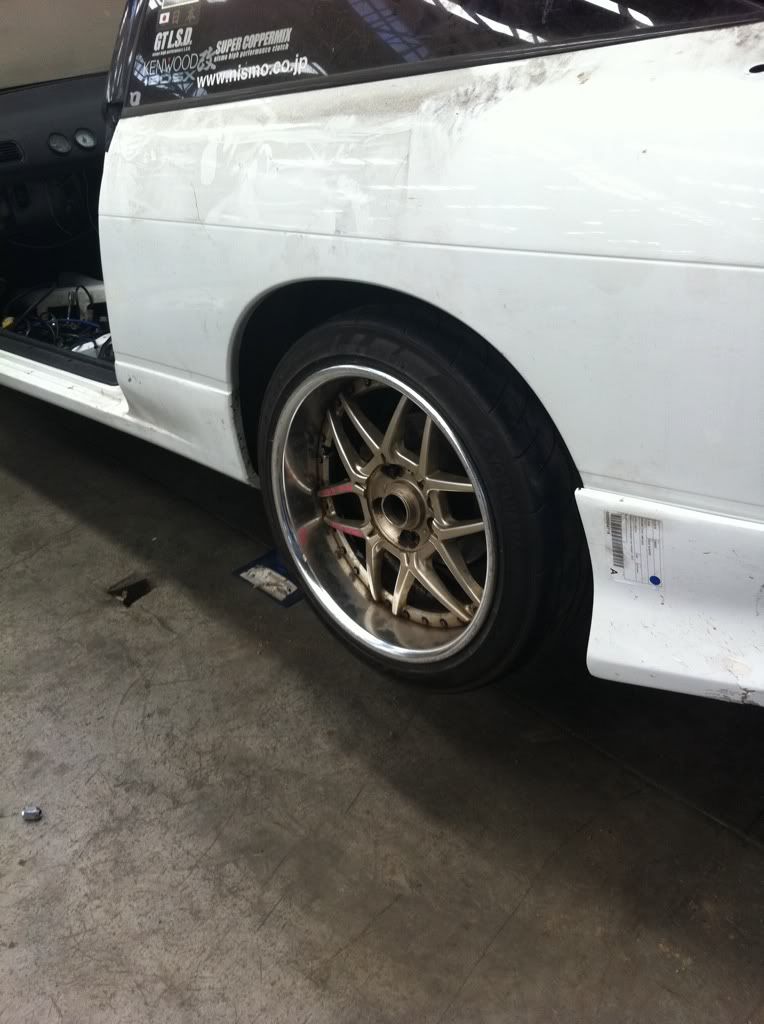
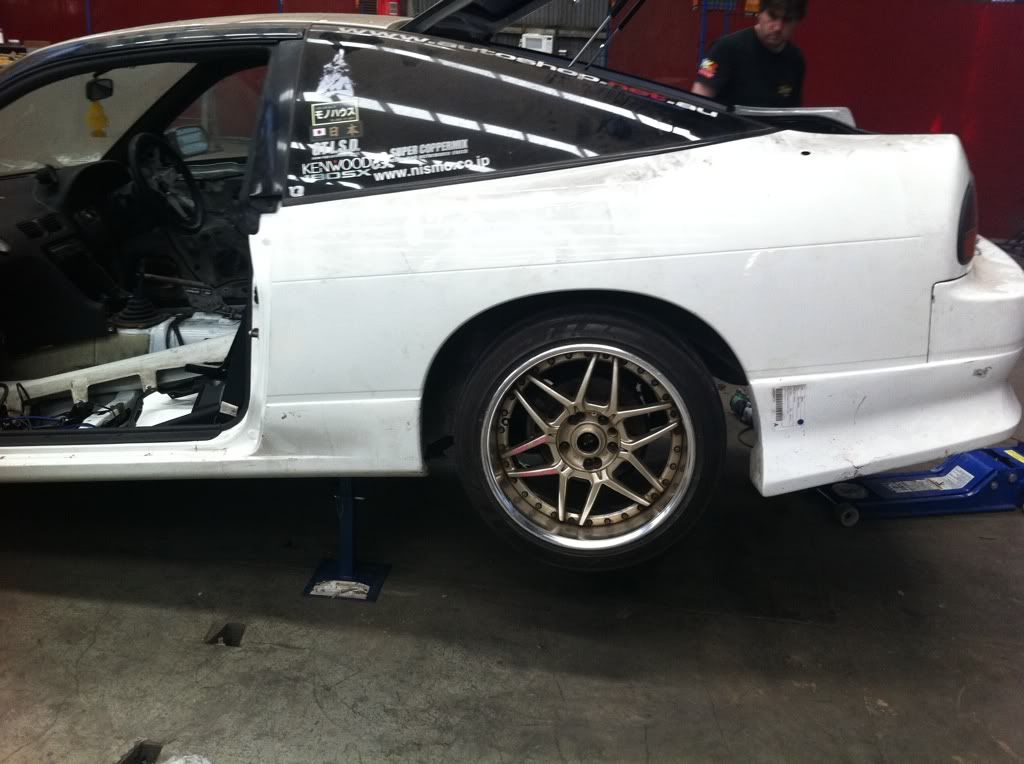
Sunday since we postponed the Lakeside Breakfast was slated to changing the exhaust on the Silvia as I was recently defected by the boy's in blue for the Kakimoto racing exhaust for sitting to low and some more work to be done to the green car.

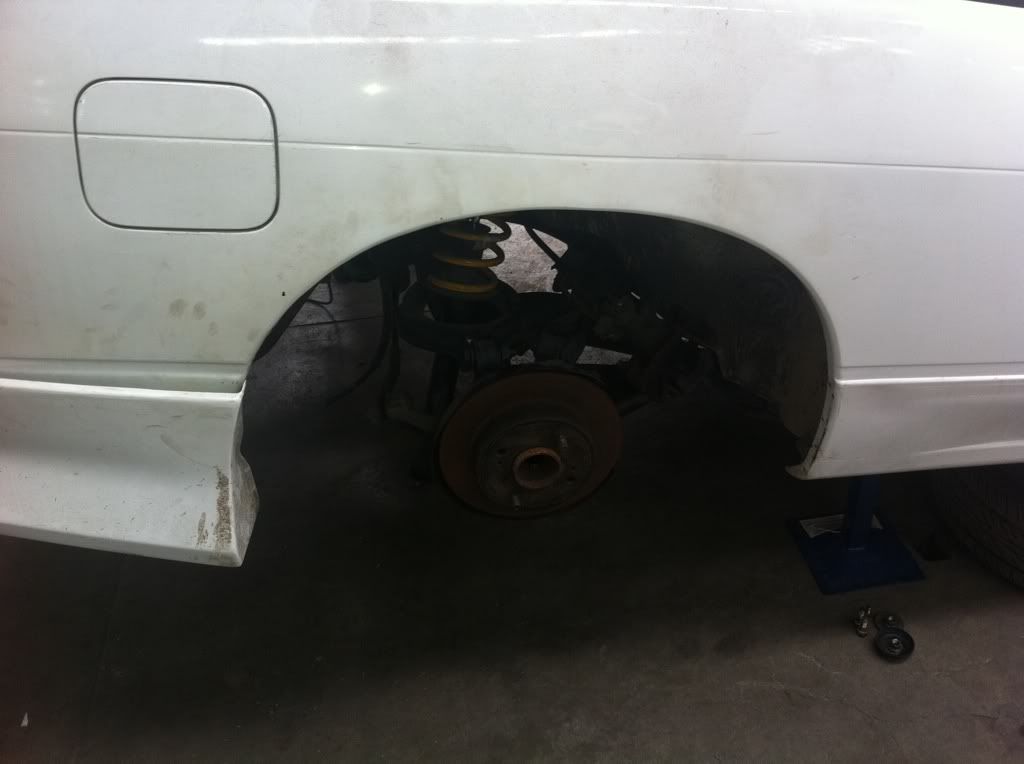
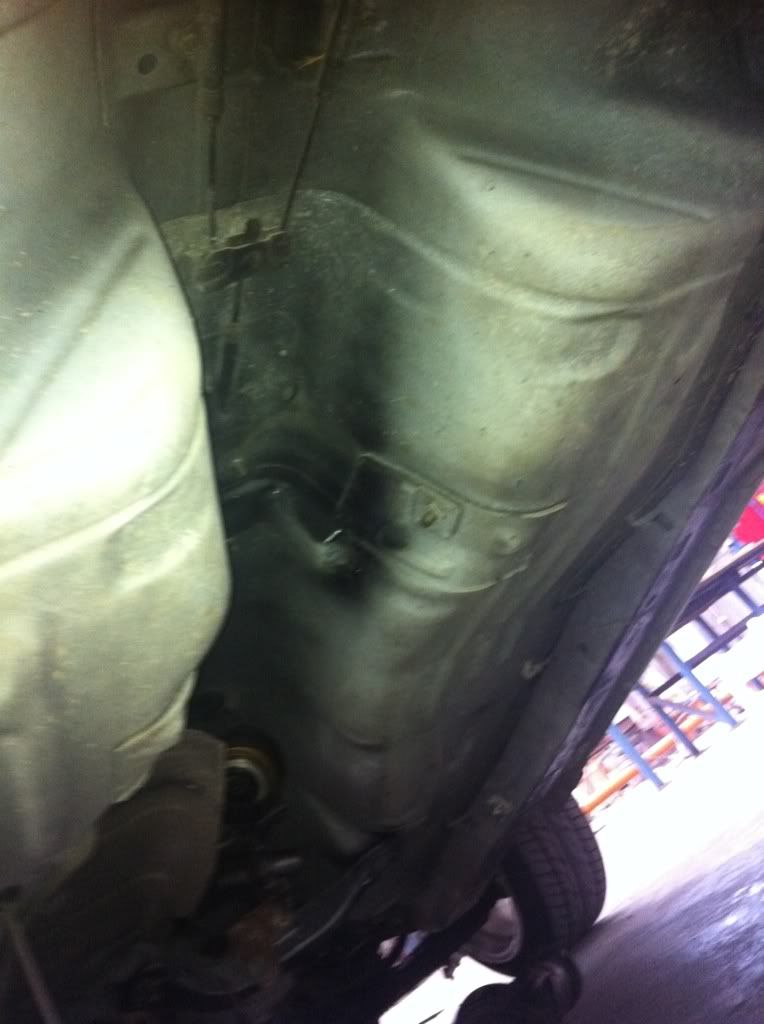
Well Silvie being... well Silvie is not ever happy with only one thing being done.. typically. On the way over to Nathans for Breakfast I stopped off at the servo to buy us all some drinks only to come back out and find a small puddle under the back of the car... my first thought was its just some water from the rain dripping off the back of the car... well on closer inspection it turned out to be fuel!

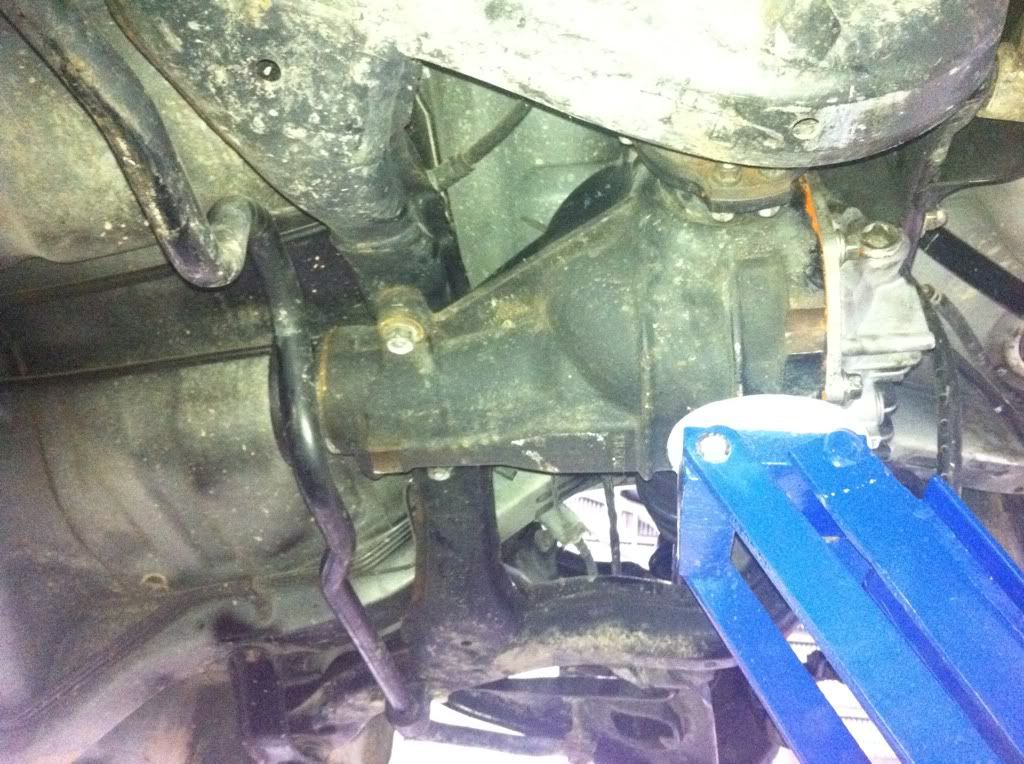
Sighing I made my way over to NKDriftworx HQ timid foot like, last thing I would need is Silvies random flame popping to end her life!! Well removing the Fuel pump inspection plate screamed all the answers the rubber fuel line that connects the fuel pump to the hard lines that run under the car had blew out in quite a big way!

With the Fuel line replaced it was time to move onto swapping the exhausts, I originally had the Jasma exhaust on the car but after copping a big whack while driving along Coronation drive it cracked quite badly so we had taken it off it get fixed.. when the urging mood struck us.. well with a Prod and a $100 ticket from the police for being "to low" Nathan got his farther to take it into his work and weld it up... Col being well... Col it came back all welded up with additional bracing for strength... think normally... the multiply that by about a thousand and you will get the end result! I am now actually kicking myself for not taking a photo. its simply awesome!

Silvie also has always had... well since going back to silvia front end a faded passenger side corner light and it looked off thanks be to Nathan she now has two extremely orange corner lights
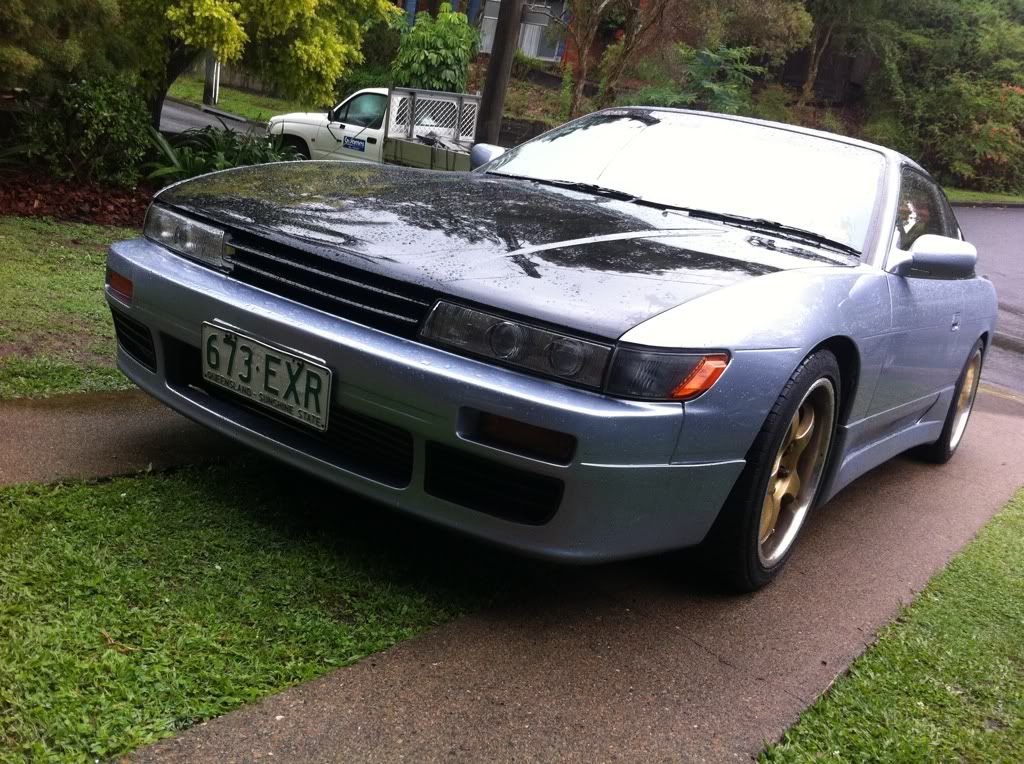
 Nice and Orange!
No more hideous cannon!!

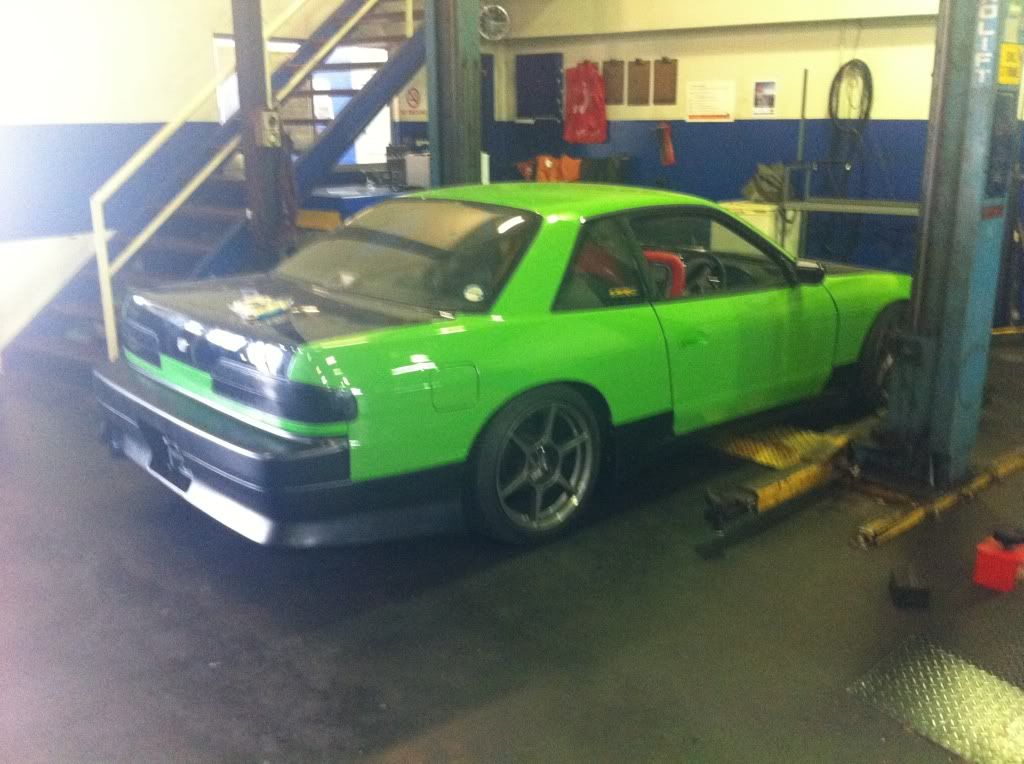
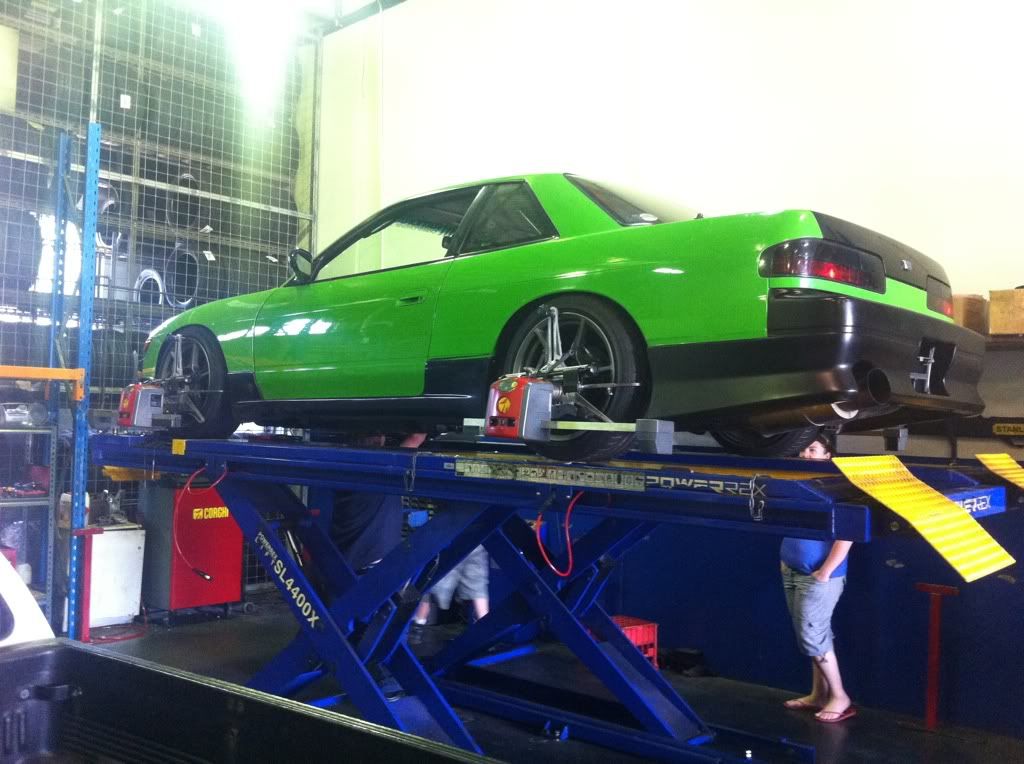
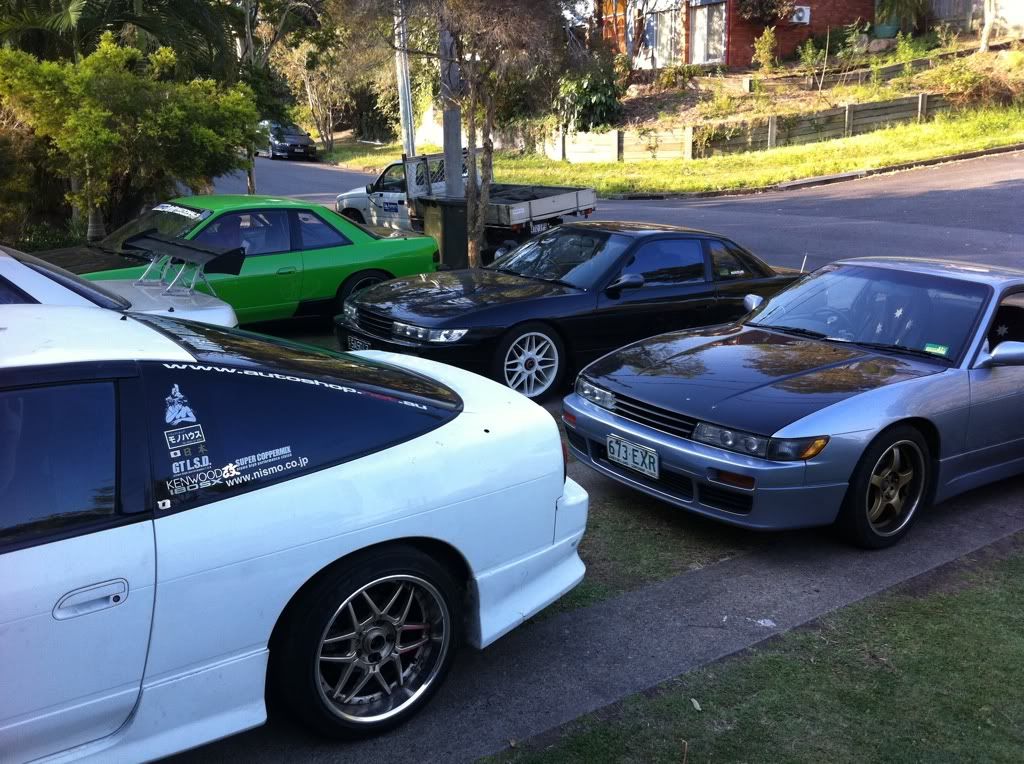
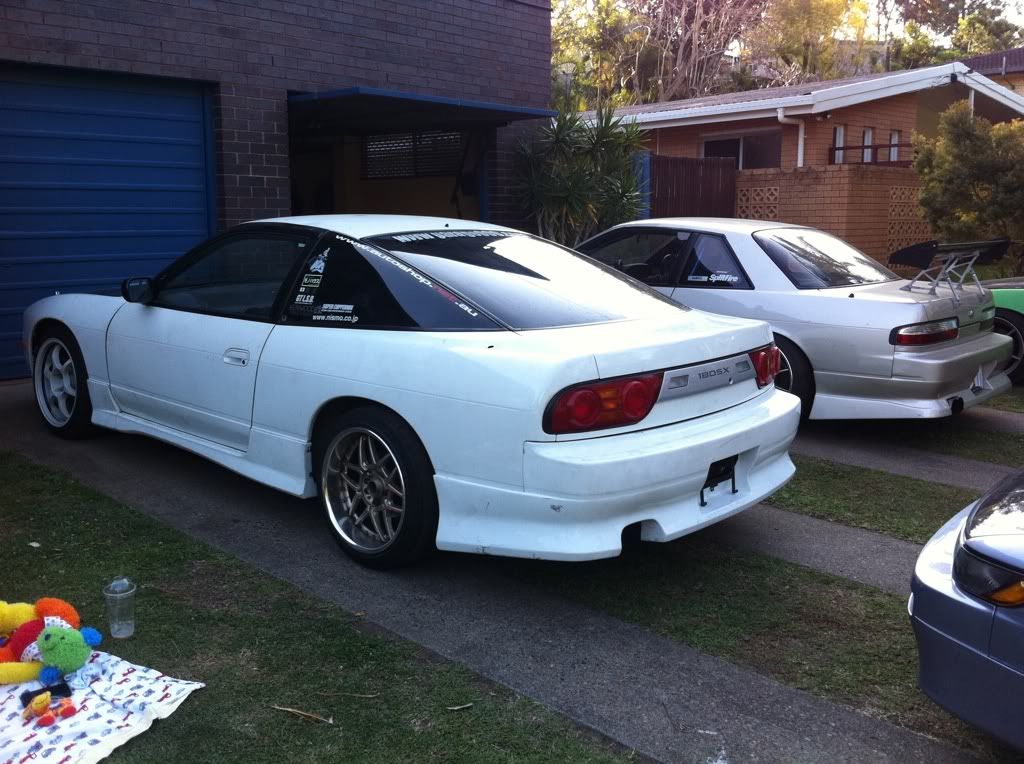
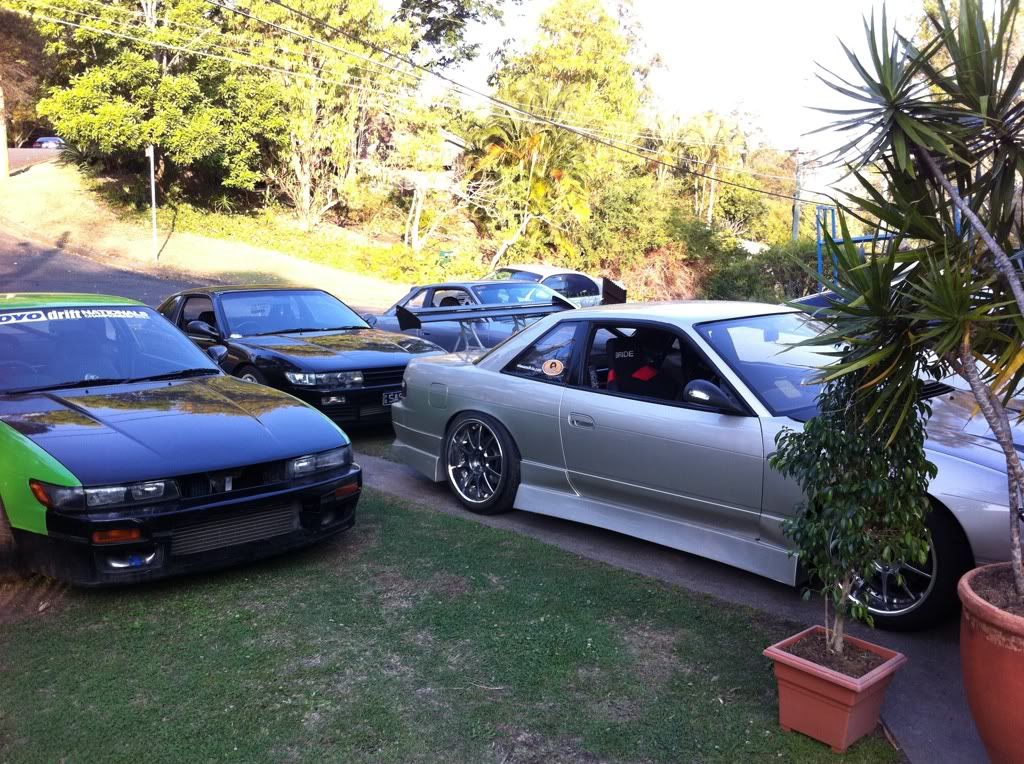
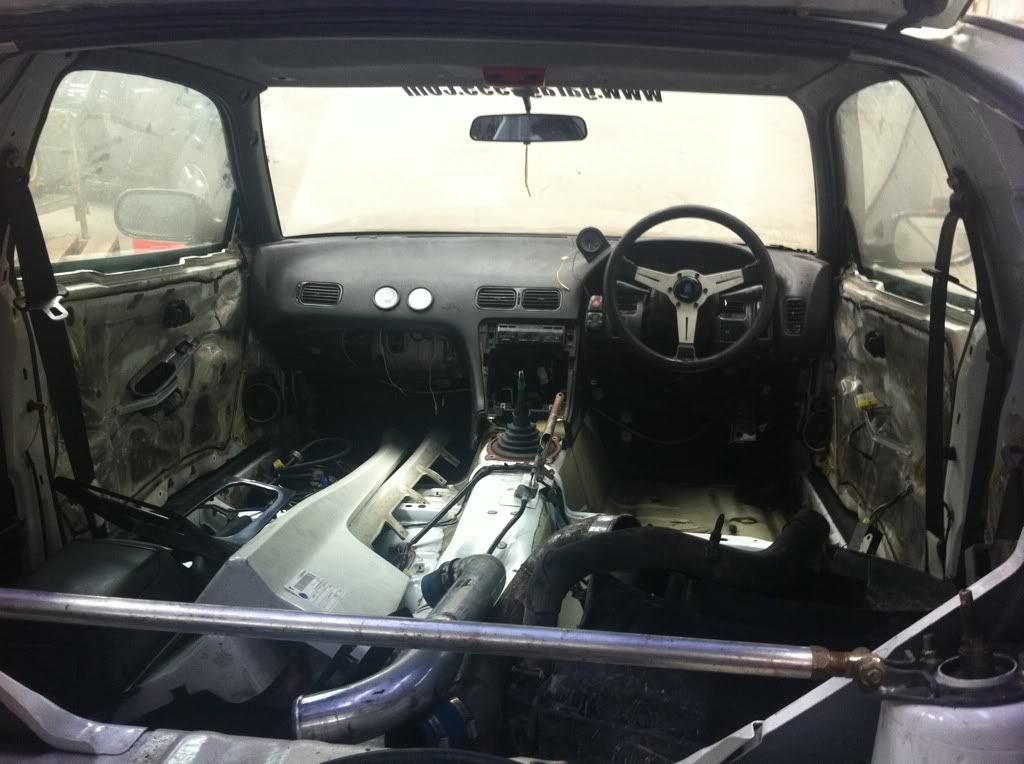
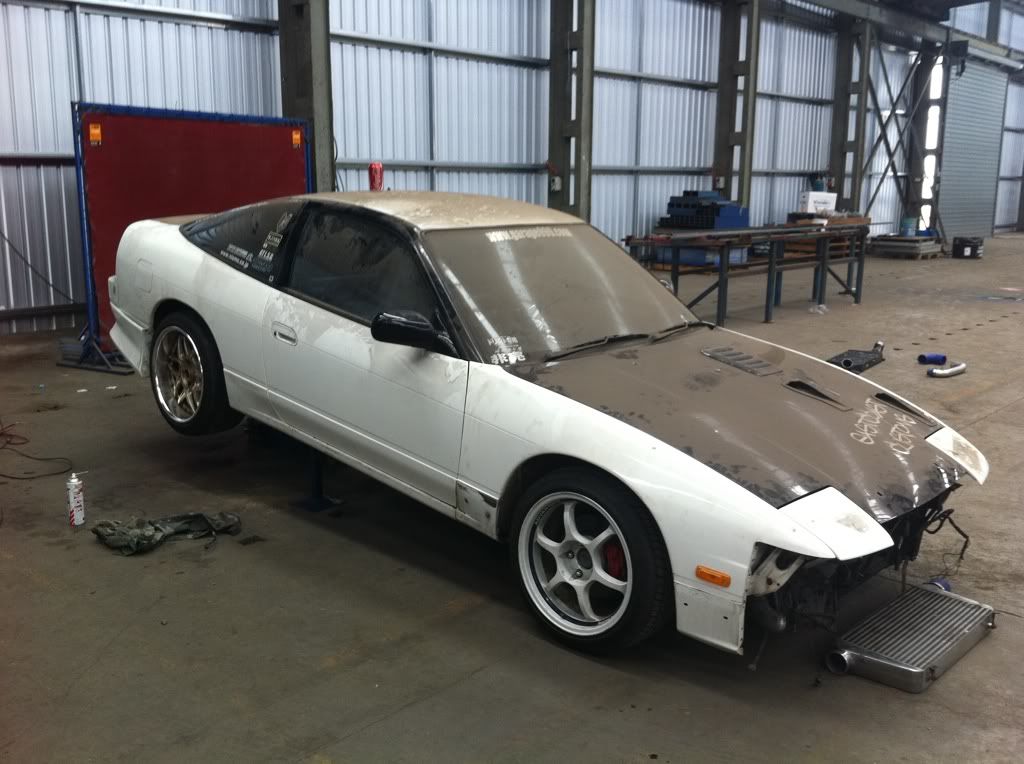
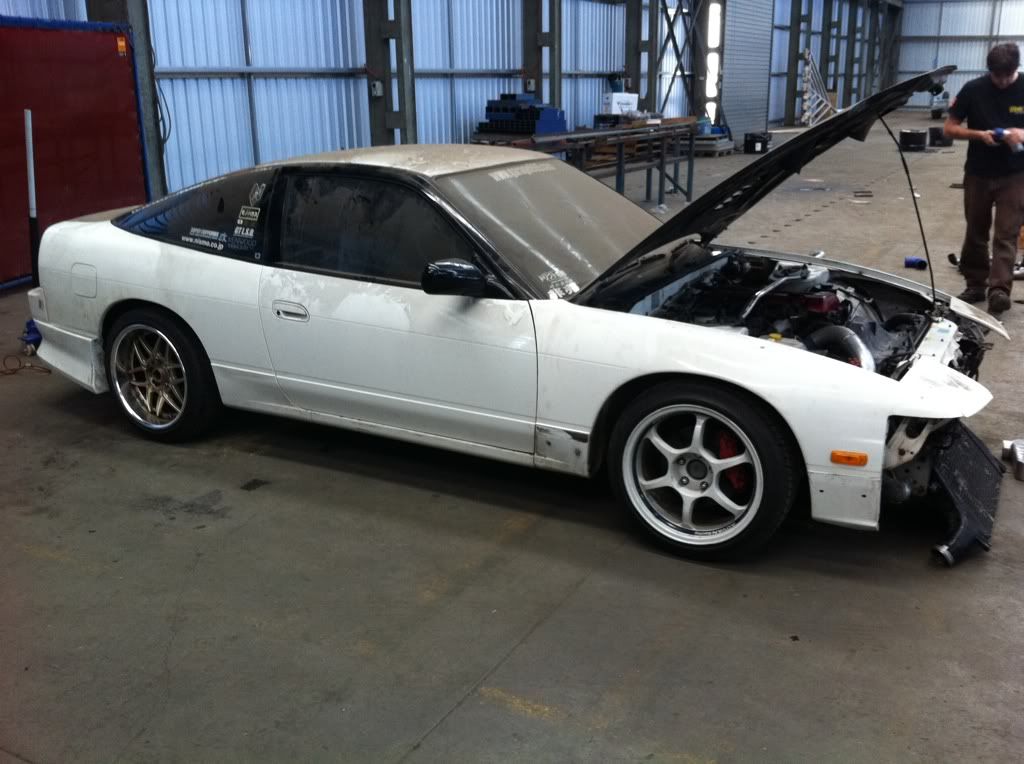
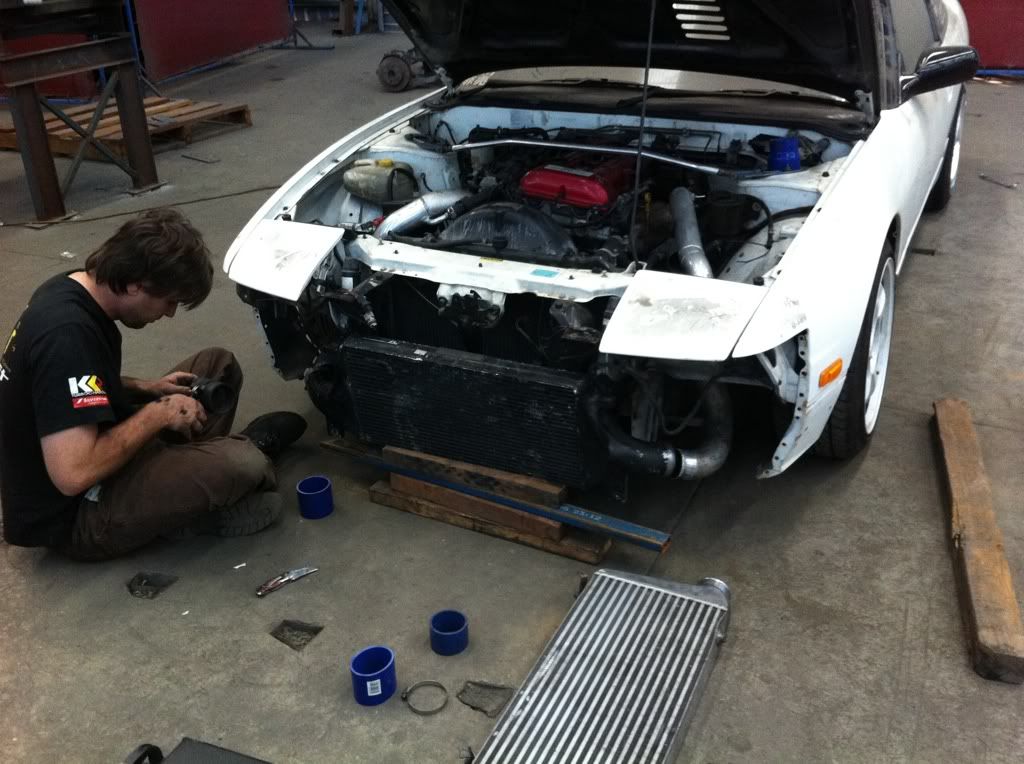
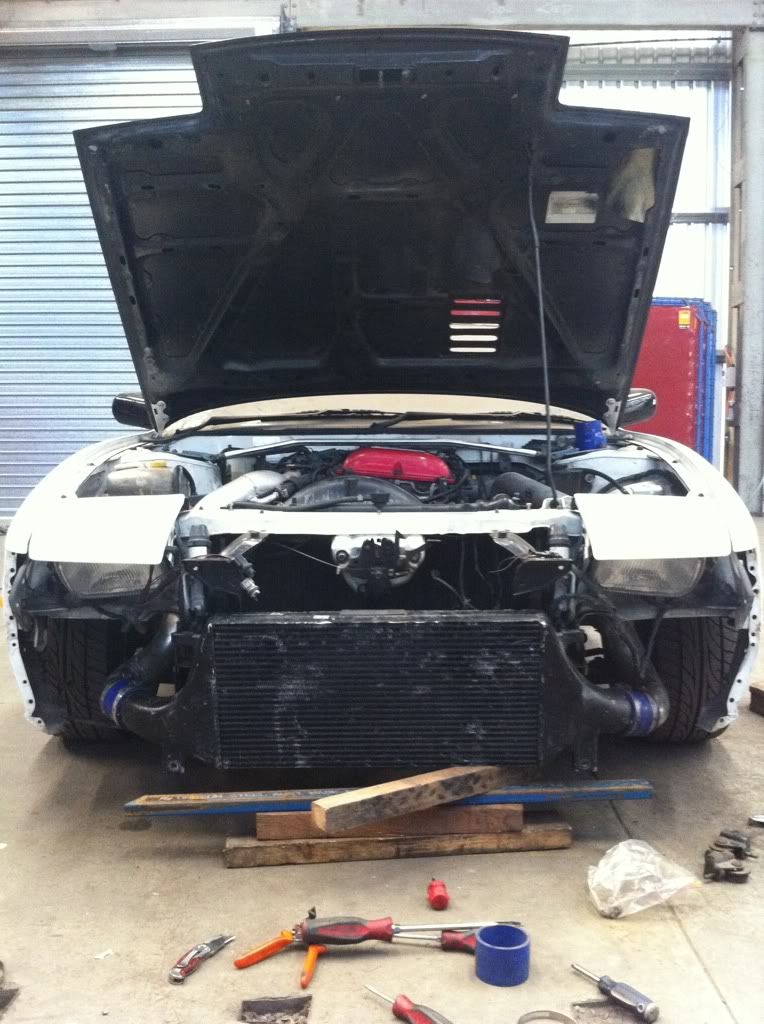
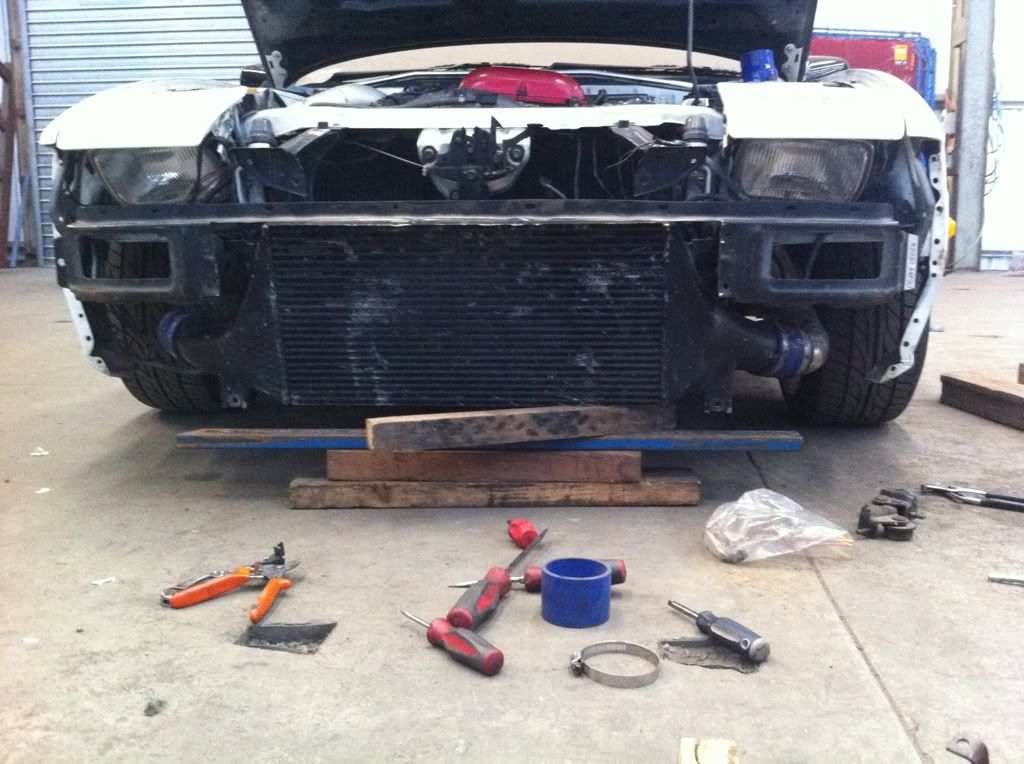
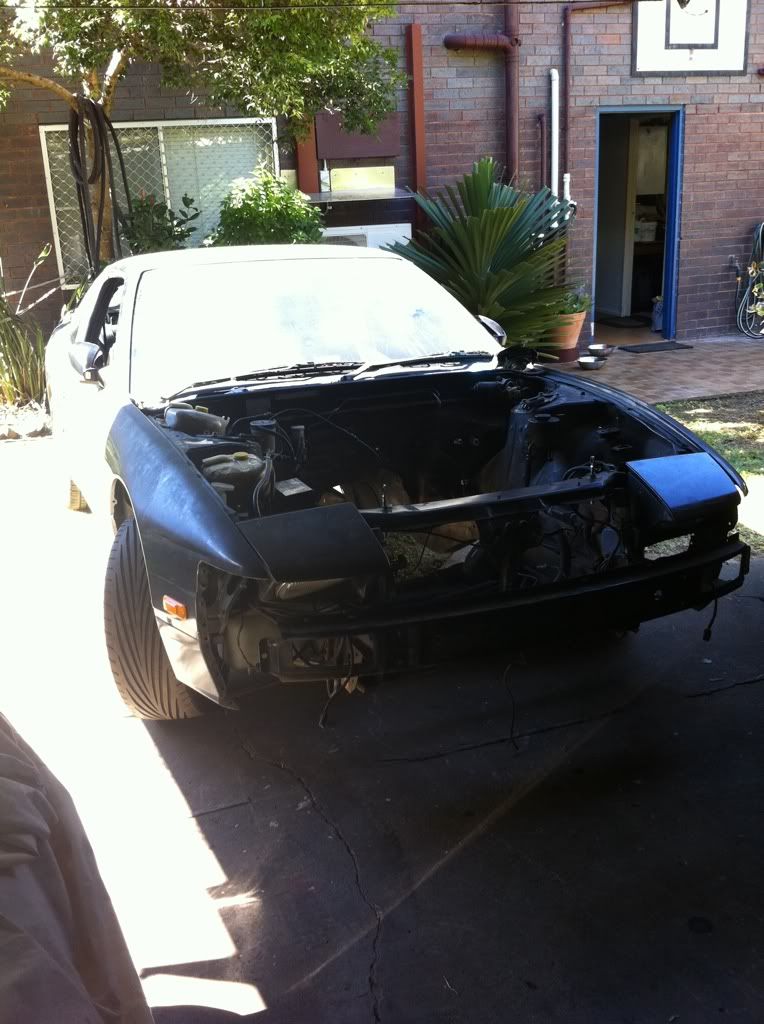
Well enough of Silvie, Out in the shed we have a bit of a new idea forming for the Green car that saw Matsuri action looking like so


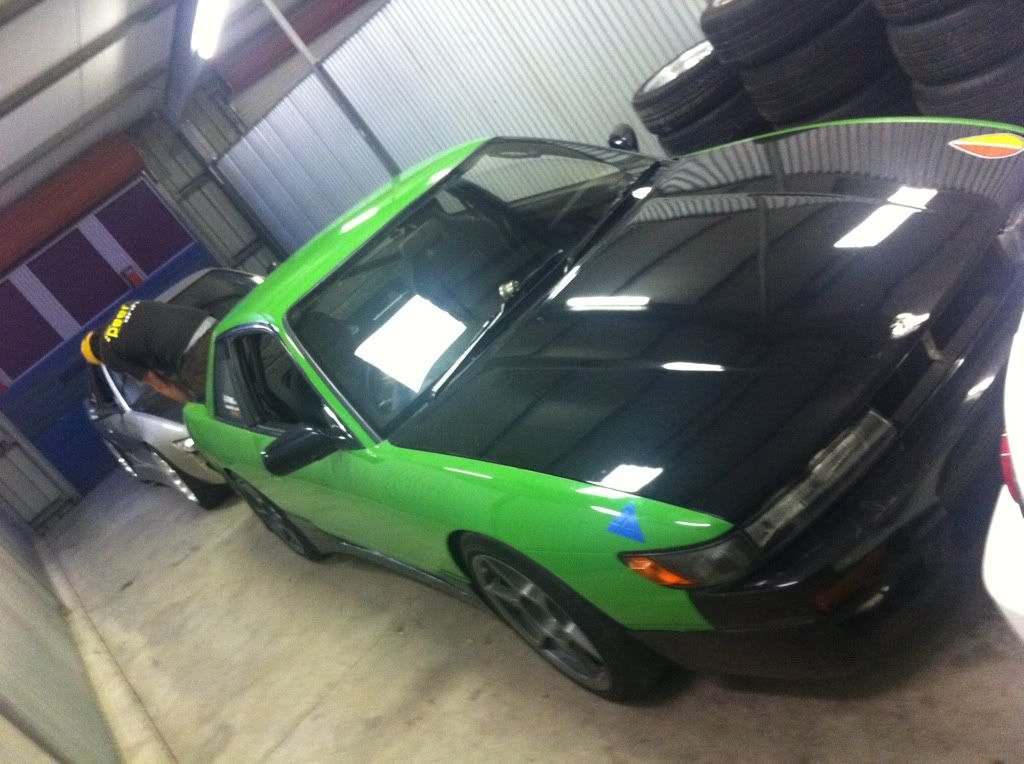
This car has seen its fair share of drifting originally being owned by Ben Anderson who competed in the old Toyo Drift National series then owned by his partner Lauren. The car was then brought by Nathan when it was still running a CA18DET. This car has seen its fair share of motors! from the CA to the SR20DE that came out of Silvie to a SR20DET Blacktop that was in the White 180 and it now has resting between its strut towers another SR20DE but with a twist.. more on that later on!

The Car was also originally a Onevia looking like so


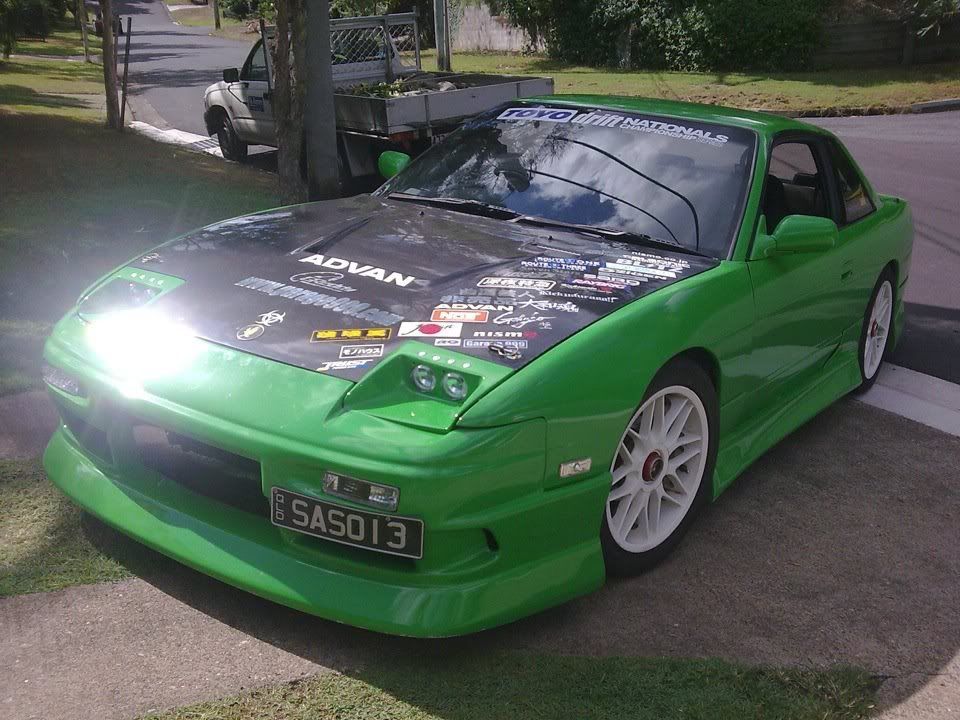
A week or so after that photo was taken it had an unfortunate altercation with an MX-5 (thankfully the Carbon fiber Seibon bonnet was not on it) It was then rebuilt as a Silvia (see photo above)

well now its going back to being a Onevia and with a new colour!
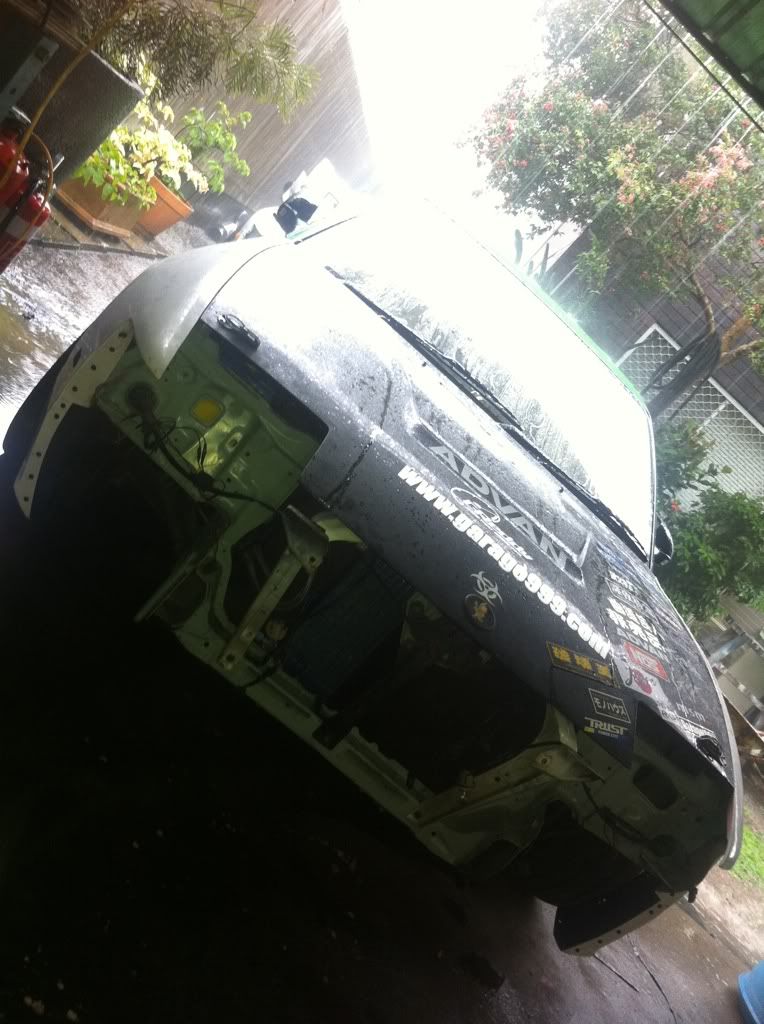
 Onevia Reincarnate

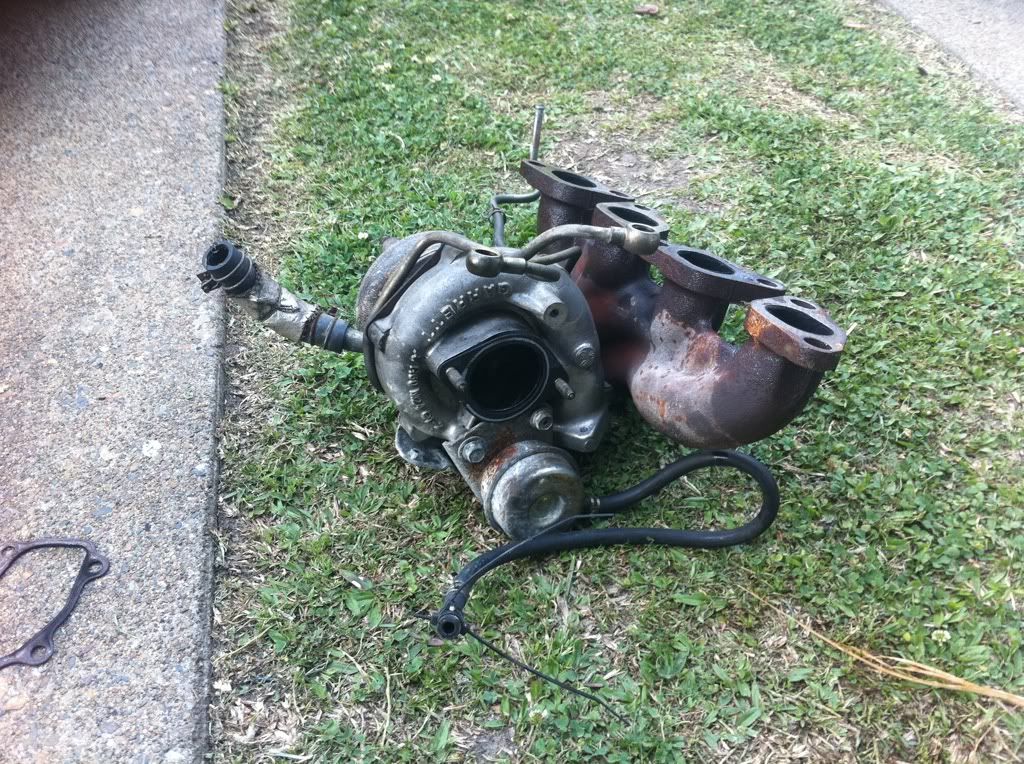
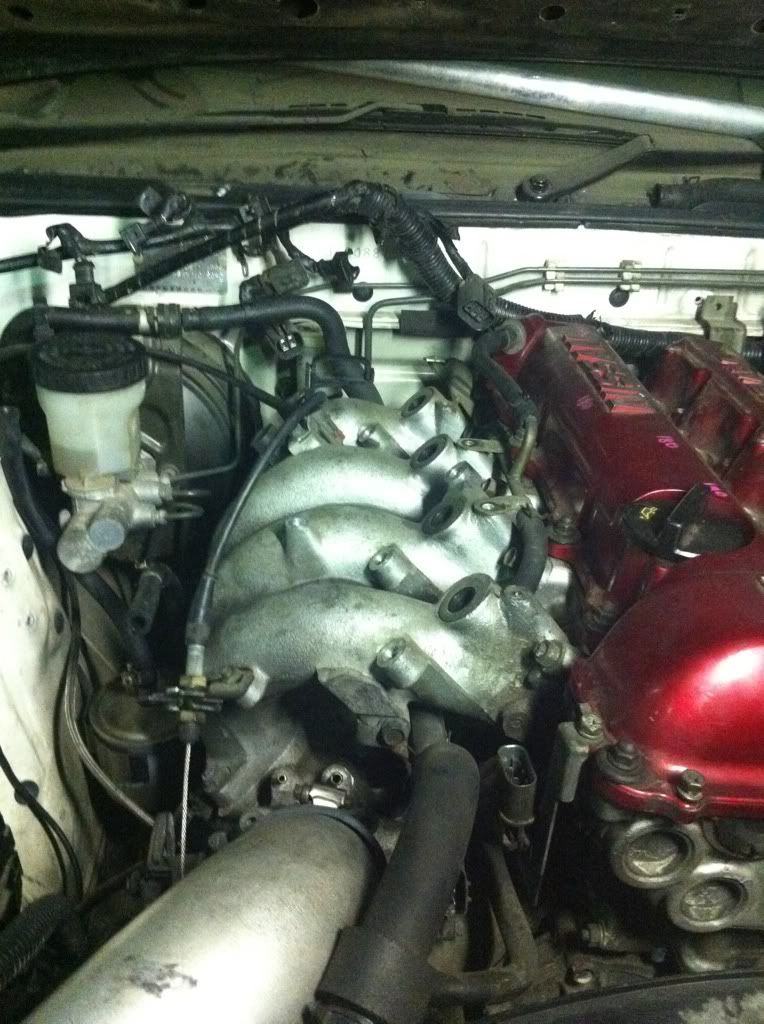
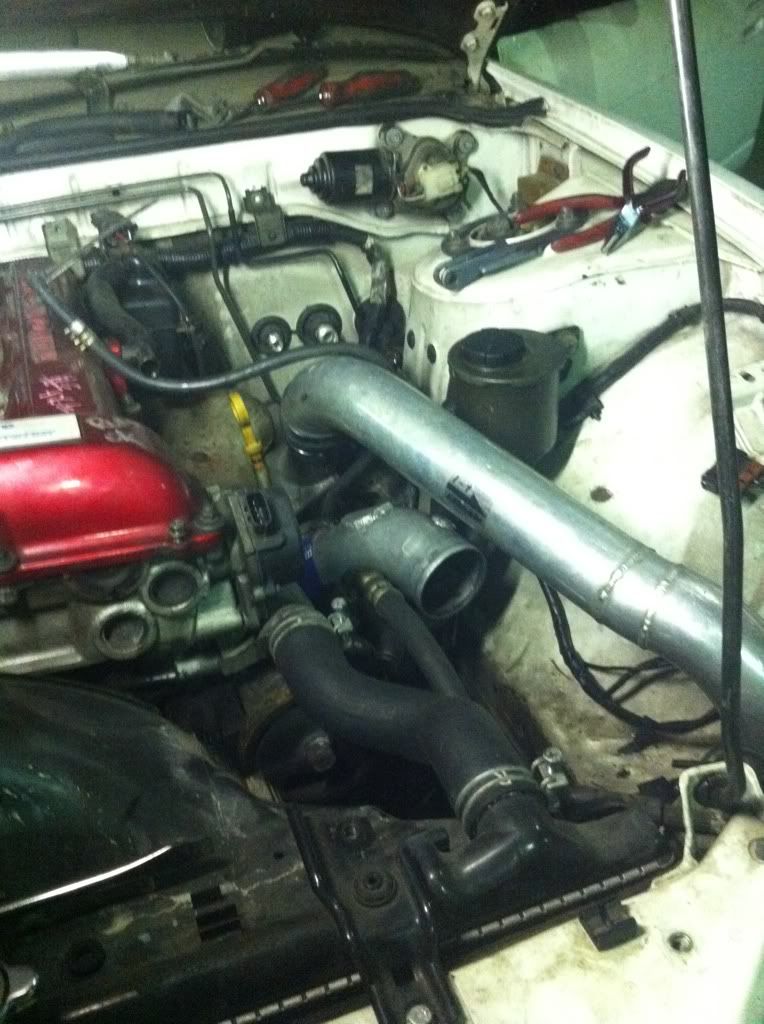
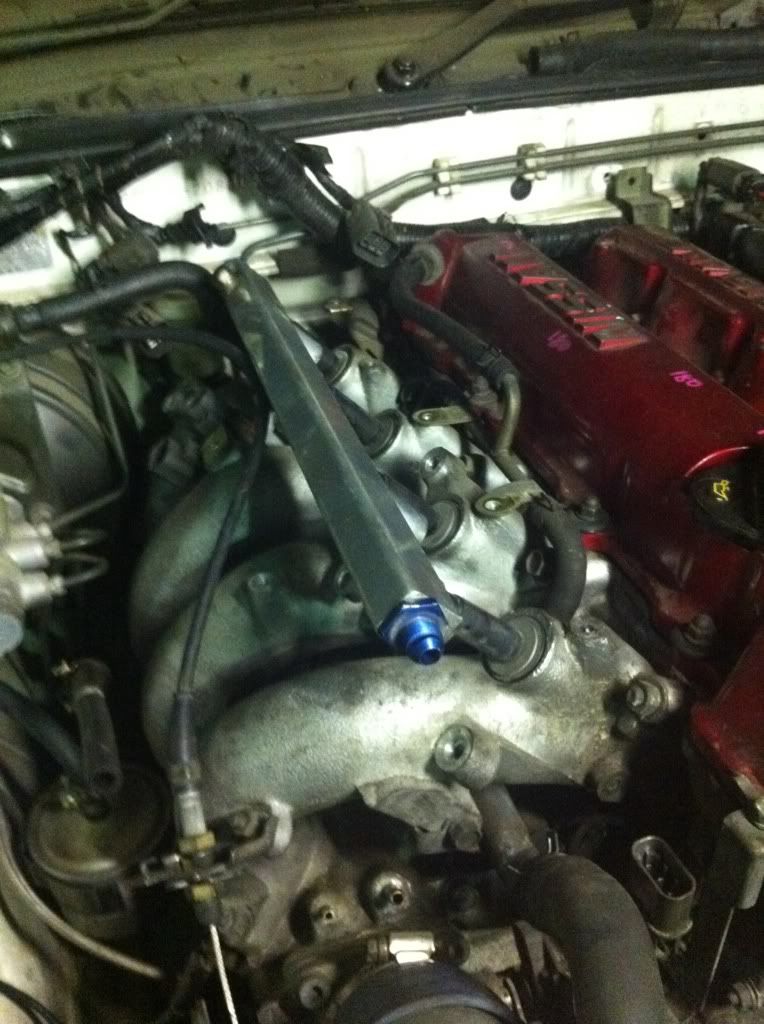
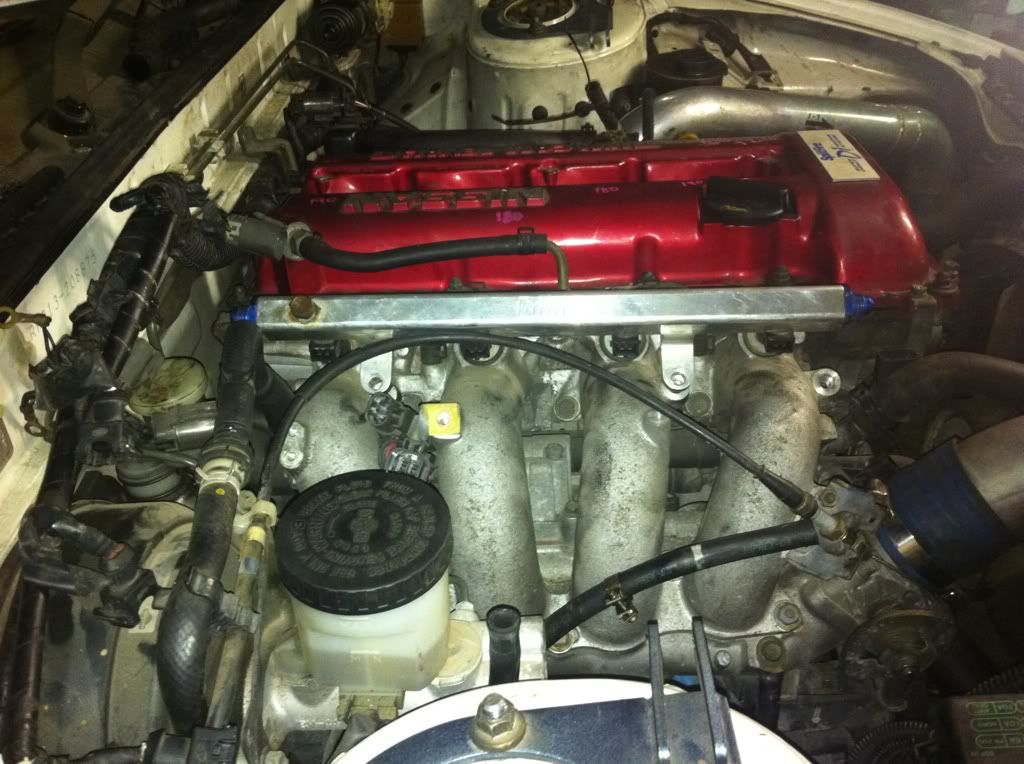
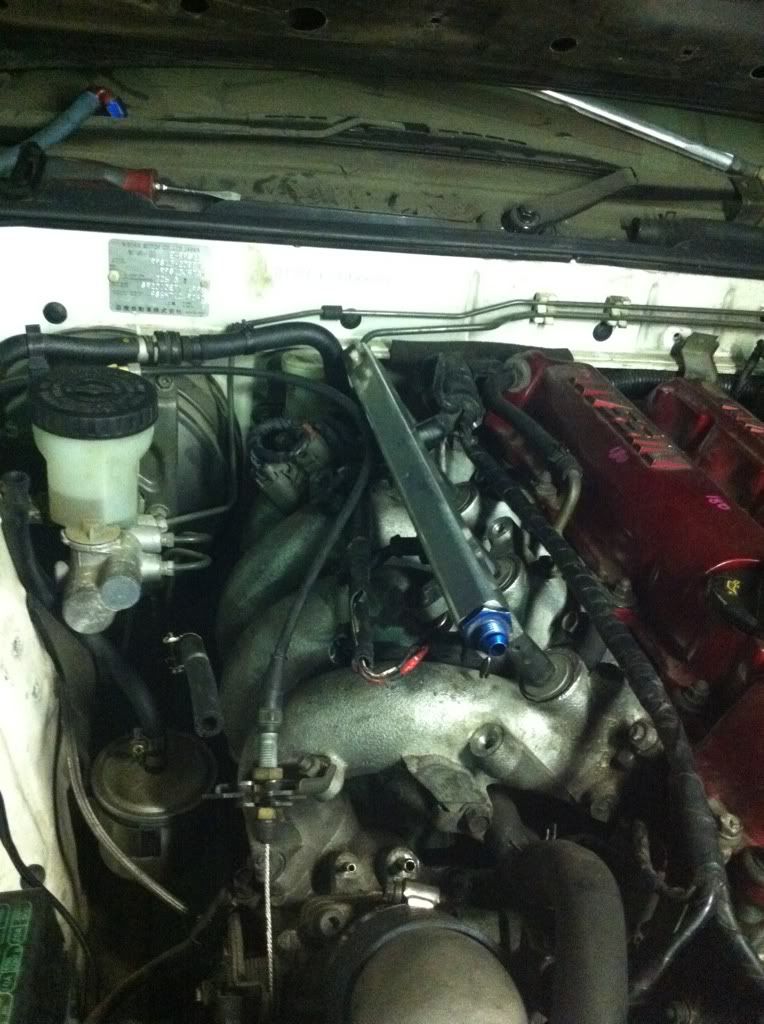
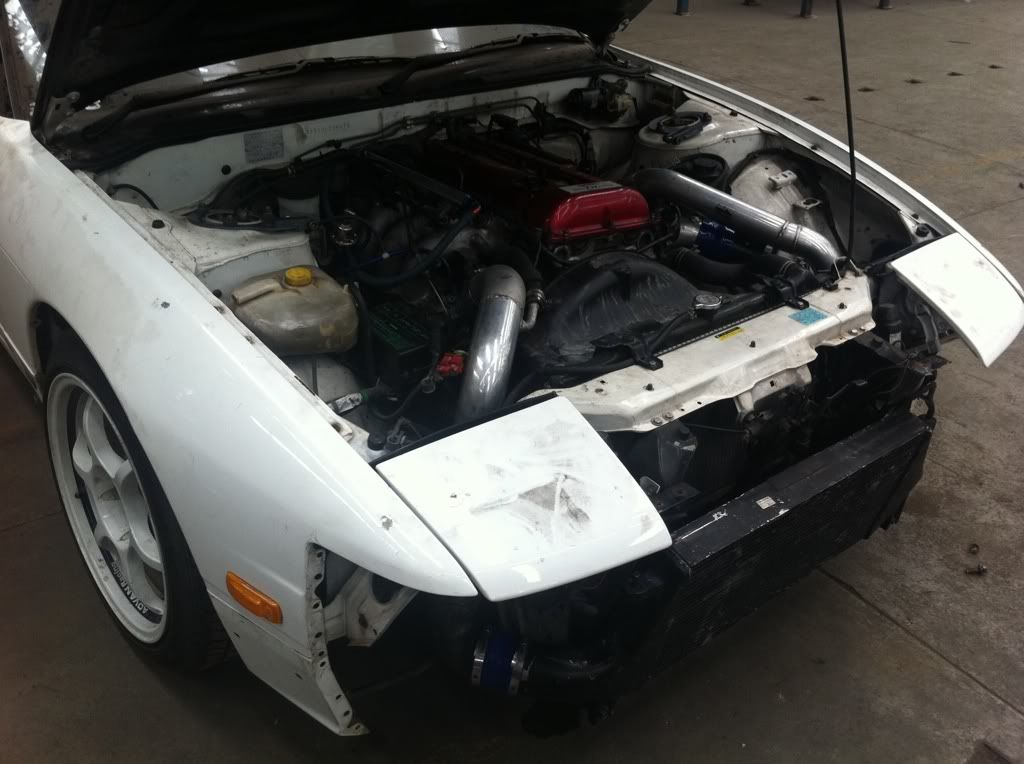
 Now I mentioned that it now has another SR20DE N/a under the bonnet but with a twist.. well have a look for yourself


Yes those are Tomei Quads and Cusco 4-1 ball racing extractors!! Run off a Tomei Reytec ECU, Waiting to go into the motor is a pair of Tomei 270 Degree Pro-cams and thats just for the moment the plans for that motor are purely insane!!

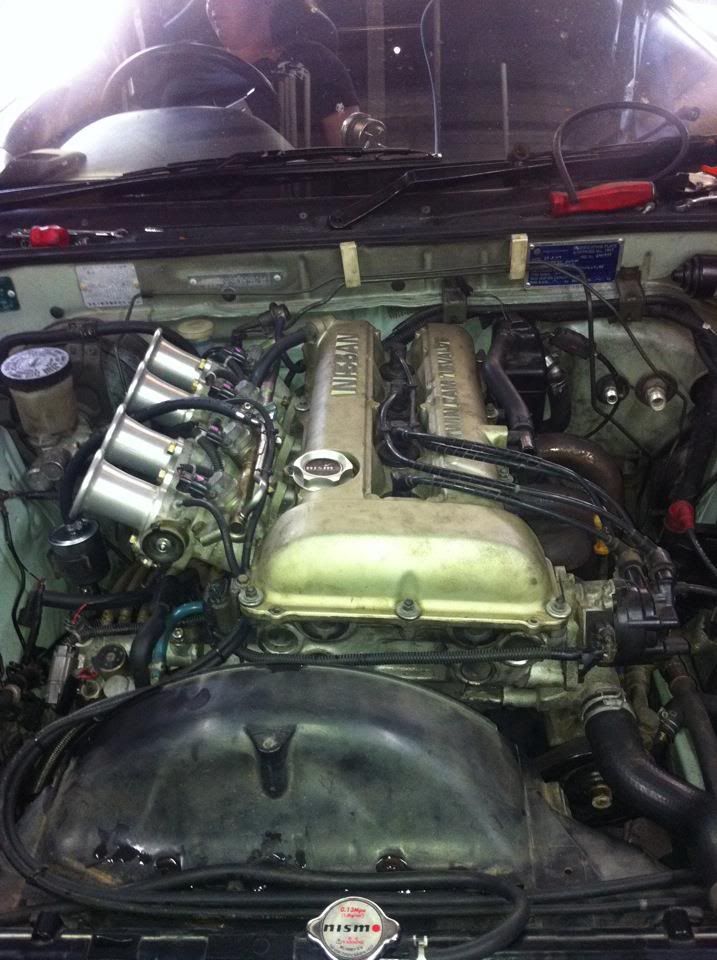
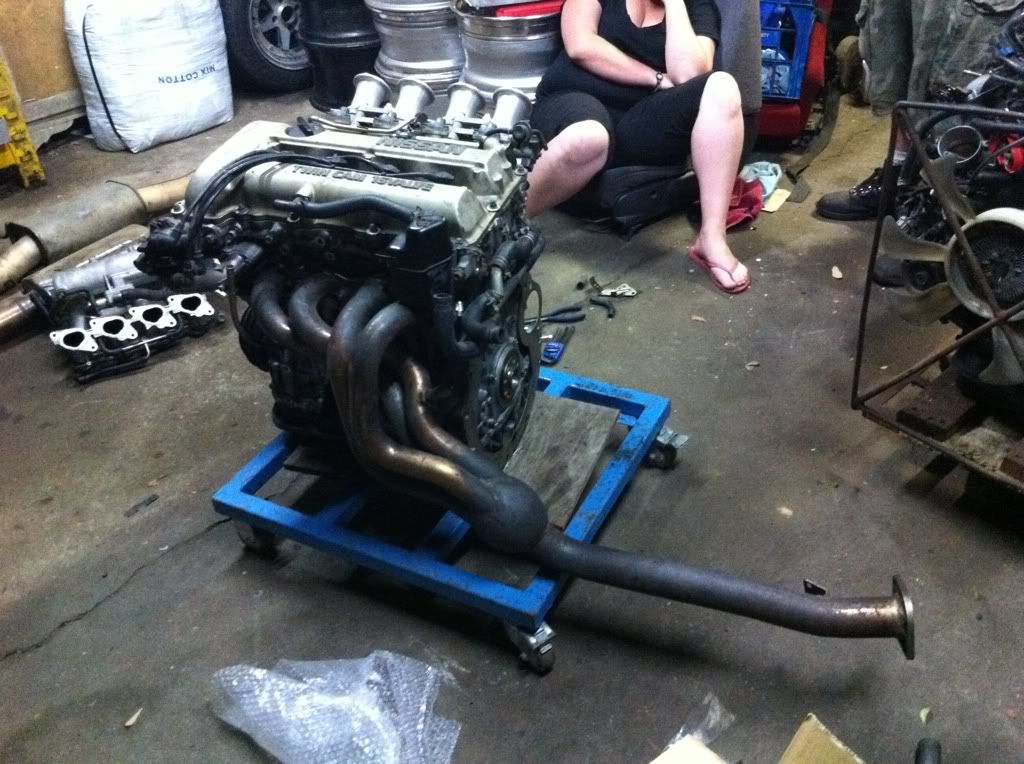
I will be doing a full write up on it once its nearing or complete so stay tuned!!

But for now I will leave you with this video of how it sounds... with no exhaust beyond the extractors


Take care my friends

Bev!

Thursday, October 13, 2011

Lead Up To Queensland Raceways Drift Matsuri - PT 1

Wow what an intense few weeks its been since my last update... Getting ready for Maturi really wasnt an easy task and the weekends leading up to it since my last post have been massive to say the least from cars to wheels and tyres to T-shirts we all were pretty exhausted and that was even before the event.. and now thats its done and gone and we have finally had a chance to sit for at least two hours and tried to reflect on the past weeks its just astonishing.

I mean where to start? one of the Saturdays we spent taking cars down to the wheel aligners? Bringing the 180 home from the warehouse? making our team shirts? I guess all i can do is go through my photos and tell the story from looking at them.. providing my memory wants to work properly.

Its just been a massive task to be honest but when its all said and done... it really was worth it we all had such a good time (even though we were all bloody exhausted) and so here is the lead up to a massive weekend of drifting!!.

Well to drift.. you really need to have an abundance of tyres and wheels... well wheels we had.. tyres.. not so much but with the help of certain people that changed over a period of about two weeks.

So we had Seventeen pairs of wheels.

well thats five pairs wtih tyres.

Now they are all 17" wheels from 8" to 9" and tyres from 215 to 235's can they all fit in the back of a falcon?
Of course they do!!!

 At the fitters.

 The Whole Collection (not including the ones on the cars)

The Guys that we got to fit them were absolute champs!!! they were a big part of getting us out to matsuri.

Next on the list was bringing the 180 home so we could finish of the few little bits and pieces and to get it wheel aligned, so one friday afternoon of to the warehouse we went to collect it.

Pulling the front bar off so we can load it
 Loaded onto the trailer for the first time in ages.

Well the car loaded onto the trailer and the tail lights removed because.. well they wernt bolted in and we didnt really want some unsuspected motorist wearing 180sx tail lights... well to be honest it wasnt worth the loss!!!
But Alas!! back in they went so we could give it a quick wash before leaving the warehouse.


Clean!!!! ish....

 First taste of sunlight in ages!!
  They see me rollin'

Home

Now the next day we had the three track cars booked in for a wheel alignment but the 180 had other plans, we knew it had an exhaust leak so we had acquired a multi-layed metal exhaust gasket and other gaskets to replace the old decrepit ones.. only to find with the manifold off it had a stud snapped in the side of the head.

Poooooo

 S15 T28BB

Bella Agrees!!

Type X Taillights installed.

 Well next was the mission of getting three un-registered cars down to them so they would actually steer the way we wanted them to.. and what a mission that is.. some of you can understand loading a car onto a trailer and then unloading it.... well the Saturday we had it done we did it four times for each car.. well only two that particular weekend because the 180 wasnt drivable.. 

 The Green Machine at the aligners 
The Monster loaded and ready to go
 Getting Aligned 
 
 Since the 180 couldnt make it that weekend we put the Sil up.

That afternoon was spent doing more work on the cars.. and we somehow found ourselfs having an S13 party!!

Well its sorta started out like this.


Which then became!


Well thats it for Part 1, Stay tuned for the next part.. which ill try and do tomorrow.

I hope you liked the... well the photo bomb!!

As always stay safe my friends.

Bev


Tuesday, September 6, 2011

Project Origin X - The Next Step

The other week we made a lot of progress on the 180sx It went from being an empty rolling shell to a half complete car with the Engine, Gearbox, 5-Stud conversion, S15 Brakes, Coilovers, some exterior pieces all getting put in the front end.

Well last week Nathan and I went about collecting what we needed to put the rear end back together and get the white beast running again.

-Fuel Tank
-Rear Subframe with Diff
-Computer
-Engine harness to suit AFM and Injectors
-Dug out the 5-stud rear hubs
-Pilfered 5-stud rear rotars off of Nathans Champagne car

Ok by Pilfered I mean we upgraded the rear brake setup on Nathans car with a full drum hand brake, twin-pot rear calipers and bigger rotars, unfortunately I never got the chance to take any photos as i was helping nathan dismantle the rear end which is a big job as you might be able to imagine.

For starters you need to of course jack the back of the car up and pull off the wheels.. (obviously) next step is to pull off the rear calipers and rotars so you can remove the split pin and then the nut that holds the half-shaft in place. Next you need to remove the rear section of the exhaust as you need access to the bolts that secure the half-shafts to the splines on the diff.. your properly wondering why we had to go to so much effort well thats simple you need to remove the backing plate for the rotar as 1. its to small for the larger rotar but also the drum handbrake setup has it all incorporated into the backing plate.

To remove the backing plate you need to remove the hub and thats the rear end completely disassembled then its a reverse of the above procedure to assemble the bigger brake setup.

So as to be able to complete the rear end of the 180 we needed to first upgrade Nathans.

The next day we were back to work on the 180 and what a long day it was!! at the end of the day it was well worth it because we got the car started.

Hmmmm parts parts... and more parts.

  • Fuel Tank
  • Tail shaft
  • asortment of cooler pipes
  • front reo
  • Wheels
  • GTR cooler and a Hybrid core
  • 5 Stud rear rotars
 Rear subframe sitting in the back of the work horse


Centre garnish and console.

 Door cards

 Interior (before we put the door cards in)

One of the biggest jobs of the day was installing all the rear end pieces, but first we had to drop the cradle that we put in it so it could be pushed around.. why didnt we use said cradle you ask? well it is a Hi-cas rear subframe which is pooo for pretty much any application so it had to come out.
Rear jacked up and on stands

Half dissasembled

 Subframe gone... after some persuading

Thrown aside... literally

What our work space looks like!

Once that was all out and gone pulled the new subframe out of the back of the falcon and with the help of the trolly jack express it was under and installed in the back of the car.

Subframe installed

Once we had the subframe in the next step was to put in the rear coilovers, rotars, reattach the brake calipers and put in the tailshaft.
 Rotar, caliper and coilovers in place.

  Hows ya farther? Mr Diff chilling in his new home.

 Bare tunnel ready for a tailshaft

 Do I really have to go up there?

 Short answer... yes!

 Next... Mr Fuel tank! might not see it but its in there
Wheels on!!

Just chilling 

 On the ground!! (yes needs more low but will do for now)

Well at that point the rear end was in and pretty much finished, well we still need to lower it, adjust the camber and toe as much as we can with the stock arms and install some C-Type Alloy bushes.

The next step into the journey was to get the car running and that meant that we had to setup the Front mount piping and the GTR cooler itself and thanks to Mr Nathans ingenuity we had it mounted and ready for action!

Getting the postion right (Hibrid photo bomber!!)

 looks bang on now to install the brackets instead of using wood

 With the cooler mounted and secured the next step was to install the engine harness... wait what? yeah we had a harness on the engine last time but we ended up opting for running a Apexi Power FC, Z32 AFM and 680cc injectors on a custom rail so we decided to use the harness with the right plugs already on it to save us some work.

Once the harness was in it was time to install the fuel rail and setup the FPR and hosing.

standard rail and injectors removed.

 Metal intake pipe and custom hot pipe to suit GTR Core

 Injectors and rail installed.

 Harness attached to injectors.

Running fuel line.

I actually didnt take any photos of the fuel system complete but all that is really left to do is secure the FPR and its done pretty much, after that we got the engine running be it quite rough at first but that was to be expected as the Power FC had no tune in it and injector settings and the FPR adjusted to suit the injectors and it was running quite nicely and loud!! but thats only because it has a front and dump pipe on it and nothing else.


Now we heard the engine running when it was still in the halfcut but that was with standard injectors and computer and we knew the thing had oil in it, but we noticed this time it was a little bit noisy mechanically... well after we ran it we dropped the oil and found 7 Litre of all i can discribe as black water...

We ended up calling it a night at this point as it was about 9pm and we were pretty buggered, we went and did some more work on it the next day but i didnt end up taking anymore photos apart from this one after we changed all the fluids and had the motor running better and lacking the mechanical noise that it had the night before... I guess nice castrol edge sport will do that!! 

Front end more or less complete (minus reo)


going to do some quick oil changes on it to give it a good flush before Matsuri and a good tune and it should be ready to rip!

Big thanks again to Nathan for all of his hard work he has put into the car!!

Well i hope you enjoyed this long post please stay tuned for future updates.

As always stay safe!!

Bev!!