Tuesday, September 6, 2011

Project Origin X - The Next Step

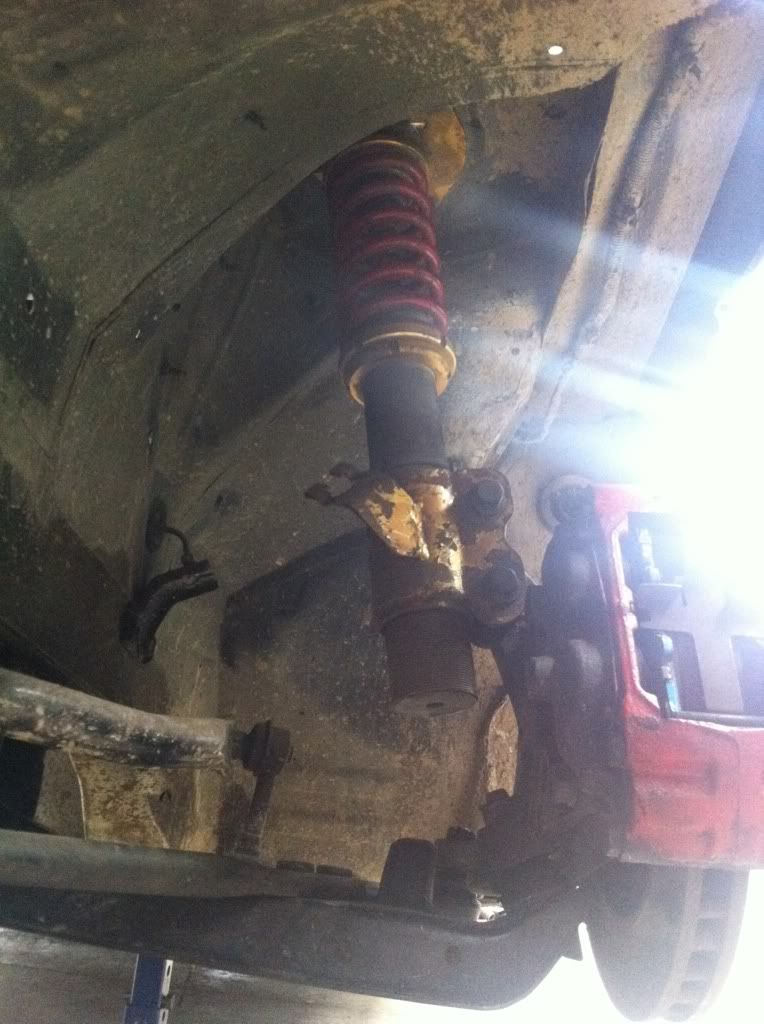
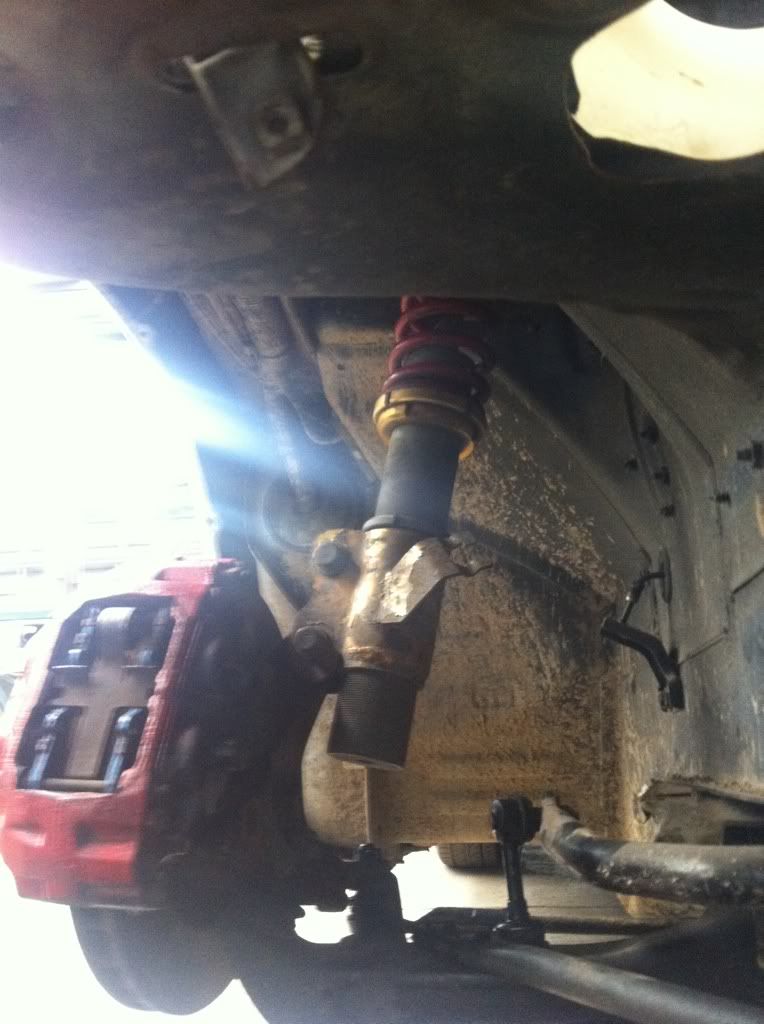
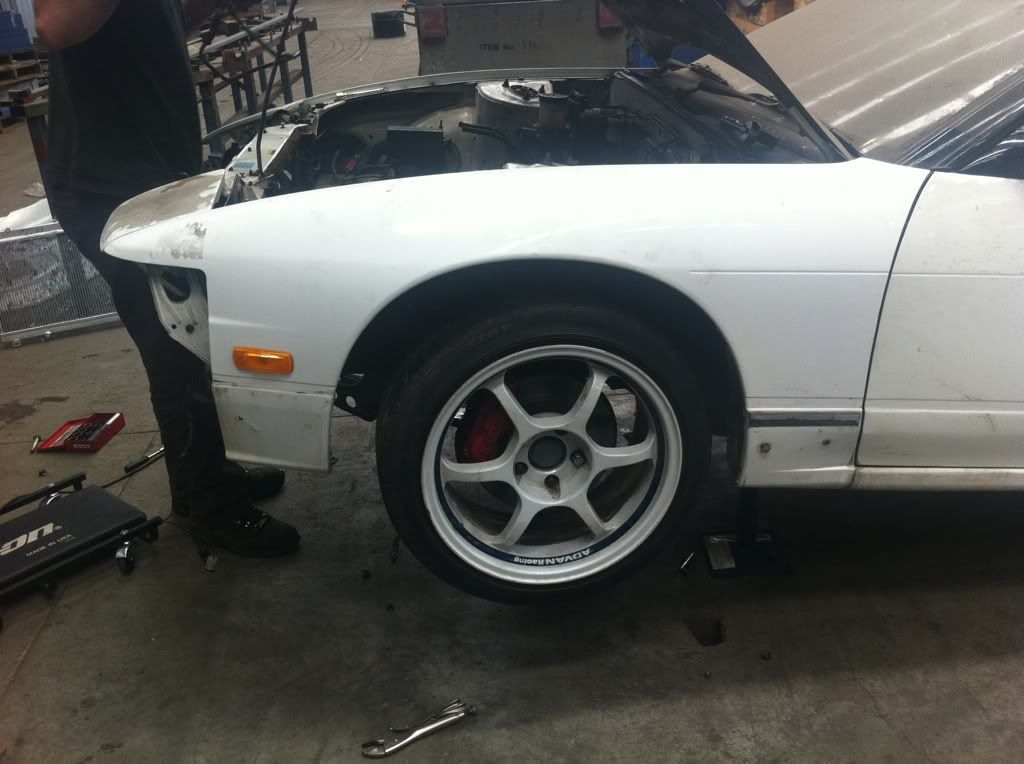
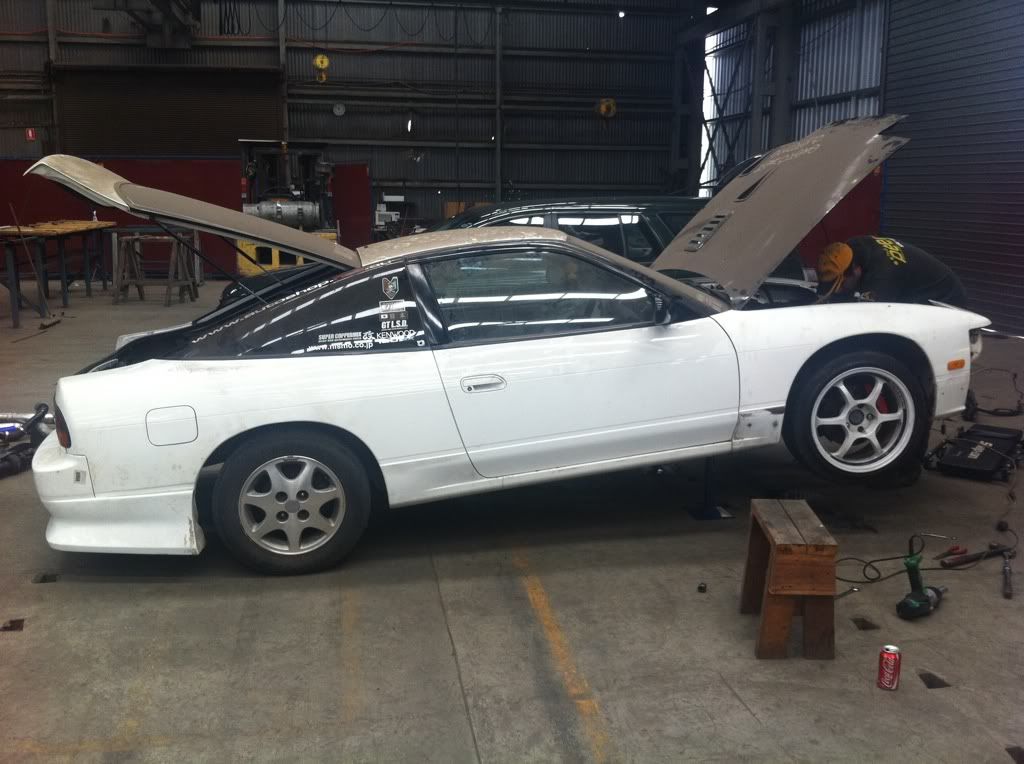
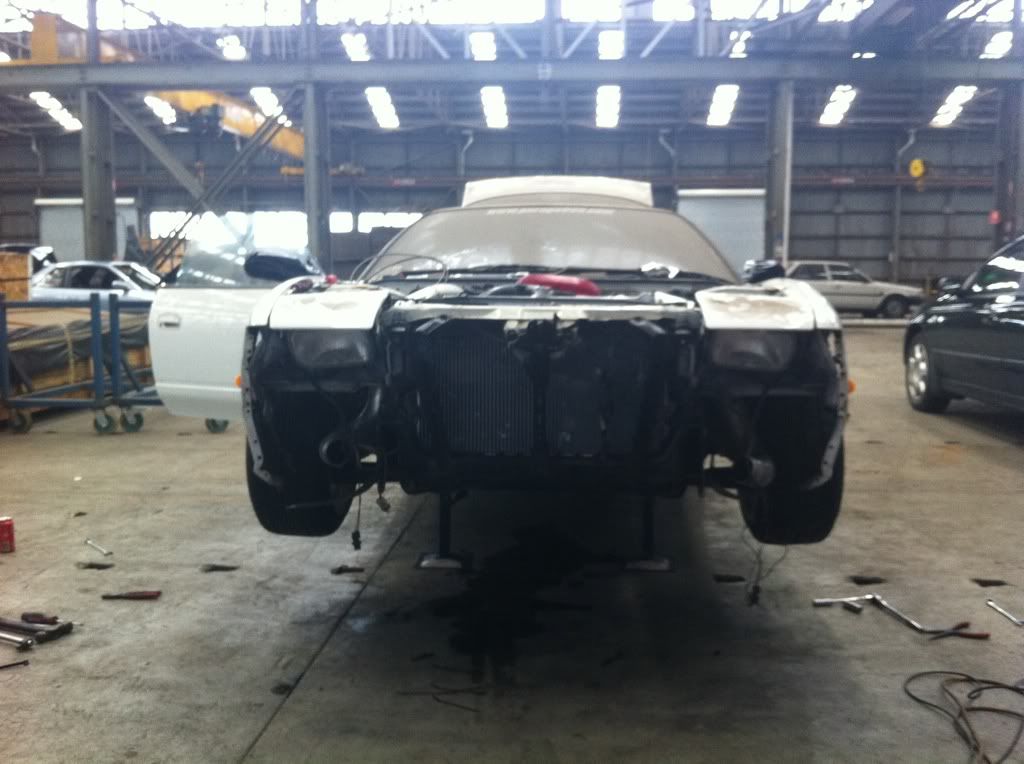
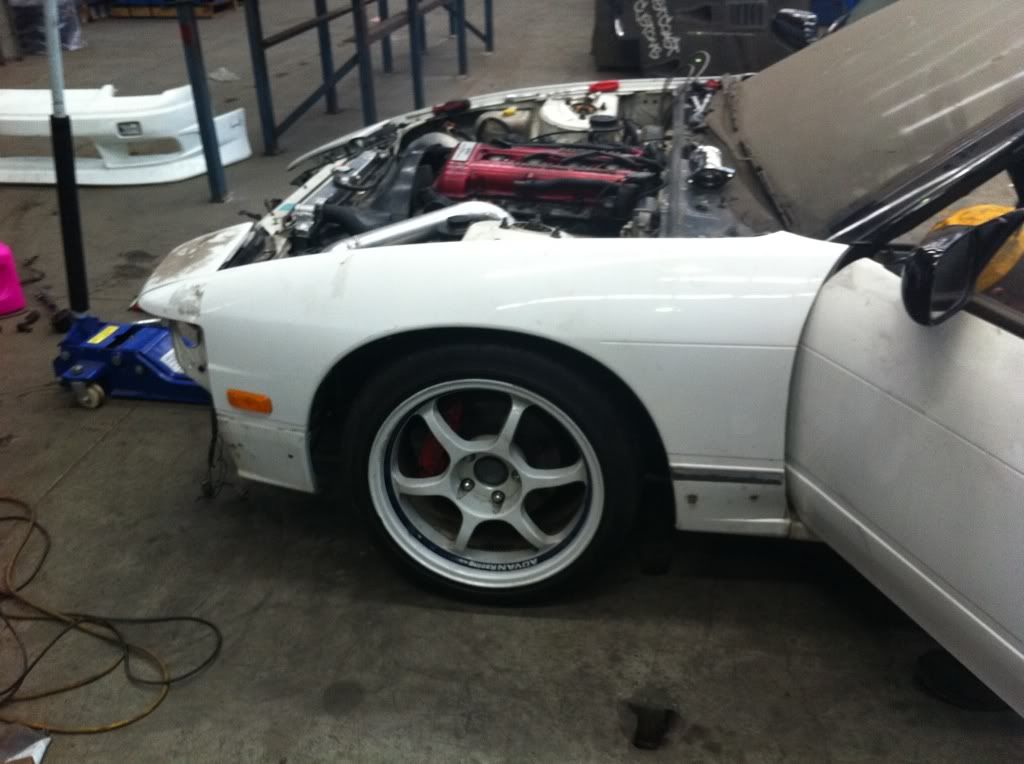
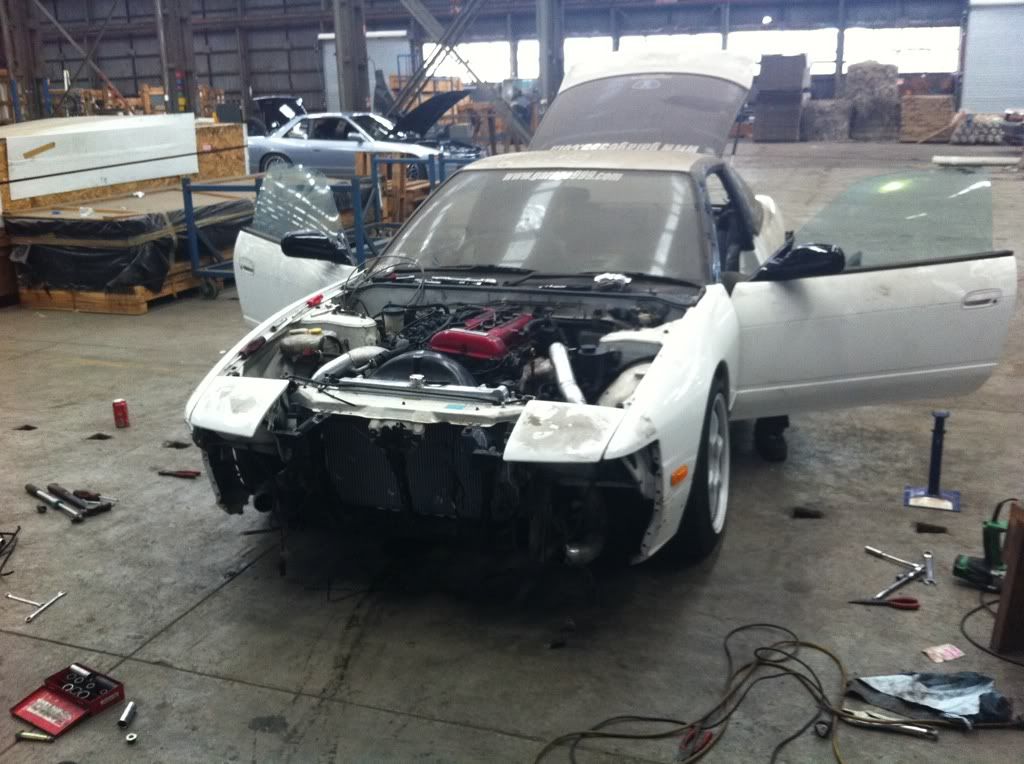
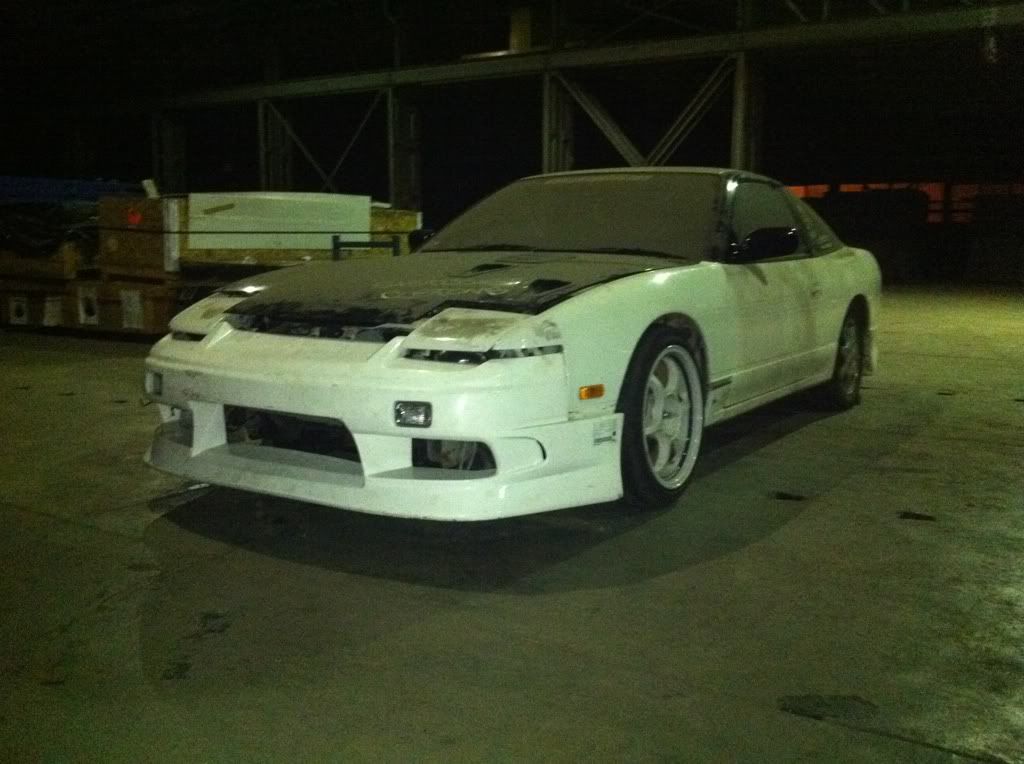
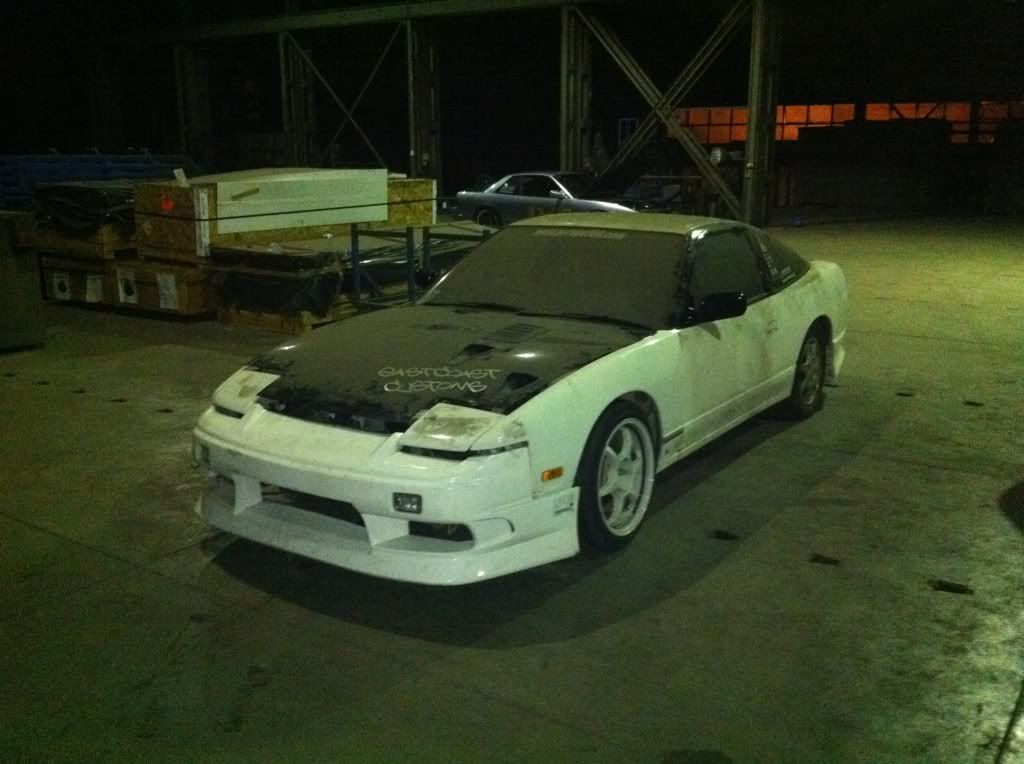
The other week we made a lot of progress on the 180sx It went from being an empty rolling shell to a half complete car with the Engine, Gearbox, 5-Stud conversion, S15 Brakes, Coilovers, some exterior pieces all getting put in the front end.

Well last week Nathan and I went about collecting what we needed to put the rear end back together and get the white beast running again.

-Fuel Tank
-Rear Subframe with Diff
-Computer
-Engine harness to suit AFM and Injectors
-Dug out the 5-stud rear hubs
-Pilfered 5-stud rear rotars off of Nathans Champagne car

Ok by Pilfered I mean we upgraded the rear brake setup on Nathans car with a full drum hand brake, twin-pot rear calipers and bigger rotars, unfortunately I never got the chance to take any photos as i was helping nathan dismantle the rear end which is a big job as you might be able to imagine.

For starters you need to of course jack the back of the car up and pull off the wheels.. (obviously) next step is to pull off the rear calipers and rotars so you can remove the split pin and then the nut that holds the half-shaft in place. Next you need to remove the rear section of the exhaust as you need access to the bolts that secure the half-shafts to the splines on the diff.. your properly wondering why we had to go to so much effort well thats simple you need to remove the backing plate for the rotar as 1. its to small for the larger rotar but also the drum handbrake setup has it all incorporated into the backing plate.

To remove the backing plate you need to remove the hub and thats the rear end completely disassembled then its a reverse of the above procedure to assemble the bigger brake setup.

So as to be able to complete the rear end of the 180 we needed to first upgrade Nathans.

The next day we were back to work on the 180 and what a long day it was!! at the end of the day it was well worth it because we got the car started.
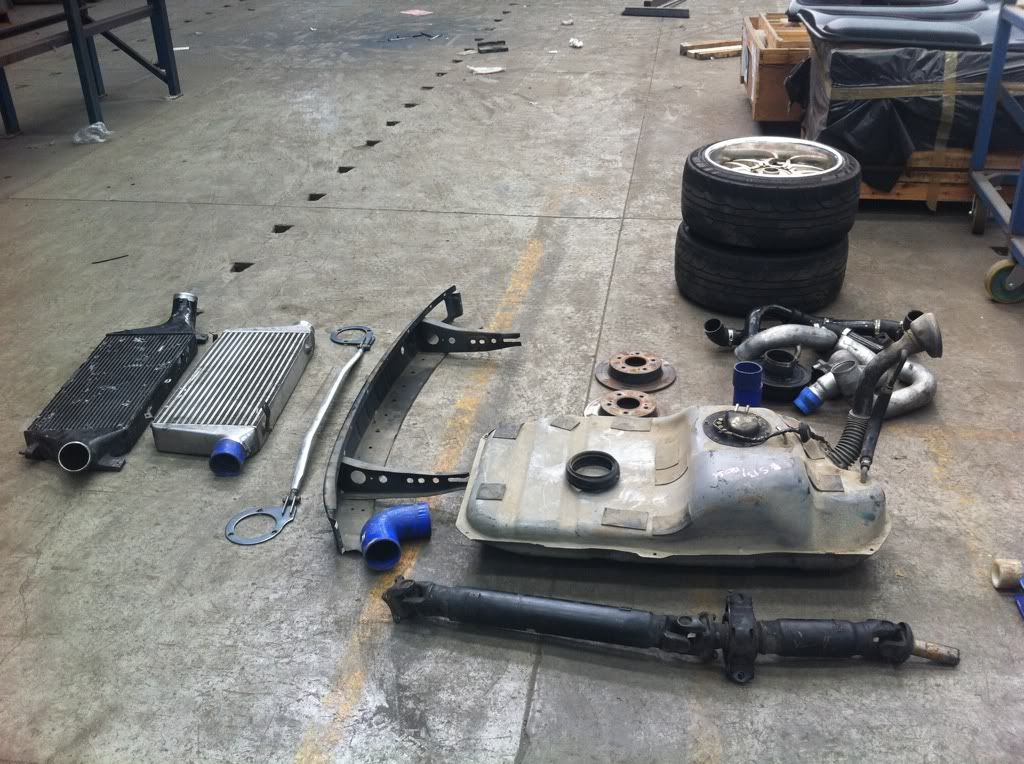
Hmmmm parts parts... and more parts.

  • Fuel Tank
  • Tail shaft
  • asortment of cooler pipes
  • front reo
  • Wheels
  • GTR cooler and a Hybrid core
  • 5 Stud rear rotars
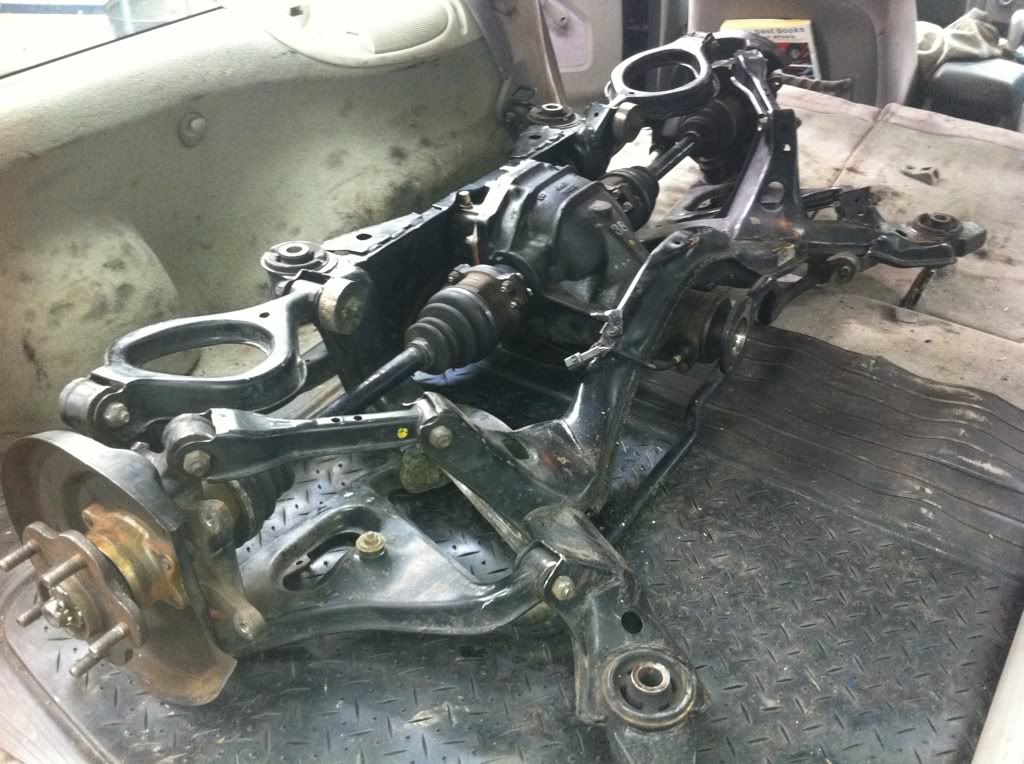
 Rear subframe sitting in the back of the work horse


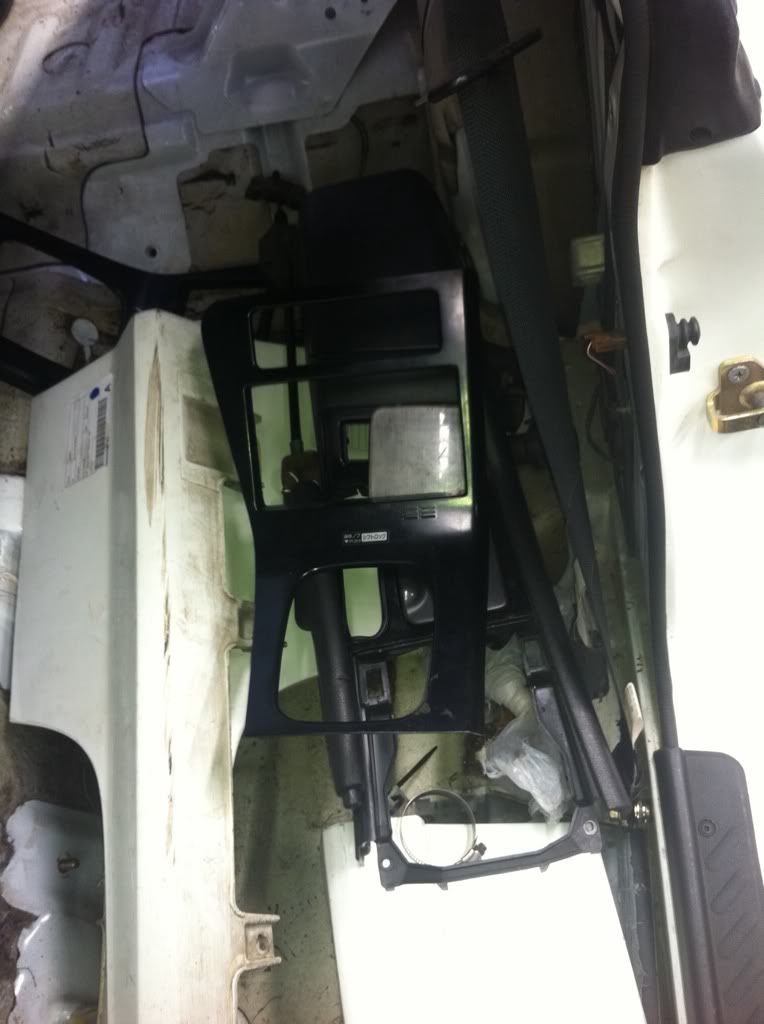
Centre garnish and console.

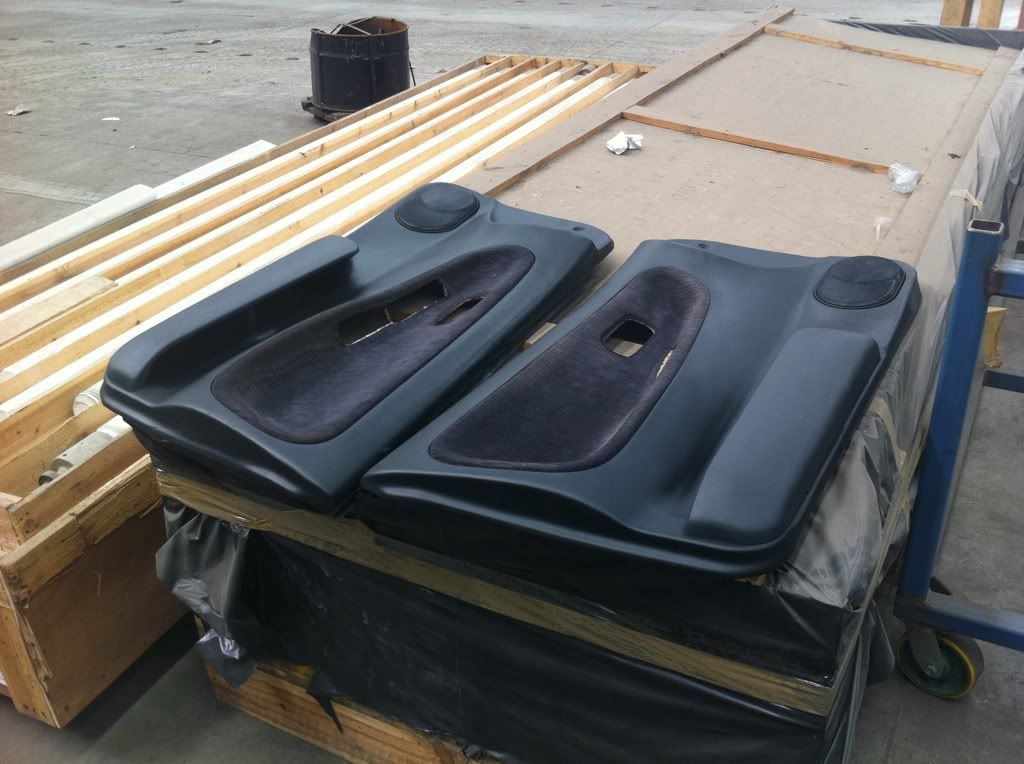
 Door cards

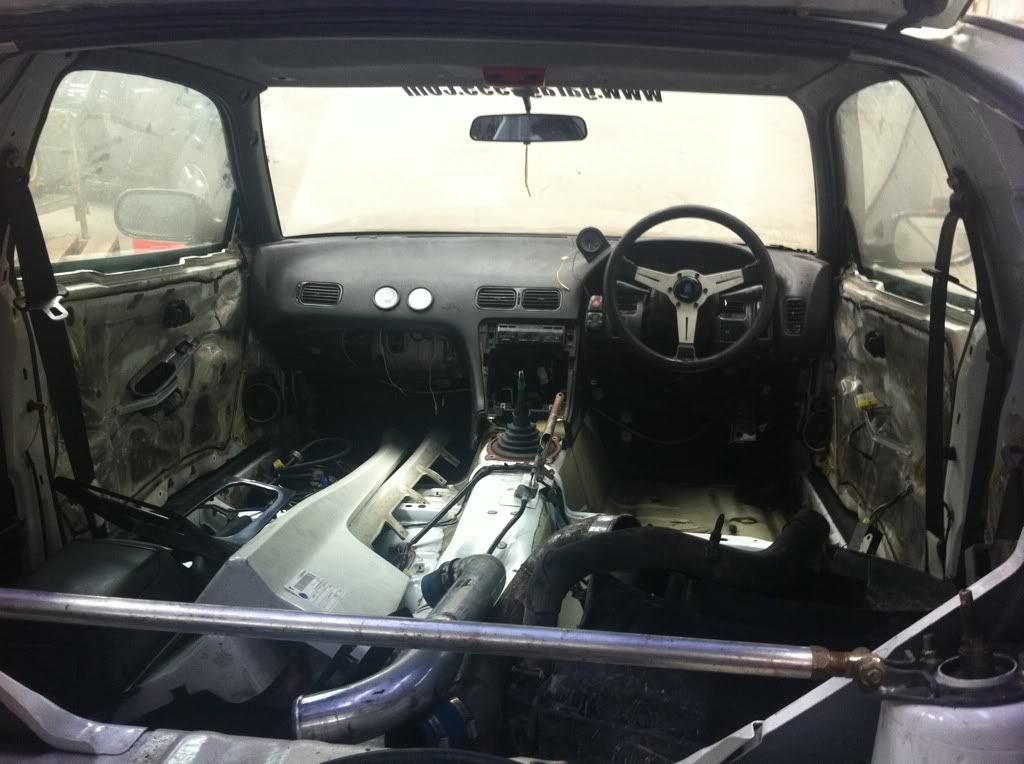
 Interior (before we put the door cards in)

One of the biggest jobs of the day was installing all the rear end pieces, but first we had to drop the cradle that we put in it so it could be pushed around.. why didnt we use said cradle you ask? well it is a Hi-cas rear subframe which is pooo for pretty much any application so it had to come out.
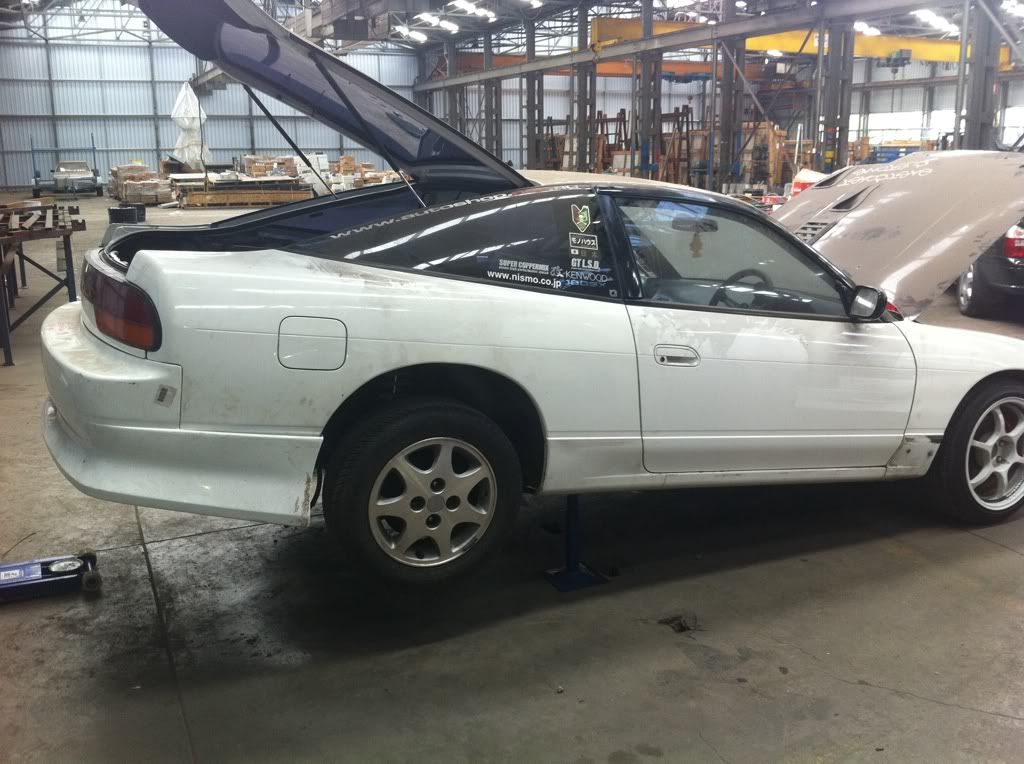
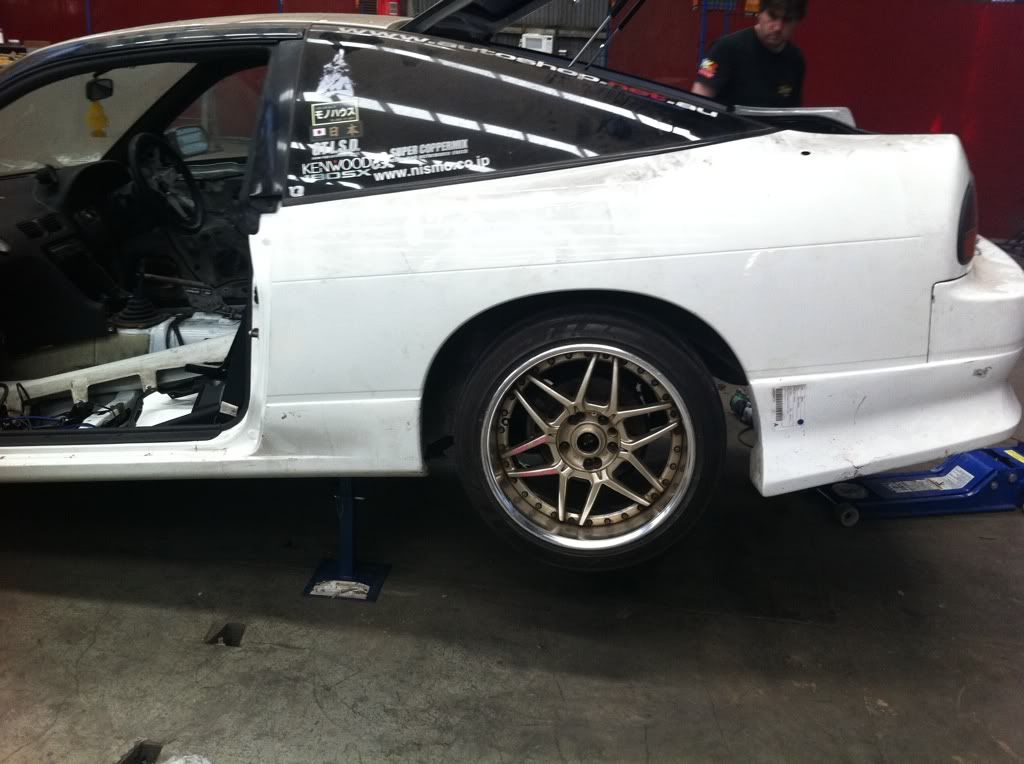
Rear jacked up and on stands
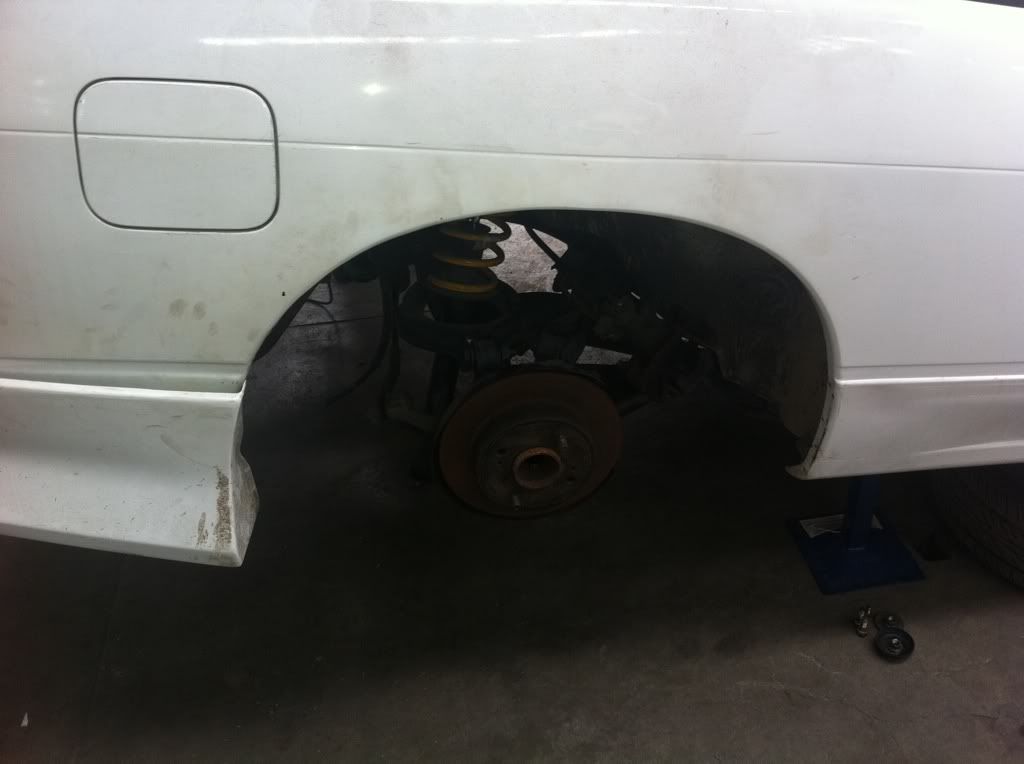
Half dissasembled
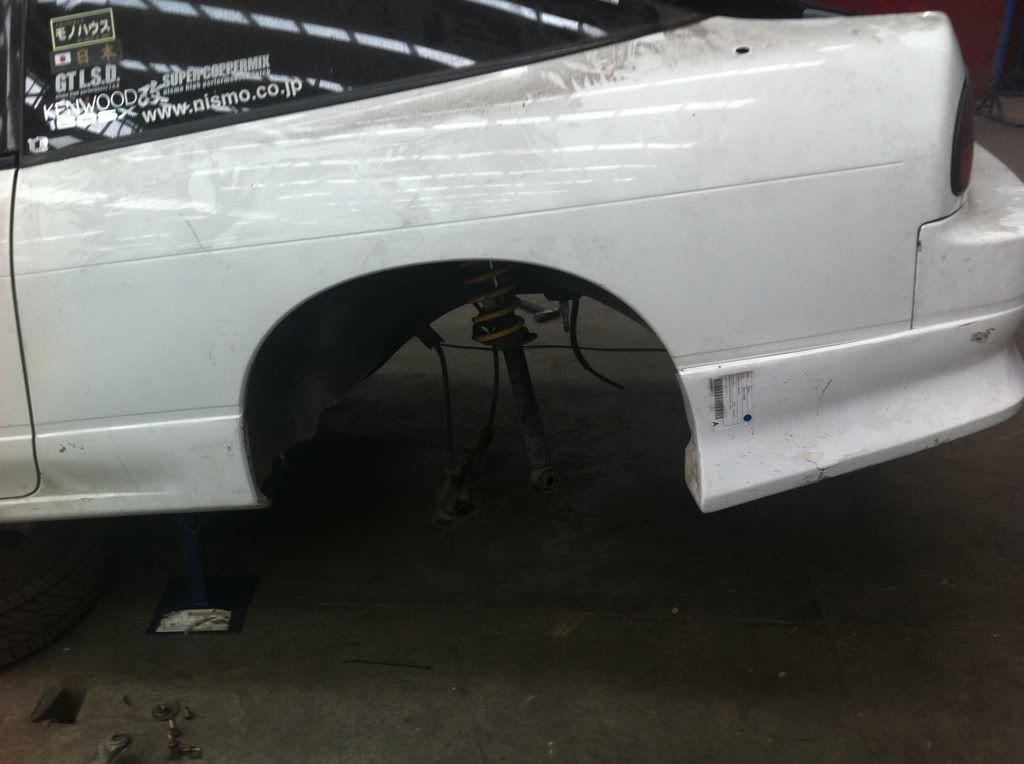
 Subframe gone... after some persuading
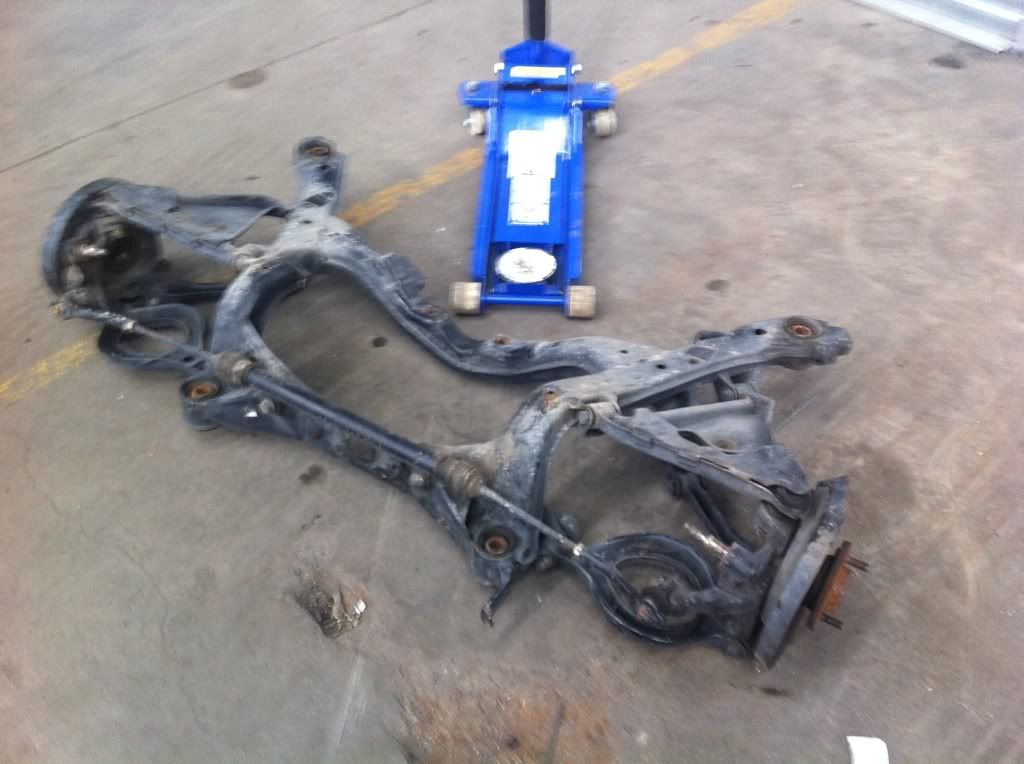
Thrown aside... literally

What our work space looks like!

Once that was all out and gone pulled the new subframe out of the back of the falcon and with the help of the trolly jack express it was under and installed in the back of the car.
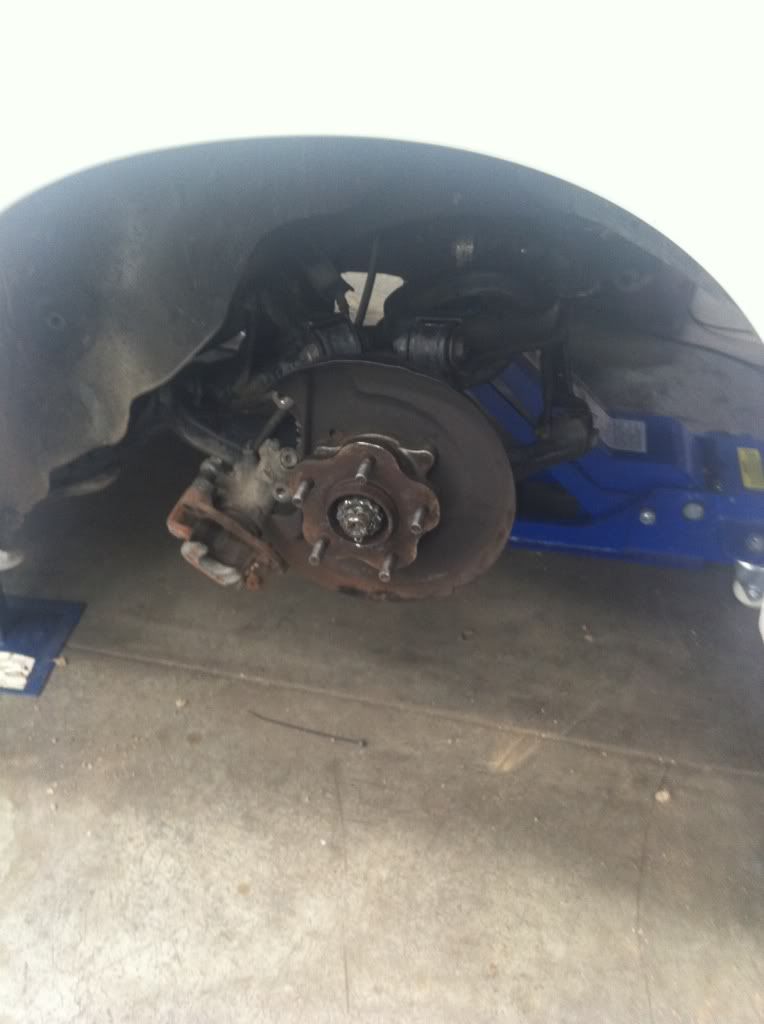
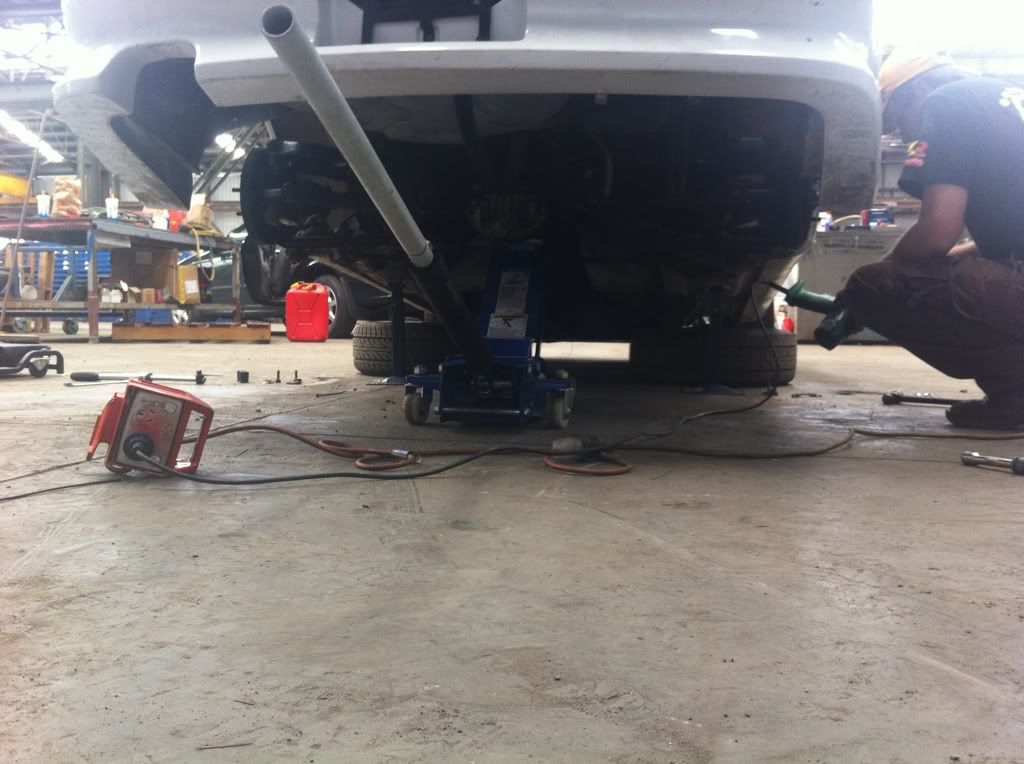
Subframe installed

Once we had the subframe in the next step was to put in the rear coilovers, rotars, reattach the brake calipers and put in the tailshaft.
 Rotar, caliper and coilovers in place.
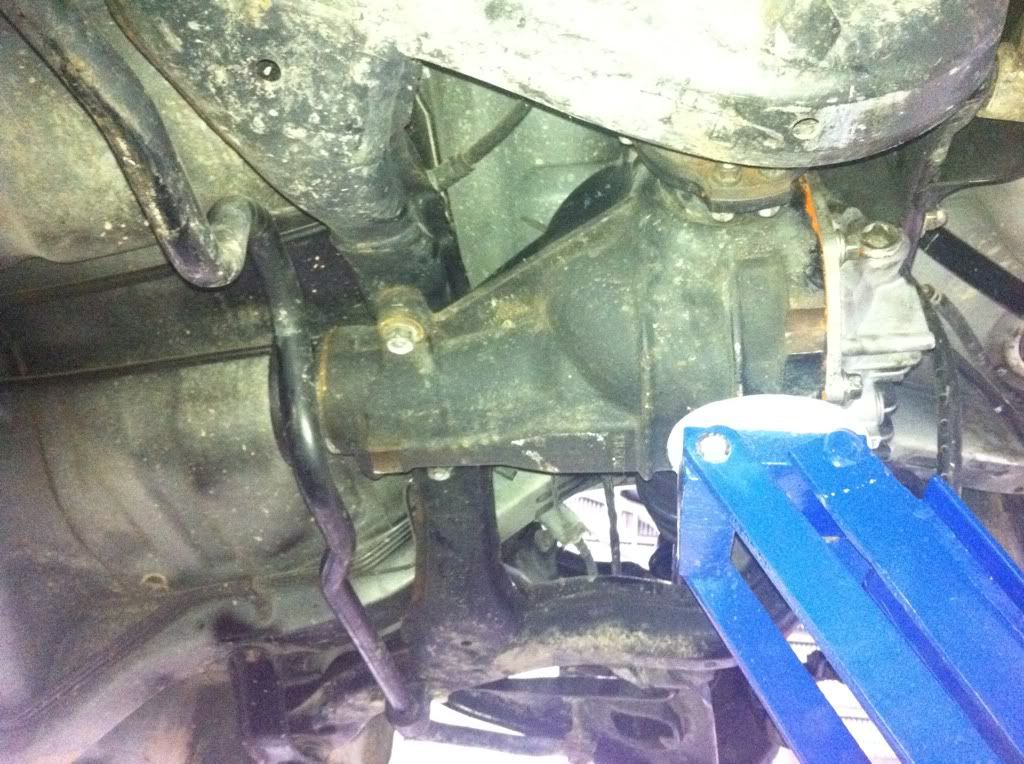
  Hows ya farther? Mr Diff chilling in his new home.
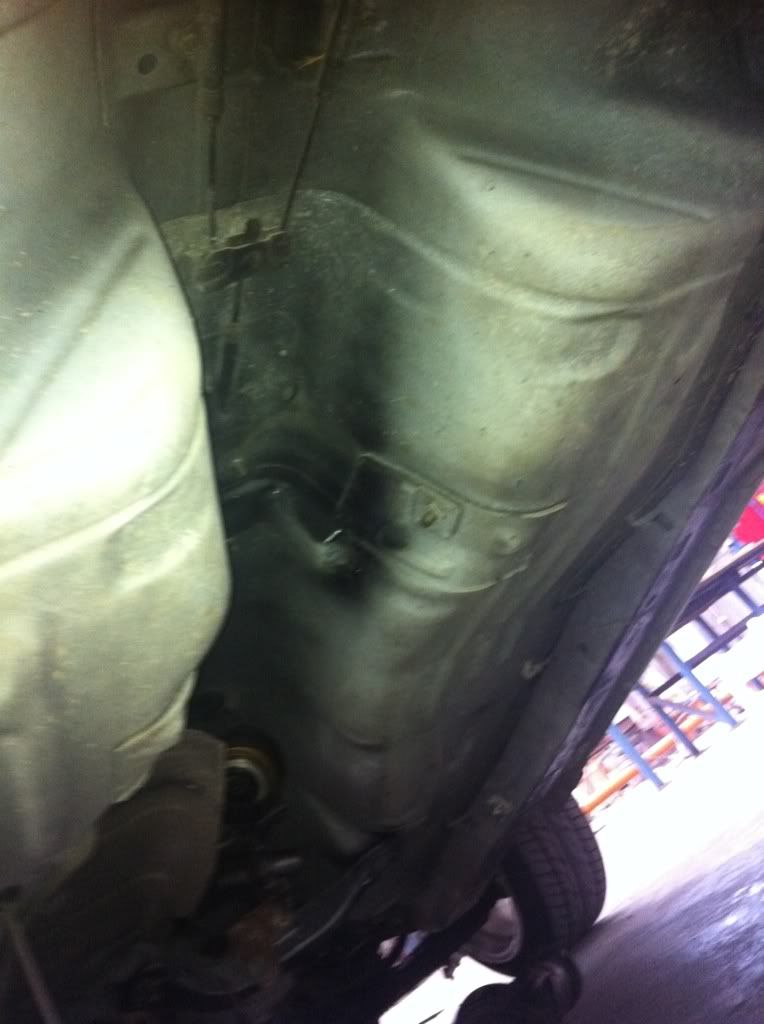
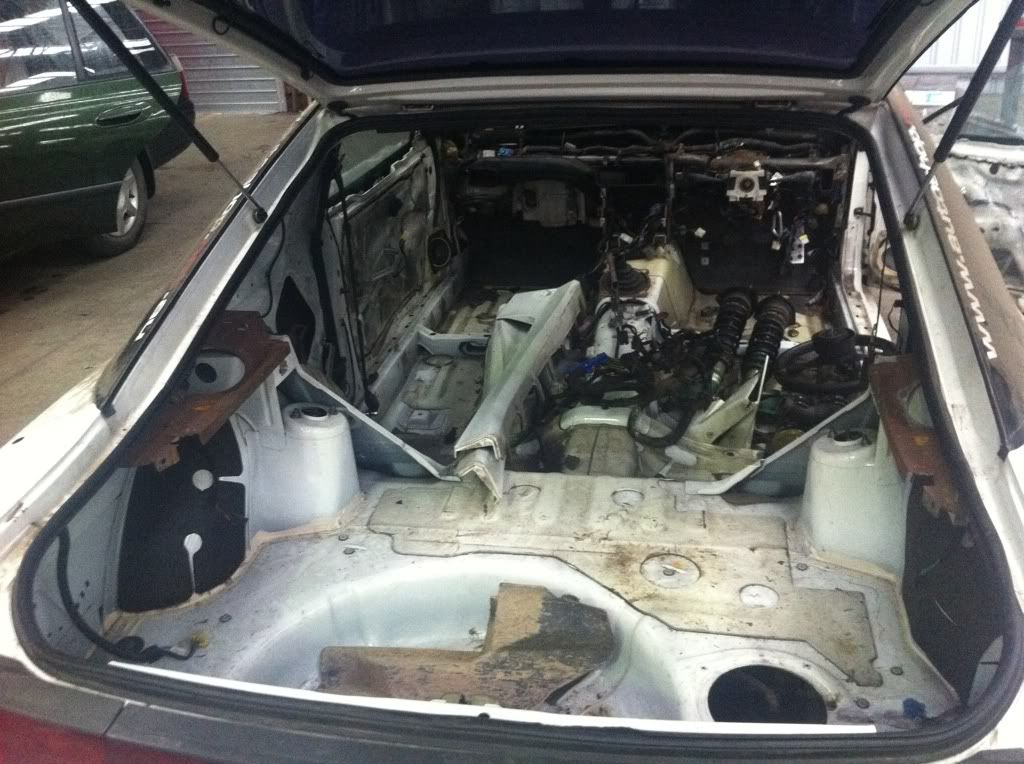
 Bare tunnel ready for a tailshaft
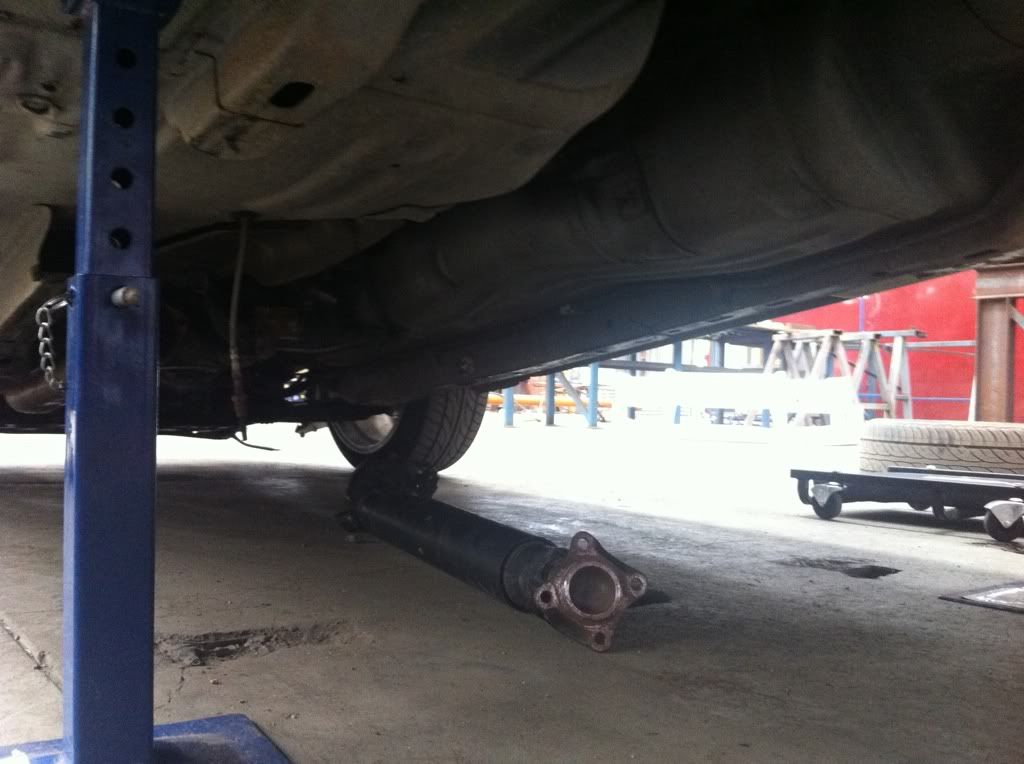
 Do I really have to go up there?
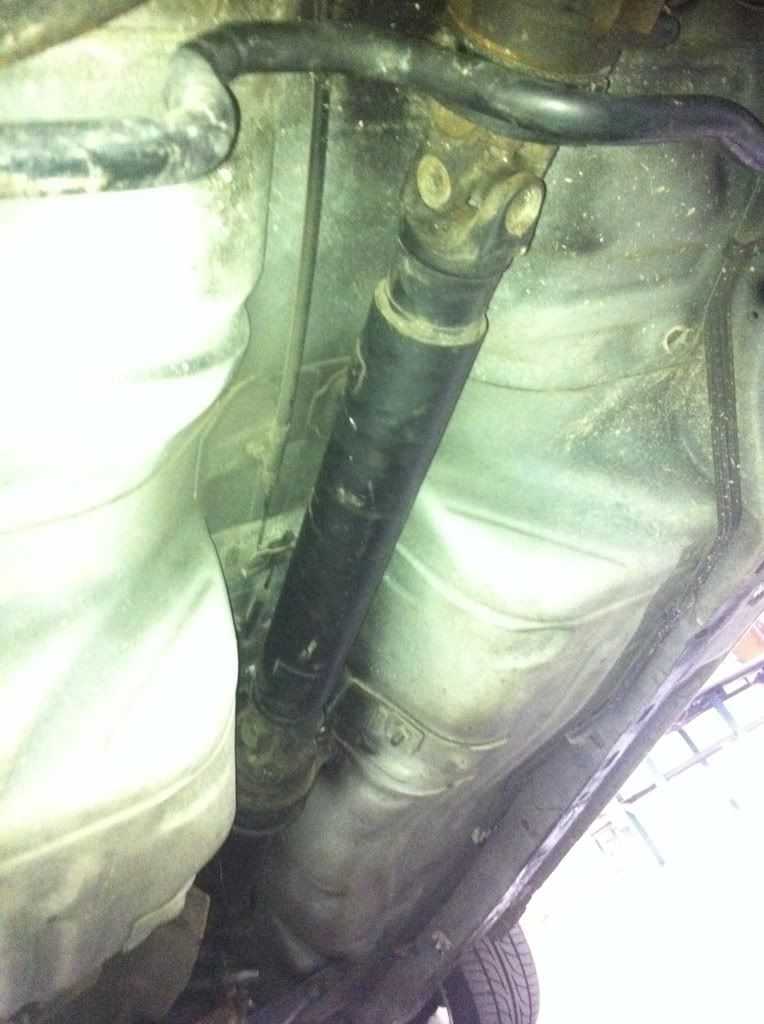
 Short answer... yes!
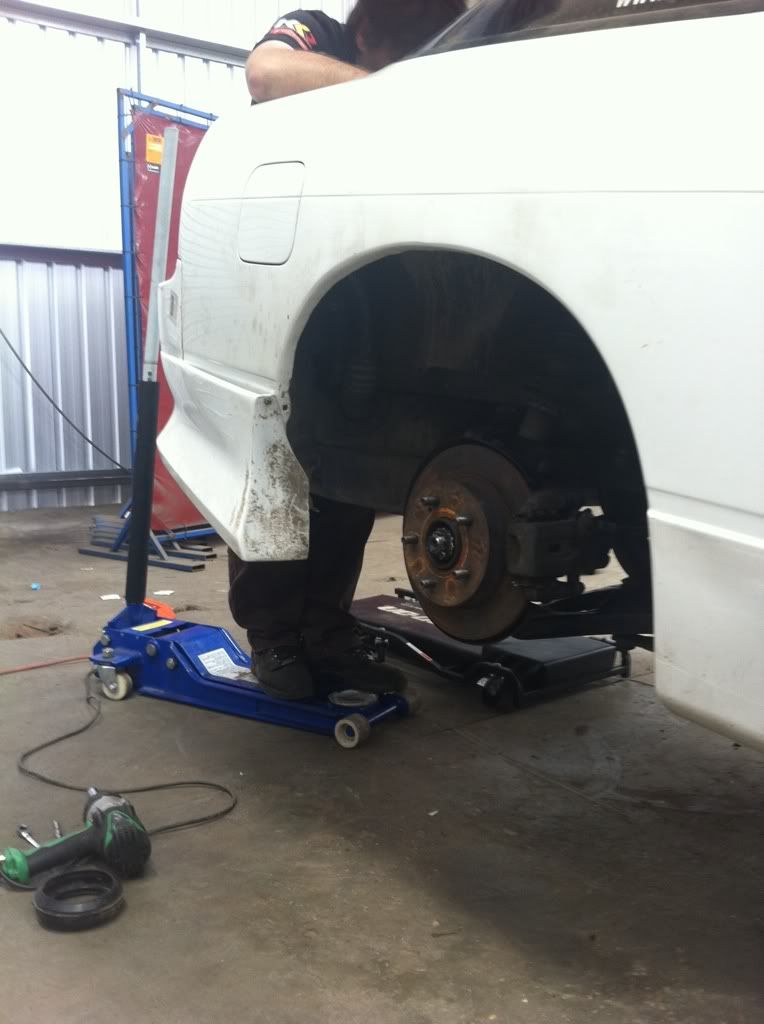
 Next... Mr Fuel tank! might not see it but its in there
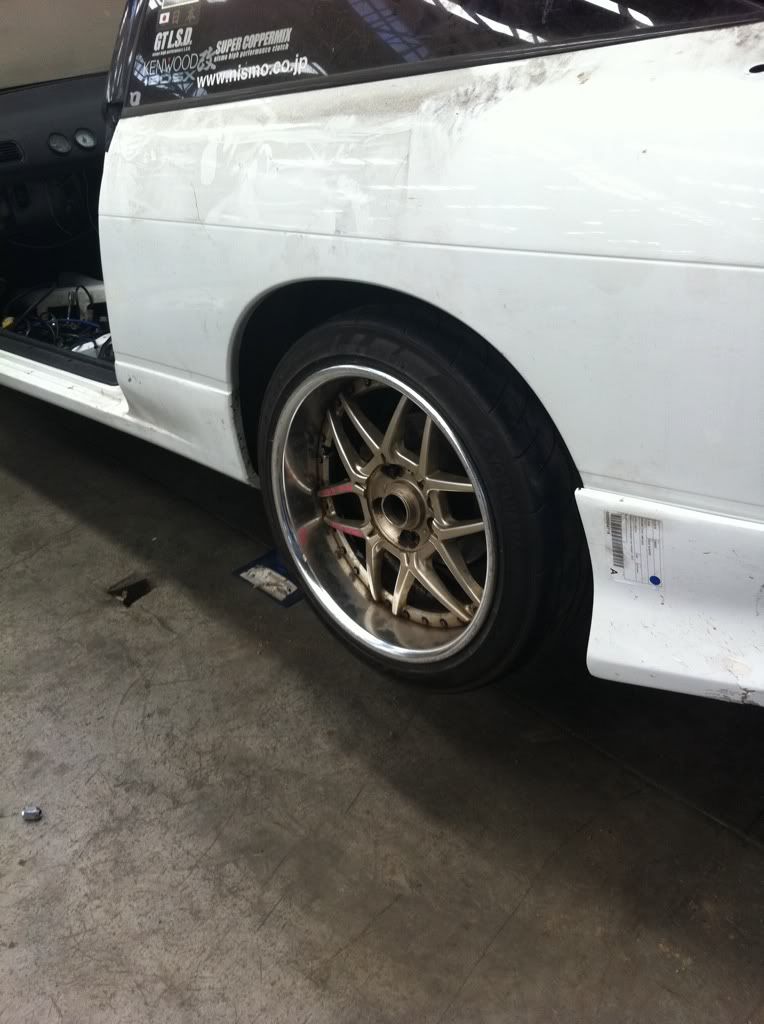
Wheels on!!
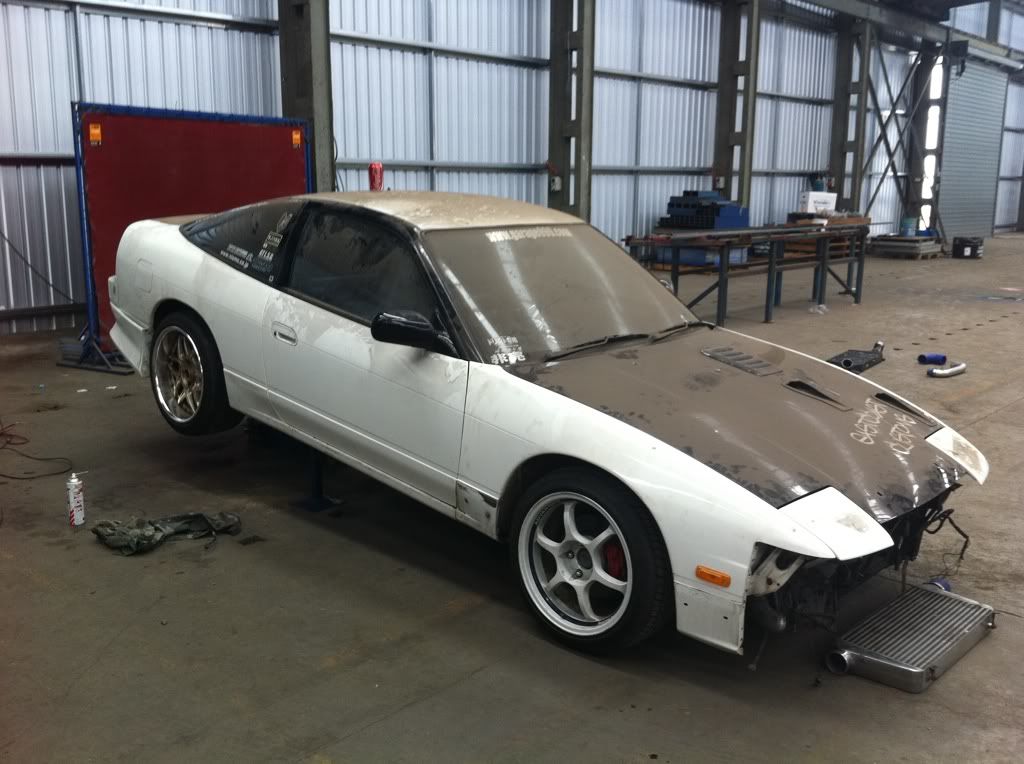
Just chilling 
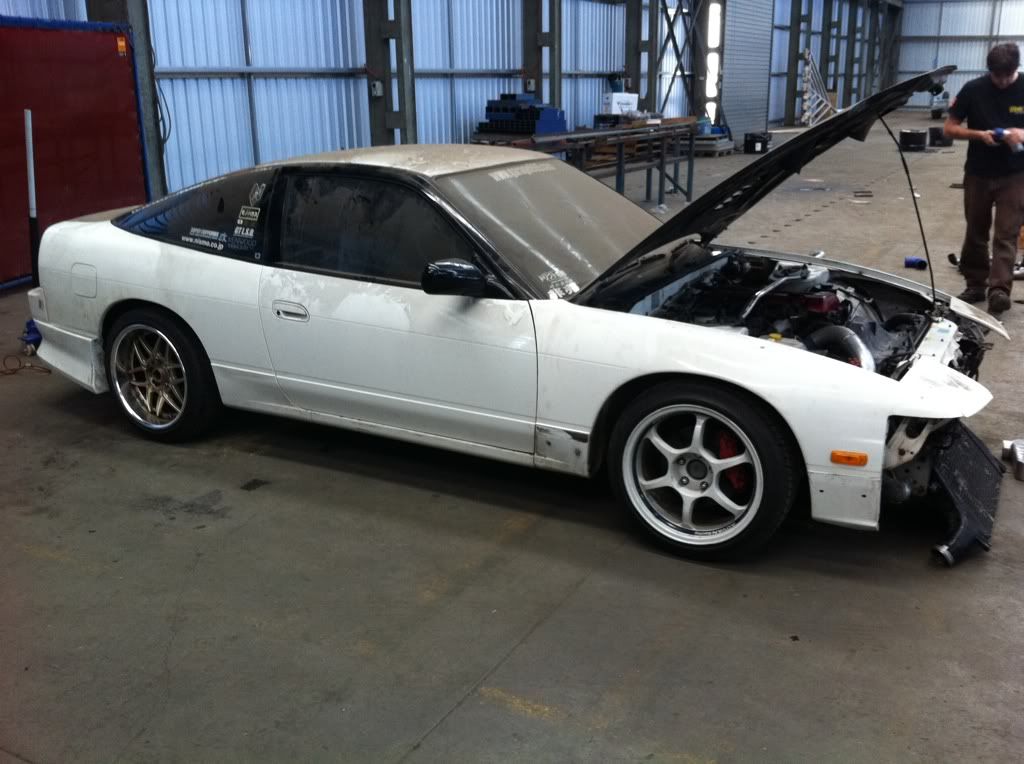
 On the ground!! (yes needs more low but will do for now)

Well at that point the rear end was in and pretty much finished, well we still need to lower it, adjust the camber and toe as much as we can with the stock arms and install some C-Type Alloy bushes.

The next step into the journey was to get the car running and that meant that we had to setup the Front mount piping and the GTR cooler itself and thanks to Mr Nathans ingenuity we had it mounted and ready for action!
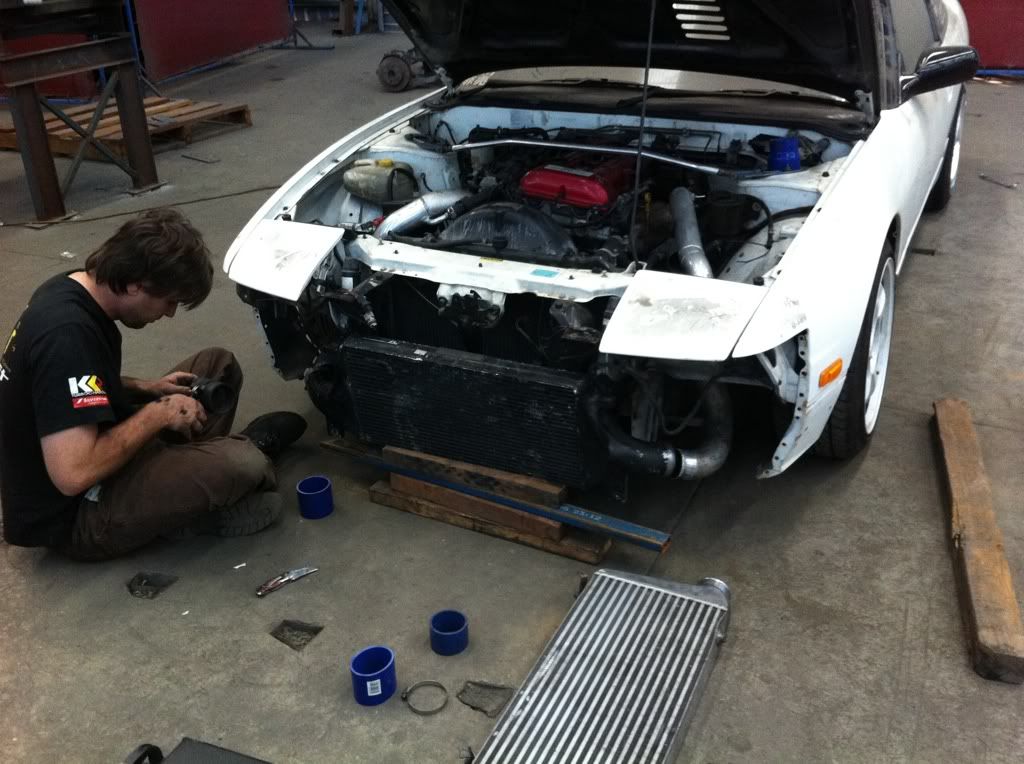
Getting the postion right (Hibrid photo bomber!!)
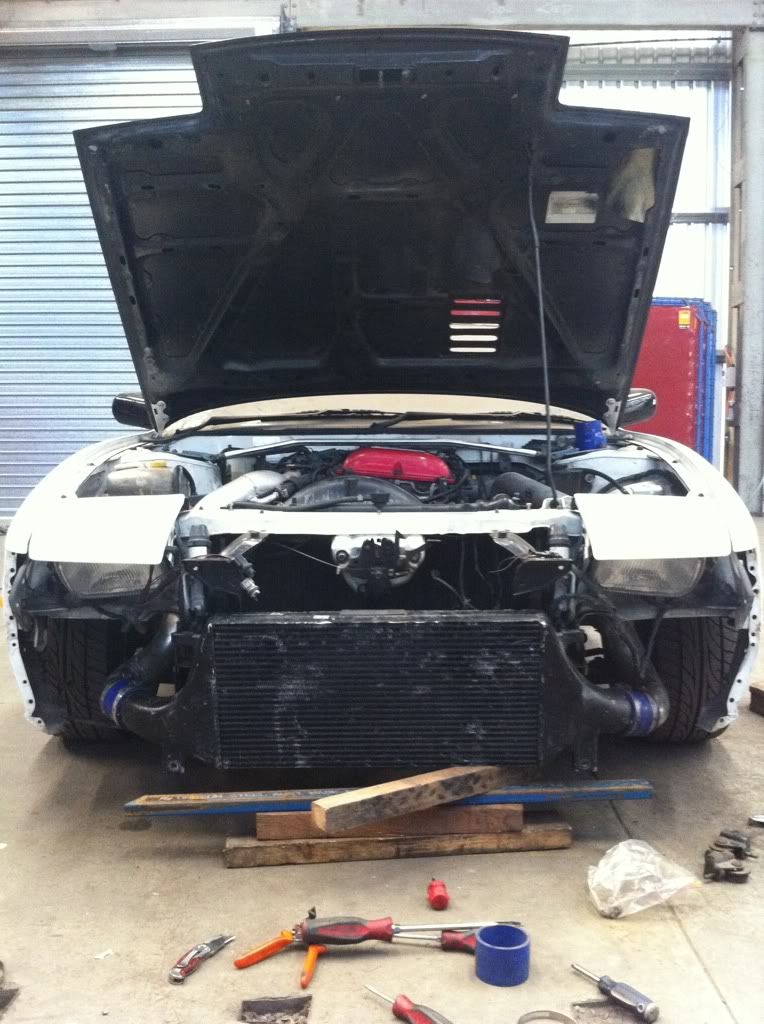
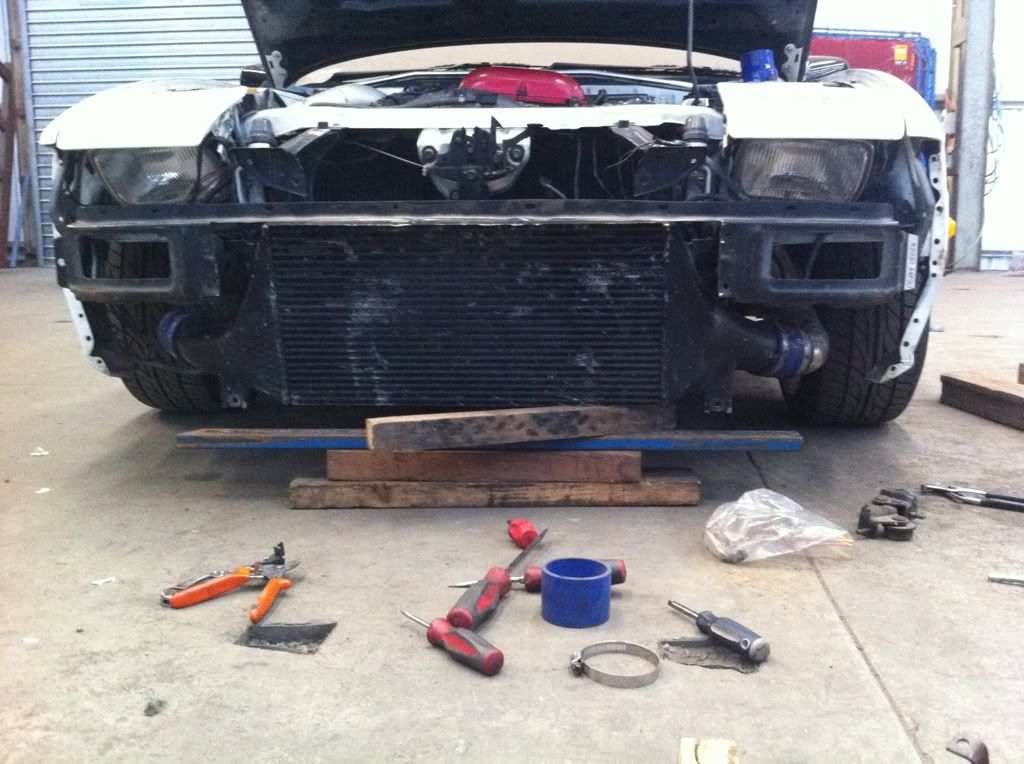
 looks bang on now to install the brackets instead of using wood

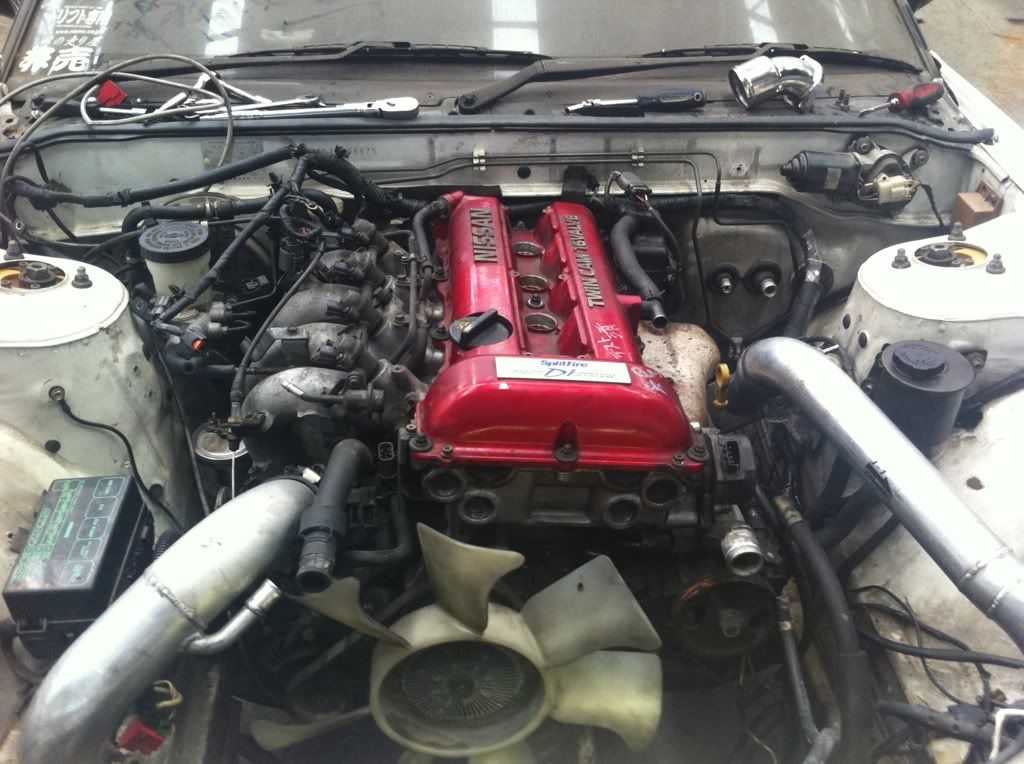
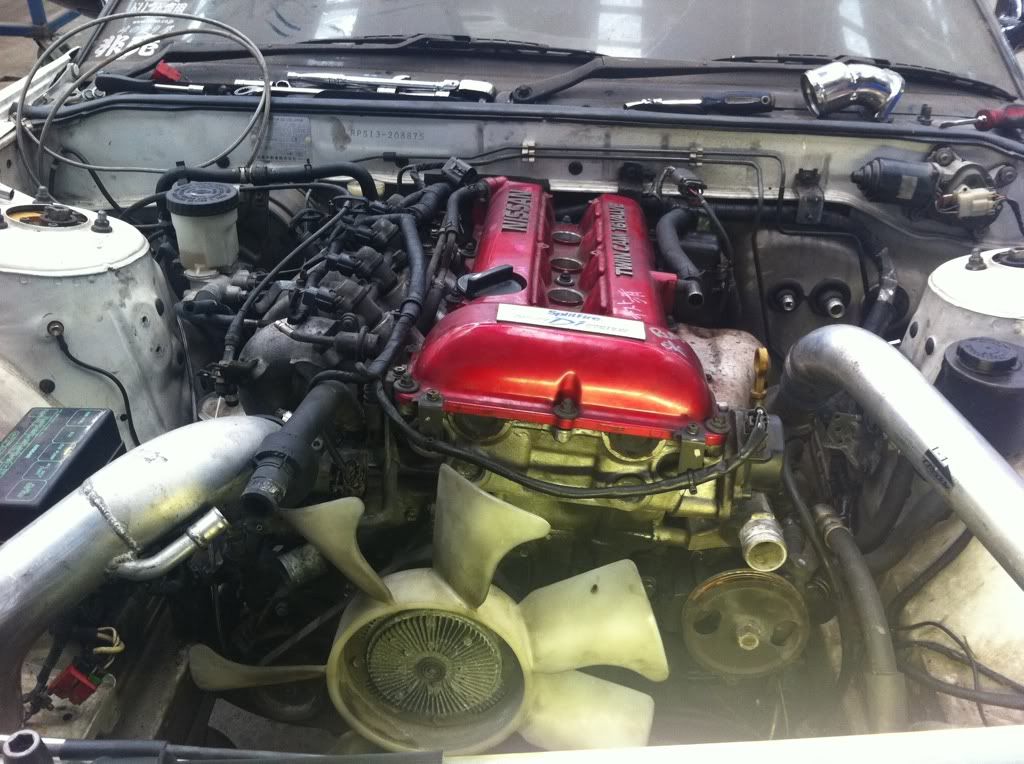
 With the cooler mounted and secured the next step was to install the engine harness... wait what? yeah we had a harness on the engine last time but we ended up opting for running a Apexi Power FC, Z32 AFM and 680cc injectors on a custom rail so we decided to use the harness with the right plugs already on it to save us some work.

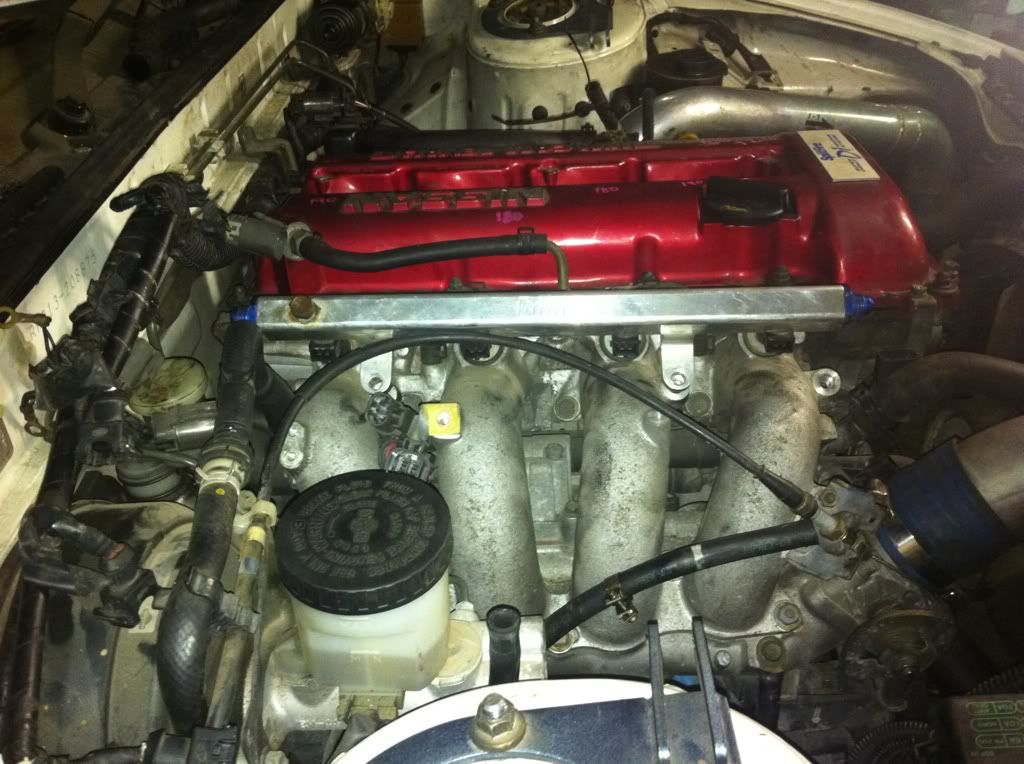
Once the harness was in it was time to install the fuel rail and setup the FPR and hosing.
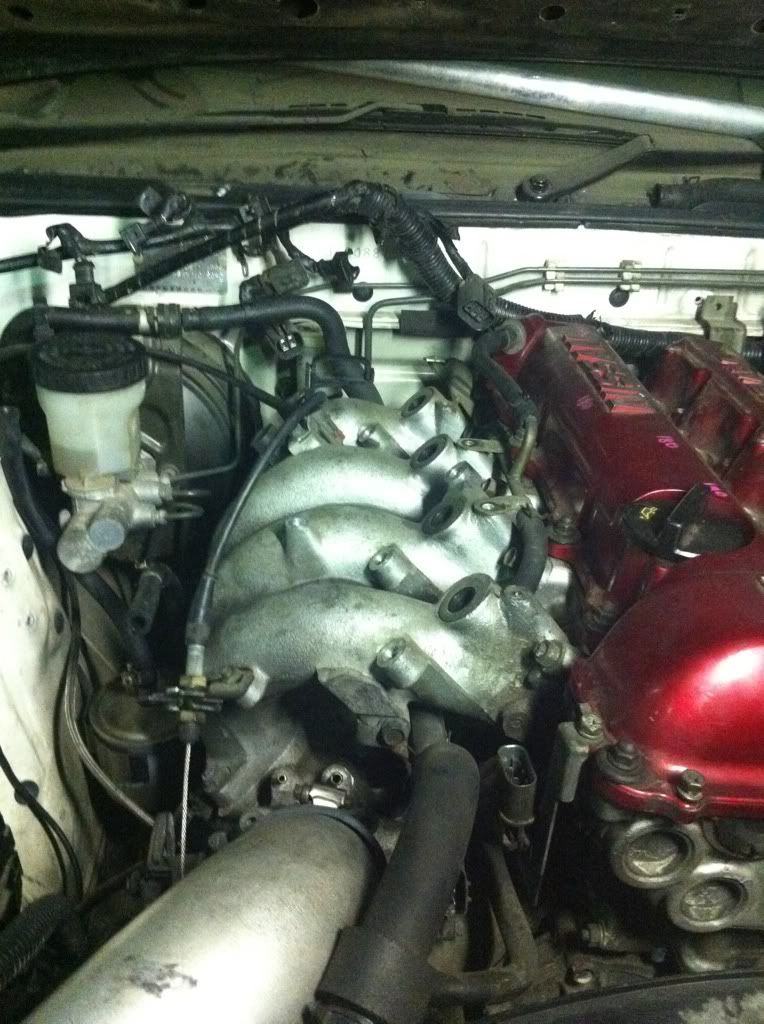
standard rail and injectors removed.
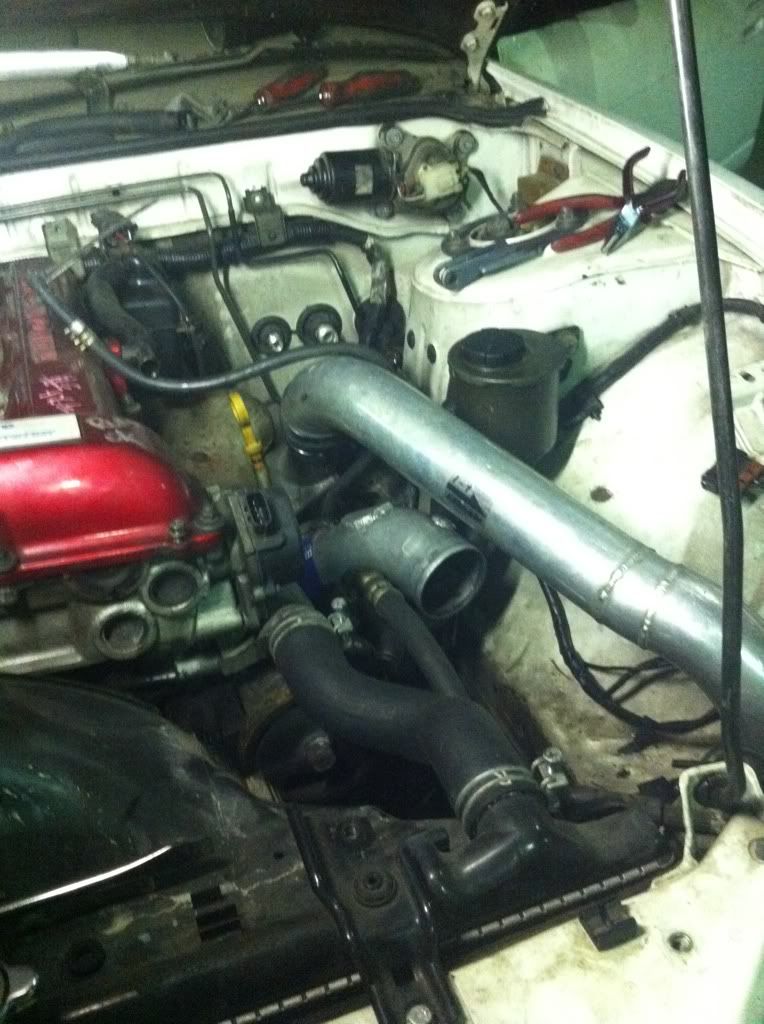
 Metal intake pipe and custom hot pipe to suit GTR Core
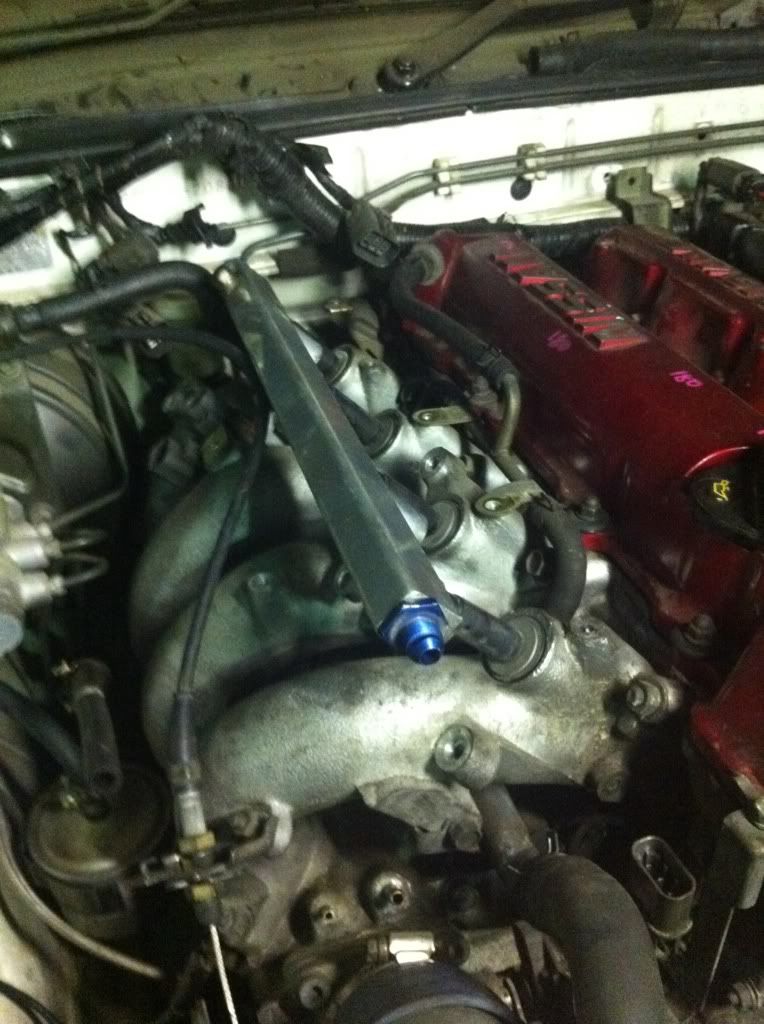
 Injectors and rail installed.
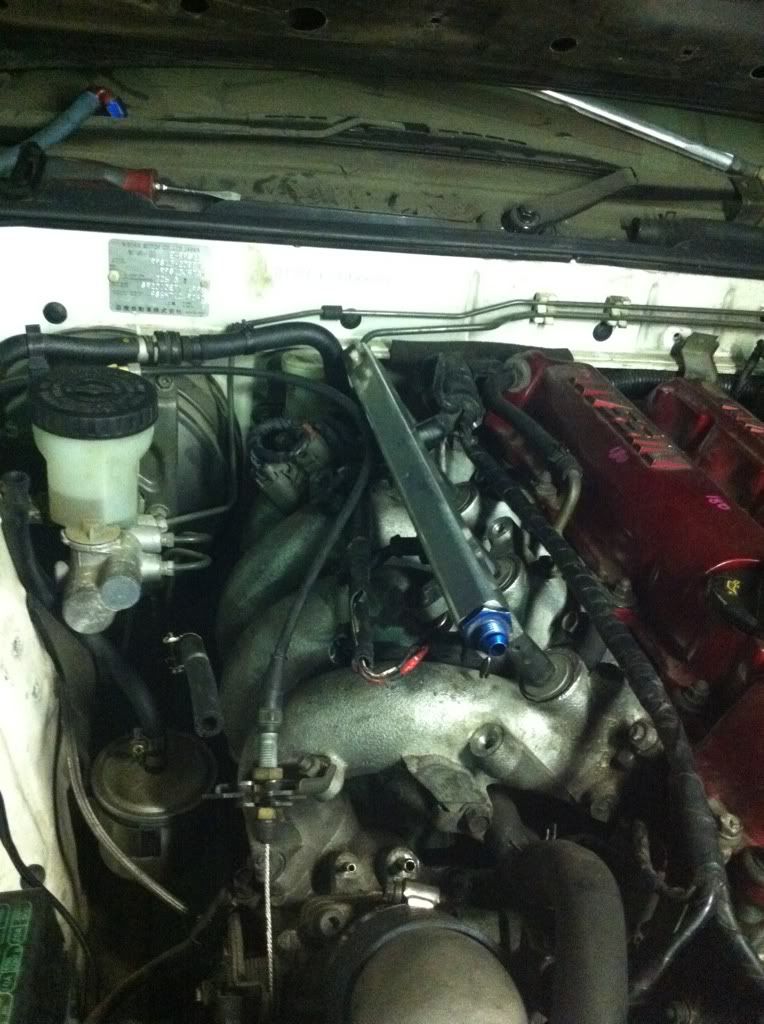
 Harness attached to injectors.
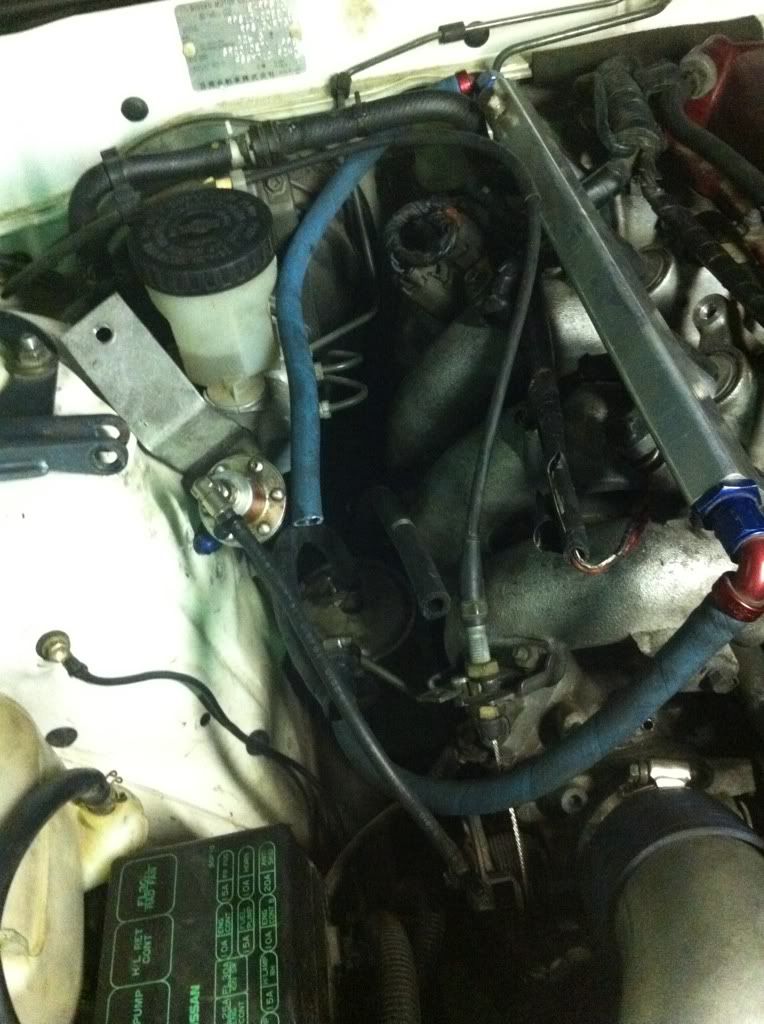
Running fuel line.

I actually didnt take any photos of the fuel system complete but all that is really left to do is secure the FPR and its done pretty much, after that we got the engine running be it quite rough at first but that was to be expected as the Power FC had no tune in it and injector settings and the FPR adjusted to suit the injectors and it was running quite nicely and loud!! but thats only because it has a front and dump pipe on it and nothing else.


Now we heard the engine running when it was still in the halfcut but that was with standard injectors and computer and we knew the thing had oil in it, but we noticed this time it was a little bit noisy mechanically... well after we ran it we dropped the oil and found 7 Litre of all i can discribe as black water...

We ended up calling it a night at this point as it was about 9pm and we were pretty buggered, we went and did some more work on it the next day but i didnt end up taking anymore photos apart from this one after we changed all the fluids and had the motor running better and lacking the mechanical noise that it had the night before... I guess nice castrol edge sport will do that!! 
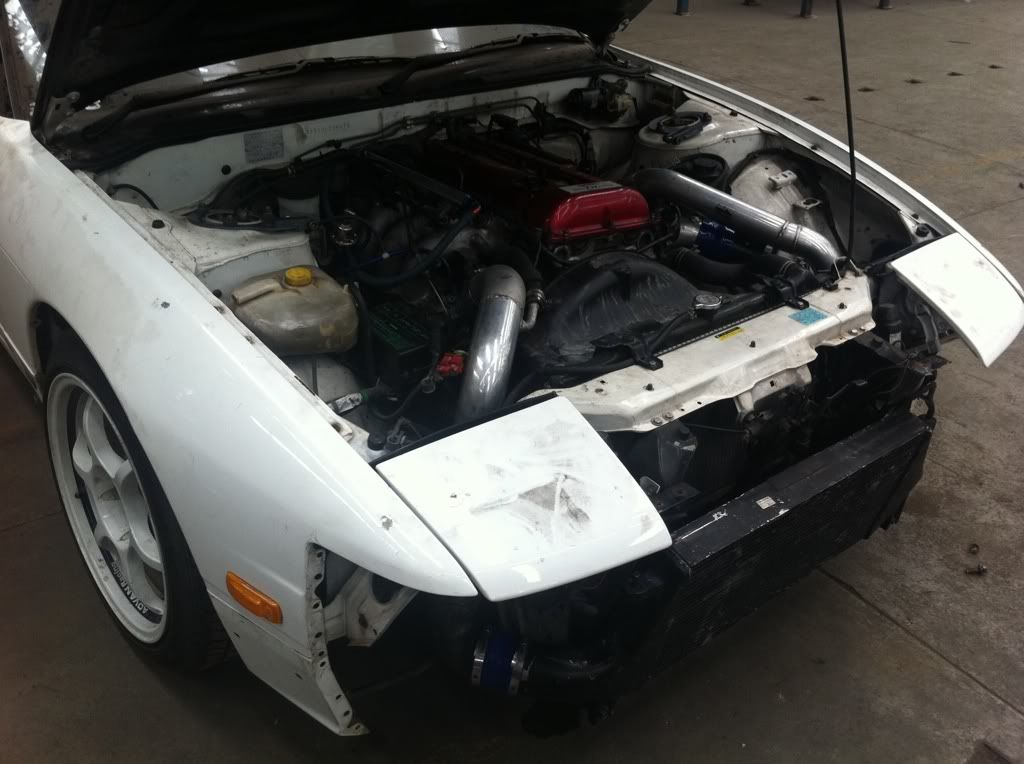
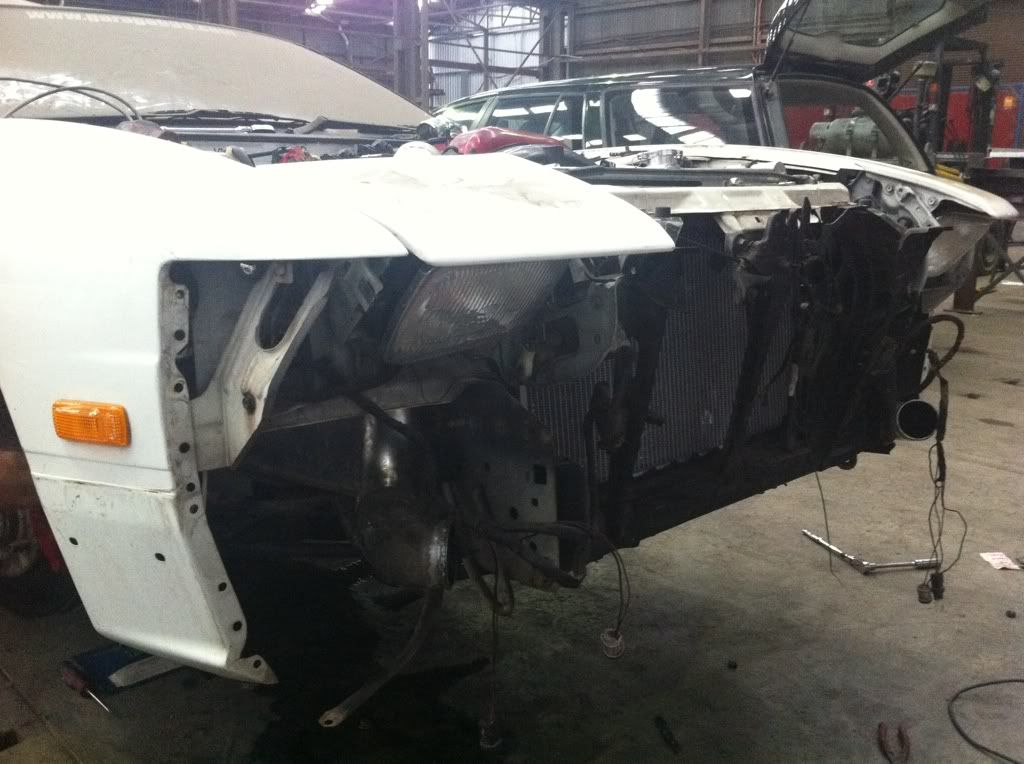
Front end more or less complete (minus reo)


going to do some quick oil changes on it to give it a good flush before Matsuri and a good tune and it should be ready to rip!

Big thanks again to Nathan for all of his hard work he has put into the car!!

Well i hope you enjoyed this long post please stay tuned for future updates.

As always stay safe!!

Bev!!

Tuesday, August 30, 2011

A Very Wet Day At QR

Well on the weekend we all headed out to QR for the second Queensland Raceway Breakfast that I organized for Hardtuned.net and all i can say is.... what? purely because I can't hear a thing because I was that waterlogged!!! The rain as much as I love it it was suppose to dissipate by Thursday but being typical Queensland it did not and it continued and continued.
It Rained all of Friday night and all of Saturday. We had two events scheduled and that was the breakfast and then a motorkhana myself and Sean arrived pretty early to find locked gates but thats because we were just early one of the QR staff arrived shortly after and let us in.

I was getting a little concerned that we wernt going to make numbers because of the rain, but pleasantly I was proved wrong and everyone started to rock up... I'm pretty sure it was all down to how good the breakfast is!

The morning unfortunately wasnt free of drama, Me having snapped an earth screw and Nathan having his keys locked in his Silvia by someone but thankfully one of the guys that rent a garage out there had the right tools for the job and go us out of trouble

Now ill say one thing as I drove out of the pits and onto the track I was thinking that with the amount of water on the track it wasn't going to be much fun at all and end up with us all being called back in but as i got a few laps in and started to find a balance it was actually quite an awesome experience doing 140+ down the main straight in a downpour what isn't to love?

Through out the entire day the weather was not consistent at all as it would rain one minute the next it would stop and then it would just bucket down, At one point it was raining that hard that i had my windscreen wipers on full and i was thinking we would be pulled off the track but to my amazement we wernt.

I had a few big sideways moments mainly coming out of turn five and one going into turn six but that's nothing compared to Kristen who had a huge moment coming down one of the middle straights and doing a 720 spin!!! she did tremendously well to keep the car on the track and pointing in the right direction.

A few other people had a few off's and one of the guys actually beached himself going into turn six with Kristen behind him.

Well thats enough talking.. I really dont have any photos to post up but i do have my in car footage so that should make up for it!


I really don't have anything watchable from the motorkhana unfortunately but hopefully the next one that shall be a different story, but even though it was quite wet i did end up finishing off the proxie 4's i had on the back :(

but at the moment Im running these on the car because i needed legal rubber!!


Gram Light 57 Pro's in 17x8 +30 front and 17x9 + 30 rears

As always stay safe!

Bev

Monday, August 22, 2011

Clutch Kicking the 180 into the next gear

In Just over a months time QR will be holding the first Matsuri event ever held in Queensland now for those of you that some how do not know what Matsuri its "Festival Of Drift" it originally was started by Team Orange Boss and Owner of Ebisu Circuit Kumakubo for the one purpose of bringing all drifters of all skill levels together to share in common their love of drifting, to share stories, experiences and to just plan socialize in a motorsports venue.

Now for many of us a trip to Japan is out of the question and we cant all share in this experience due to financial restrictions, family commitments, work commitments... the list goes on and on.. a few months back some brilliant person down south thought why don't we bring Matsuri to Australia so those that cant go to J-land can at least get a taste of it down under.

Now to date there has been two so far run in the country one being at Winton and the other at Mallala, Well the people at Queensland Raceway have finally cottoned on and have decided to host their own Matsuri with 24hrs of non-stop drifting!!! starting for most at 12 noon Saturday till 12 noon sunday.
For those lucky first one hundred entrants (Myself and Nathan included) get to start at 10am.

It is going to be a huge weekend (October 8th and 9th) for us most likely spending all of Friday packing the cars, tools, parts and then getting an early night (Yeah right ill be lucky to sleep 1 hour) to be at the track first thing around 5am on the Saturday to unpack everything and get situated then slide the crap out of our cars until the next day. Then pack up on the Sunday Afternoon so I'm not with out doubt that the Monday after will be spent sleeping.


For entry forms and entry lists check out > http://www.qldraceways.com.au/main.php?menu=qrd01

Now the whole point to this little spiel is the reason why the 180 has been booted back into gear earlier then anticipated as a drift car and not a time attack car... well the simple fact is Silvie is my daily drive and with her current track record when going out to QR well its not the best one!!! so why not build the 180 into something specifically for the one thing? well at least temporarily until we can sort out a more balance setup between sliding and chasing that clock around lakeside and QR.

So let the first part of the build begin!!!

As i said in the last post we left the warehouse on the Saturday night with a mission and that was to pile a crap load of parts into the old faithful falcon to get a good start on preparing the 180 for its quest towards twenty-four hours of punishment!!! well maybe not twenty-four hours non-stop because Ill end up crashing for few hours in the passenger seat (I apologize in advance for the Snoring)

So this is what we ended up with

Parts!!! ignore the GTR Junk above

                                                                         -180SX Reo
-S13 Front Coilovers
-S15 5-stud. Brake and hub assembly
-Front and rear strut braces
-S13 Manual Tail shaft
-S13 Overflow bottle
-S13 Side mirrors
-Assortment of nuts and bolts
-S13 Clutch Slave
-S13 Fan Shroud
-S13 Dash
-SR20 Non-Hicas Power steering pump, lines, reservoir and bracket
-SR20 Top and Bottom Rad hoses
-Assortment of silicon joiners and pipes..
-Assortment of other parts!!!
GTR Cooler pipe setup for S13 - ignore black pipe
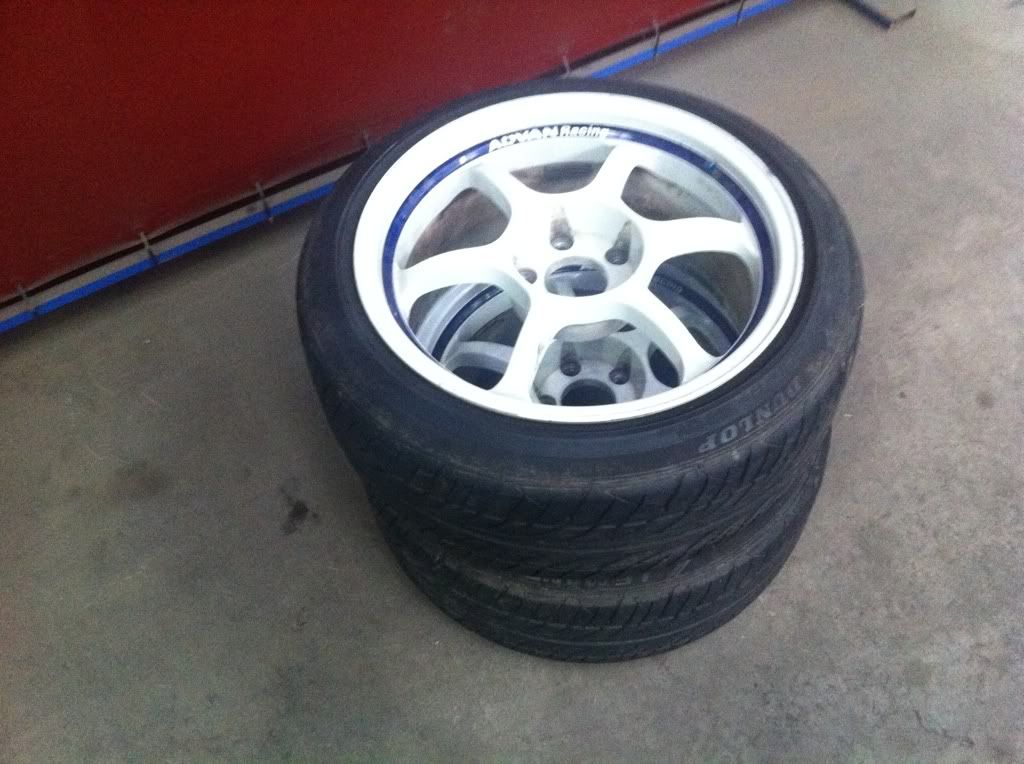
1 pair of Advan Racing 17x8.5 with la mans tyres

Ok well that was the parts we Jammed into the back of the falcon with all the tools we needed!!! I swear the amount of parts we jam into the back of that thing is ridiculous i think we should take up playing Tetris as a profession.

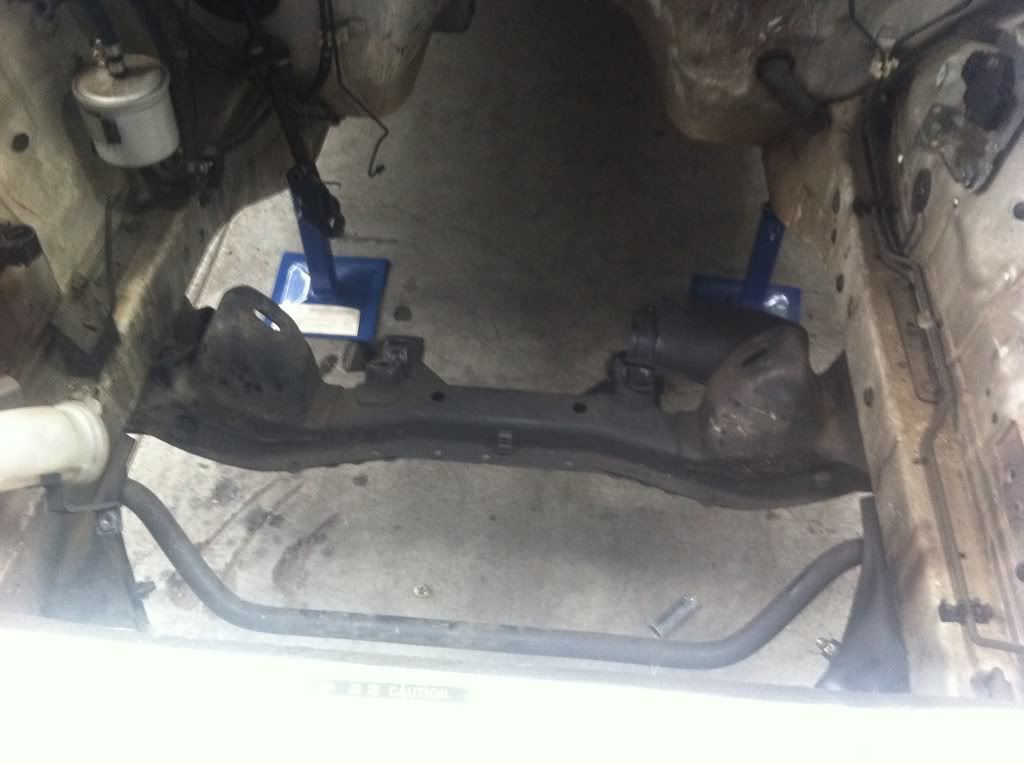
not to mention the parts still left in the halfcut like the power steering rack that was originally a Hi-CAS rack but Nissan being Nissan you can change it to be non-hicas hence the non-hicas bracket for the to mount the non-hicas steering pump.

first things first the GTR parts that are in one of the photos above were living in the boot of the 180 since we did a engine swap in a GTR awhile ago.. well they had to go and to prevent leakage a 180sx hatch rubber was installed
the most important part to be installed... hatch rubber.

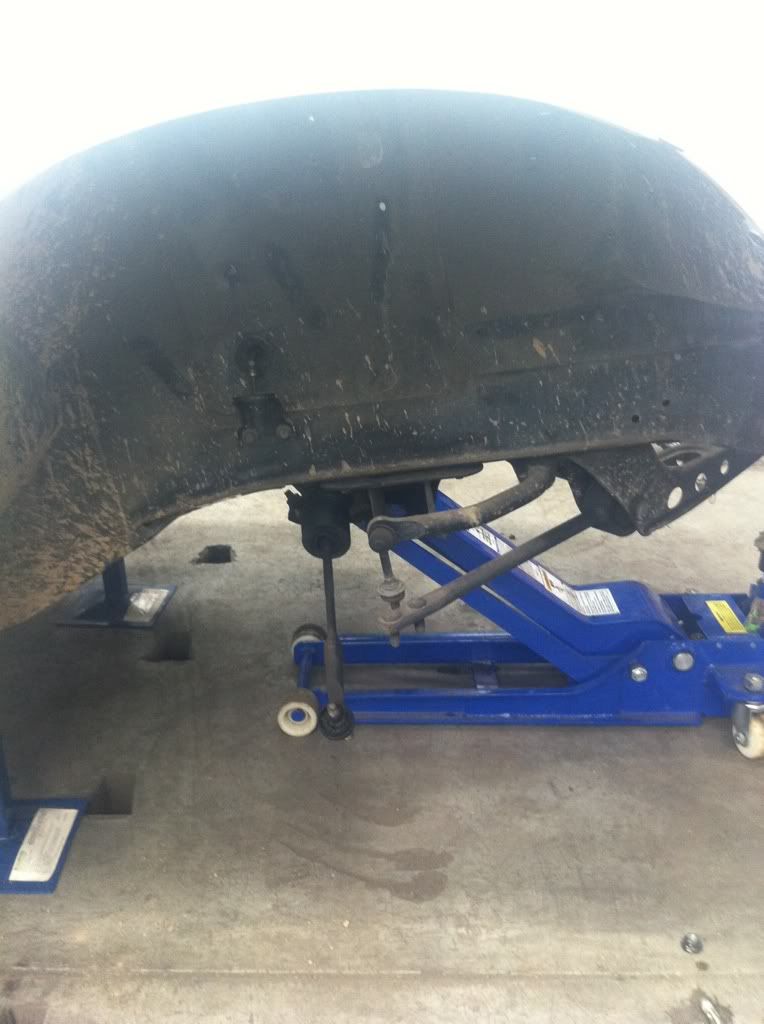
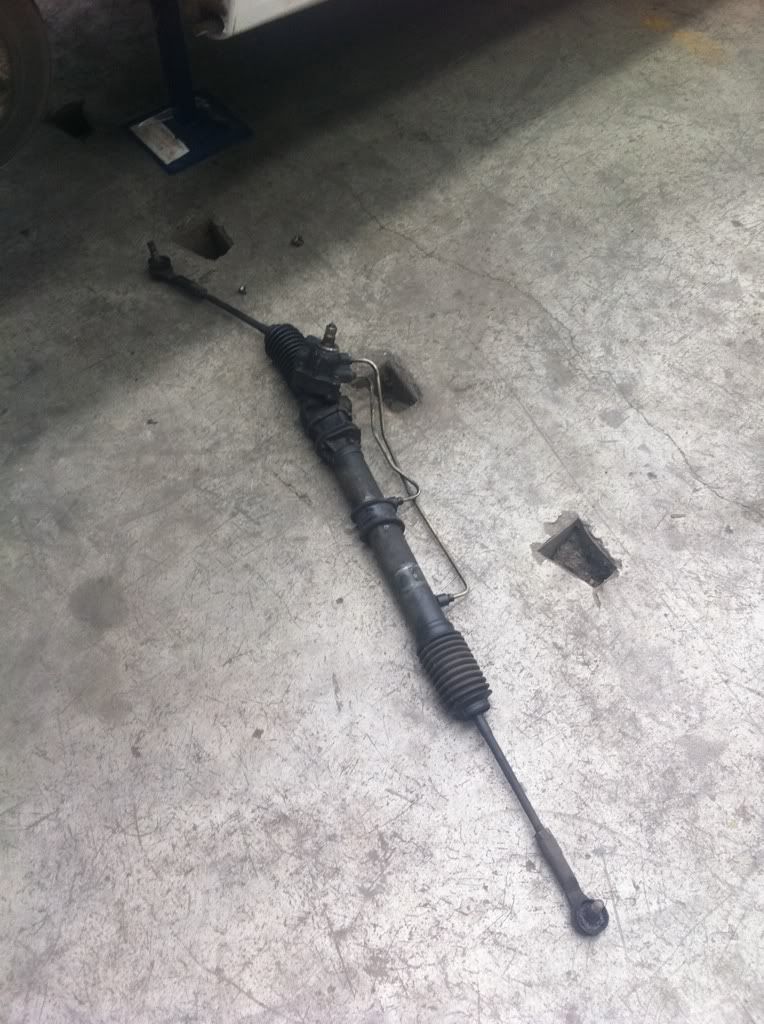
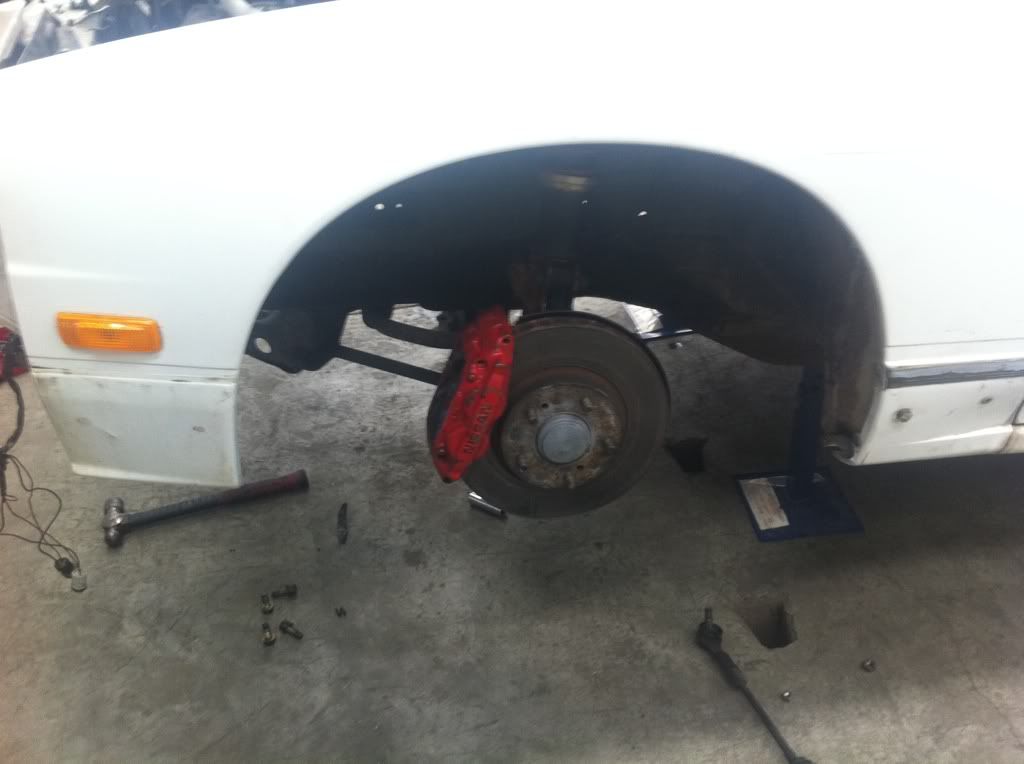
 Next was to pull out the old S13 struts, hubs and the stuffed power steering rack

Poo Rotar, 4-stud hub and strut
 Yes different side.. but gone!!!
 Old destroyed rack removed.

New goodies installed.
  Wheels on

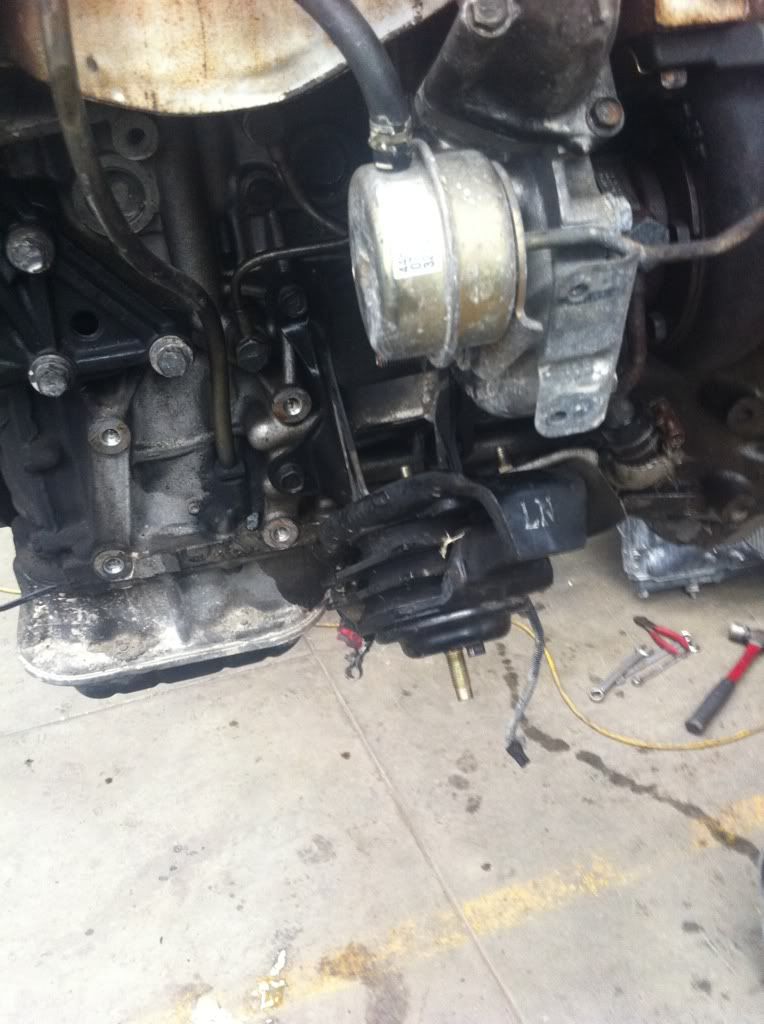
Nismo Engine mounts installed on engine.
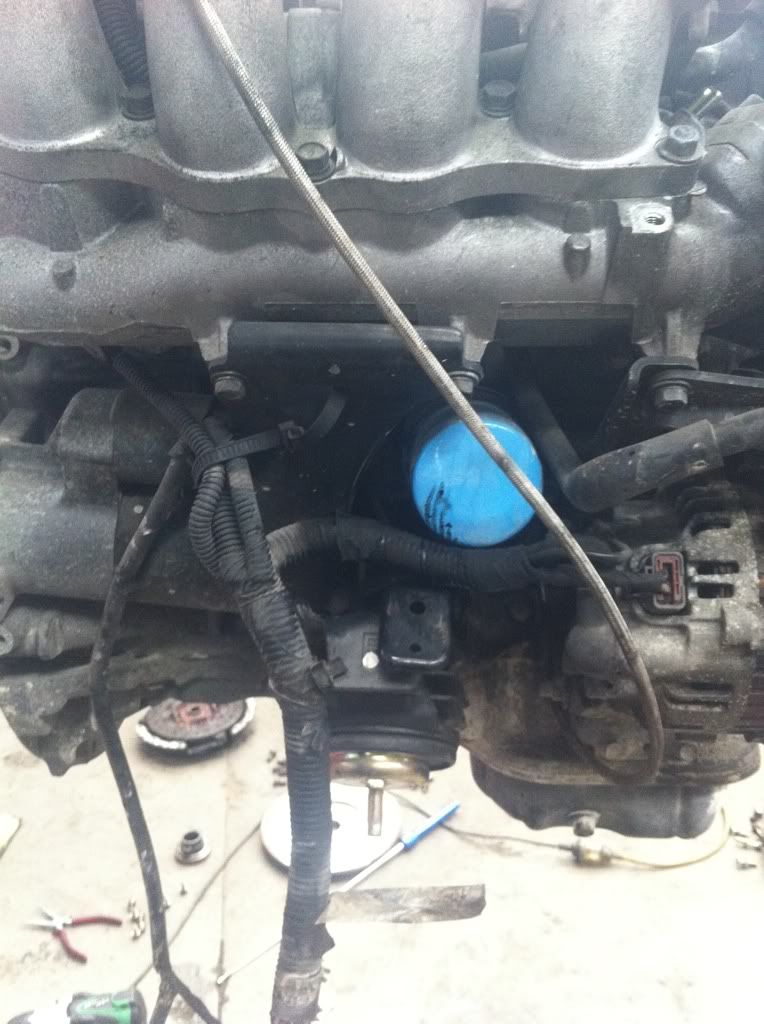
Bearing and rear seal in good nick

 Just incase you've never seen the bodacious rear of a SR20DET

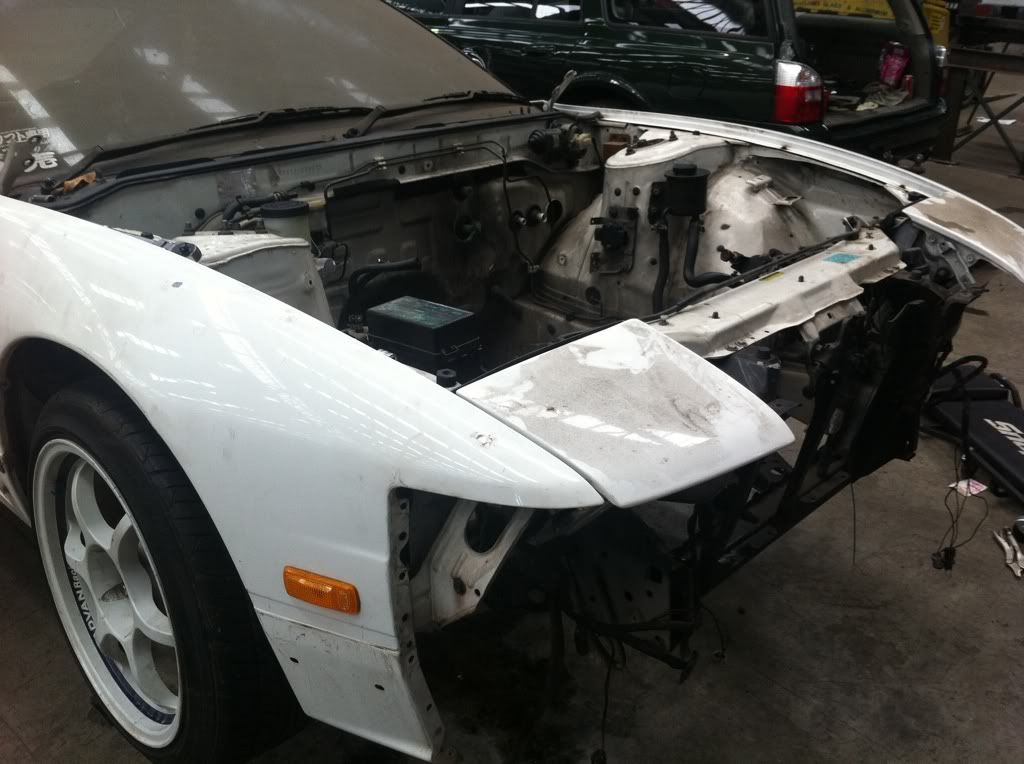
Bonnet off and engine bay ready for poking in the motor and gearbox

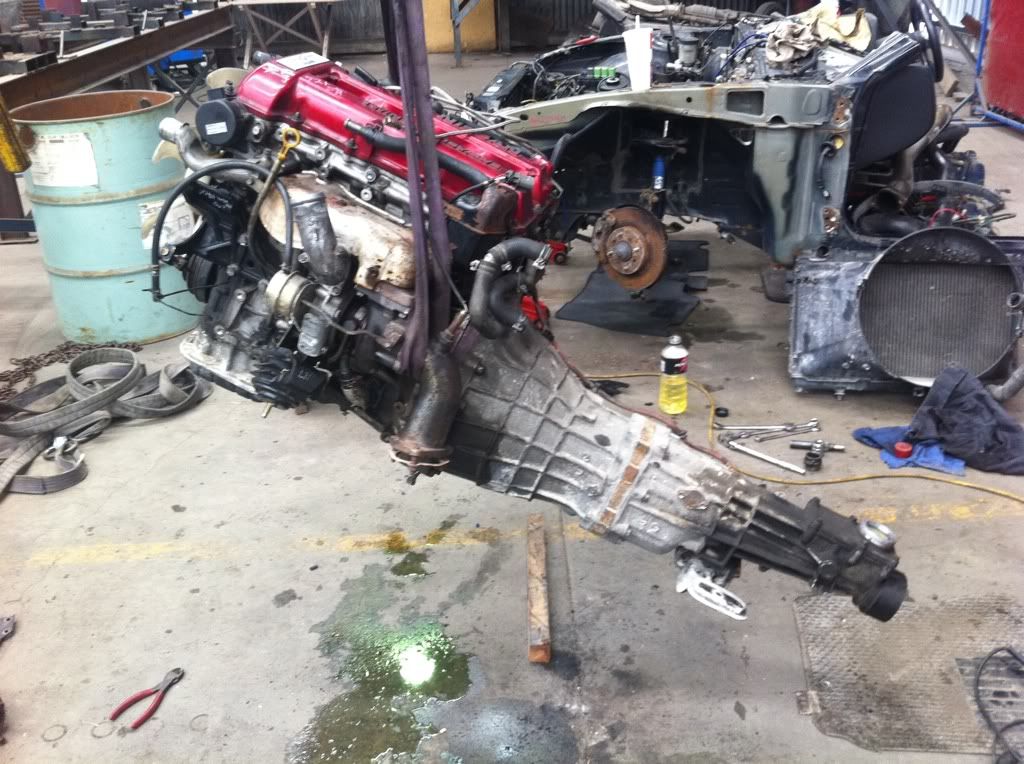
 Gearbox back on the motor ready to be lifted into the car.

 Kristen making sure nothing is a miss

 All in!!!

Crossmember meet engine mount, engine mount meet crossmember!!
GTR Cooler pipes test fitted.

Engine Loom all connected and through firewall.

 Ohhh hello Mr cooler pipe!!

 looking like an engine bay!!!!

So much torque it wheel stands!!!...

First time in over a year thats its been on the ground with a motor in it.

S15 Radiator installed.. problematic though.

Strut brace on

Front end all together!!! needs tweaking here and there.

Well apart from a few little niggling problems the front end is complete being the only problems are the s15 rad fouls on the bonnet as does the strut brace so they will get changed, another thing that you may also notice is the front bar is sitting lower then it should due to it fouling on the Reo so some alterations will be needed so the front bar sits right.

But apart from all of that which we can fix, the front end is done... well.. we still need to install the GTR FMIC but couldn't as i forgot to grab it.. gahhh.

All in all we made a load of progress with the car in pretty much one days work. As far as assembly goes it was maybe 8 hours worth of work, one thing that i did forget to take photos and mention is the dashboard installation but that can come later on as we assemble the rest of the inside.

As for the rear end we have a cradle coming with a mechanical diff (unsure if its a 1.5 or a 2 way) and a few other goodie and fuel tank to go with it but once we have everything we need ill post up about it.

As for now I would like to say thank you to the man that has made all of this happen in such a short period of time without him i would still be sitting here staring at that Matsuri poster dreaming about going instead of actually having my name on the list and a car that is fifty percent towards being complete, I can not be more appreciative then I already am for all of his help with this and Silvie!! Nathan my friend you sir are just purely awesome!!! without you I would be but a dreamer. Once again from the bottom of my heart thank you so very much :)

I would also like to thank Kristen for coming down and giving us a hand because every bit of help is appreciated and doesn't go unnoticed you are also awesome!

Well guys for now that's all five posts done in one night!!! I hope you are enjoying the recent additions to my blog and don't worry as there will be more to come!!!

this coming weekend we are holding the Next breakfast at QR and the first Hardtuned Motorkhana so I am sure that ill have a something else to write about on sunday.

As always

Stay safe my friends!!!

Bev!!